Tag Archives: Third World War

Third World War – Again

Tim and I set up on last (1/5) Saturday afternoon, and spent the evening watching the Seahawks lose; and Spinal Tap….which is always a winner.

Started playing before 0900 on Sunday and didn’t quit until 2200 or so.

The game doesn’t have a lot of counters, and the map size is modest.  But, it’s long slog. With Soviet and NATO turns involving double impulses, a very active air war, and some accounting, we had to push it to get three turns in.  Yes, we had an emergency beer run, but we really maintained our focus.

I fouled up by having several divisions advance towards the border in the NATO reaction phase after the Pact player intial set-up and before the first move.  Can you say “envelopment”?  Three would be eliminated in a series of exchanges that opened up a corridor for Soviet advances.
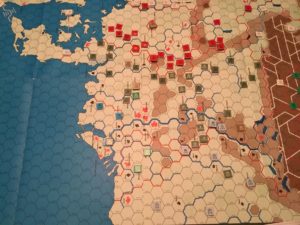
Nato Reaction Prior To Turn 1

On the other hand, the surviving units provided hedgehogs in full city hexes, where a unit ignores retreat results.  US Divisions and airmobile units for all countries have zones of control (ZOC) that reach out two hexes.  Entering and leaving ZOCs takes an extra movement point, so these units can really slow down the Soviets.

Other Pact attacks developed near Denmark and against Jugoslavian units in in the Southwestern Theater.  The Austrians had the sense to (at least initially) remain neutral.
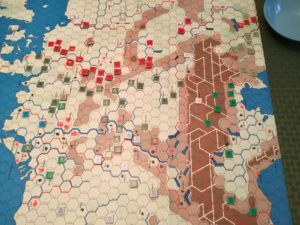
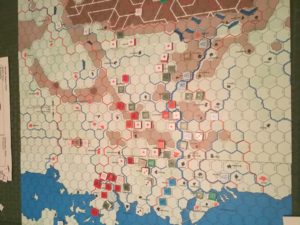
Turn 1 – End of Pact 1st Impulse


Turn 1 – End Pact 2nd Impulse.  Note isolated NATO units, gap and unit across the Rhine


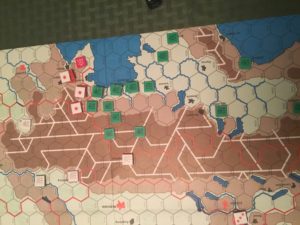
Turn 1 – Southeast Theater – Jugoslavian Units Overrun. Pact Entering Italy. White Counters Are Neutral Austrians

Nato used both of their Turn 1 impulses to patch together a MLR on both sides of the Rhine.  Weaker units were used to garrison ports and cities to prevent a Pact vertical envelopment.  Territorial units were slow to activate, hampering NATO efforts.

During the first impulse of the Turn 2, Warsaw Pact units surrounded isolated NATO units, eliminated them, and rapidly advanced to the Rhine, establishing a lodgement.  Pact forces pushed NATO units out of Jutland, and slowly advanced in the Southwest Theater.

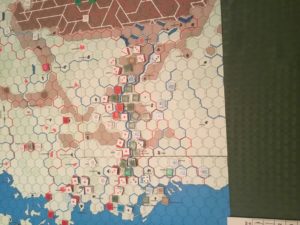
Turn 2 – Soviet Attacks During First Impulse


Turn 2 – After Soviet Attacks

Suprisingly, but maybe not, the Soviets pulled back their attrited units to reorganize.  This increases combat proficieny, eliminating potential negative combat shifts.
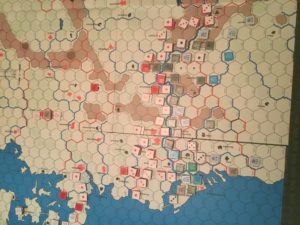
Turn 2 – Soviets North Of Essen Pull Back To Reorganize During 2nd Impulse

NATO units used their Turn 2 to continue bolstering their defenses along the Rhine, reacting to the Pact’s attempts to envelop from the South.

Soviet units assaulted along the Rhine River during Turn 3, but their successes were on the flanks, pushing back NATO units in The Netherlands, destroying a valuable POMCUS site, and continuing their envelopment to the South.  It was only through bad die rolling that a Soviet airdrop in Belgium was foiled.

Again, NATO units could only react during their Turn, pulling in both flanks and trying to develop a defense in depth with smaller units to defend against the enveloped.  NATO forces reduced, but were unsuccessful in eliminating the Pact lodgement over the Rhine.  In the Southwest Theater Italian forces grudgingly gave ground against steady Soviet pressure.
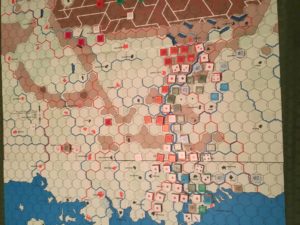
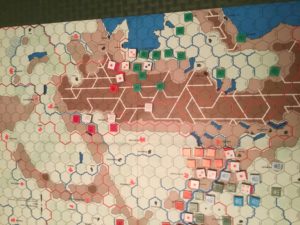
Turn 3 – End Of Nato Turn.  Austria has now entered the war.


End Turn 3 – Southwest Theater

The Air War was bitterly contested.  During his first turn, Tim used cratering missions to good effect.  These eliminated sorely needed NATO aircraft.  Both sides rolled poorly during the first turn’s maintenance phase, reducing aircraft availability.  After that, serviceability rates improved, but missions were devoted to close-in support.

Third World War -Tim’s Take

Here are his thoughts……

> 1)  I either should have reinforced my amphibious landing or withdrawn it.  I think it was a good idea, but the execution was a little flawed.  The Pact player has to take some risks to get across the Bosphorus.  Like the Rhine, it is almost impossible to breach using regular units.
> 2)  I wonder if it would be a good idea for the Yugoslavs to withdraw to Sarajevo and form a national redoubt.  they would probably last longer and tie down more Pact troops if they did.  I’m not familiar with Yugoslav defense planning in the 80s but I bet they actually thought about doing something similar (ie that plan might not be all that gamey…).
> 3)  My poor rolling on aircraft maintenance on turn 2 really hurt.  I was thinking about attacking Istanbul, but without air support, I had very little chance of taking it (basically I had to hope for an exchange).
> 4)  I wonder if it would be a good idea for NATO to use its air power in the first subimpulses of the Pact turn.  Pact units can’t attack during the second subimpulse if they’re in a ZOC and lowering the odds so attacks don’t succeed (meaning that the defenders don’t retreat) prevents units from being to move/attack in the second sub impulse.


Third World War

Played Southern Front from the old GDW Third World War series last weekend at Tim’s.

Much lower counter density than Battle For Germany, and with very tough victory conditions for the Warsaw Pact.

Victory points are awarded for controlling cities and ports, and the Pact must control almost every city and port in Yugoslavia (if hostile), Greece and Turkey to score a decisive victory.

The NATO player is outmanned and outgunned, and must grimly hang on during a seemingly endless series of Pact high odds attacks.

While the game is only eight turns long, each turn is lengthy and involved.

Aircraft maintenance and missions assignment occurs before any movement takes place.  Aircraft can fly deep strikes including logistical strikes (effecting supply status), runway cratering, or escort; interdiction missions resulting in additional movement costs and disruption for enemy units, as well as plain old ground attack and ground attack escort missions.

Movement and combat takes place in impulses.  The turn sequence is Pact First Impulse (movement and combat), Pact Sub Impulse (units not in enemy ZOCs may move and attack, with regroup), a NATO Reserve Impulse (units not in enemy ZOCs may move and attack, units may also regroup), Pact Second Impulse (same as first with two sub-impulses) , and finally a NATO First and Second Impulse.

A key element in this game system is Proficiency Rating.  Differences in ratings shift combat odds in the favor of the side with higher average proficiency.  The regroup phase allows players to “rebuild” units, recovering one proficiency step if the unit has not done anything in the previous phase and is not in an enemy ZOC.  Pact units can never be totally “rebuilt” and retain a one factor proficiency loss, regardless.

Yugoslavia is either neutral, an ally of NATO, or becomes a NATO ally during Turn 4.  This determination by a chit pull.

A special rule in Southern Front precludes any NATO deep strikes, cratering or escort missions during the first turn.  Also, the NATO initial ground dispositions are mandated.  The result is that the first Pact impulses result in significant attrition of NATO Turkish forces, with the Greeks taking some hits, also.  Not surprisingly, Turks and Greeks cannot cooperate or enter each other’s country.

In our game, Tim initially focused on Turkey, making an amphibious landing east of Istanbul, which is the bottleneck leading to Anatolia.   Despite severe losses, the Turks held  Istanbul and, with the arrival of reinforcement, destroyed the flanking Soviet Marines.  Tim’s attempts were handicapped by some horrific die rolling during the maintenance phase of Turn 2, which temporarily gave NATO air superiority.

Beginning with Turn 3, Tim’s attention  turned towards Yugoslavia (which had entered on Turn 1), and Greece.  When the game ended at Turn 5, the Yugoslavs were in disarray, with Pact forces massing for an attack on Greece.  However, Turkey was still controlled by NATO.

A good game.  I’ll post up Tim’s comments later.