Tag Archives: Europa

Nordic Saga – Part II

An even later post to complete the account started in an already late post.

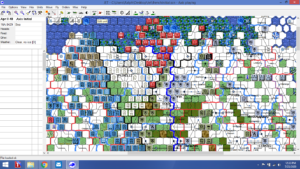
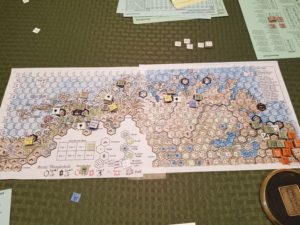
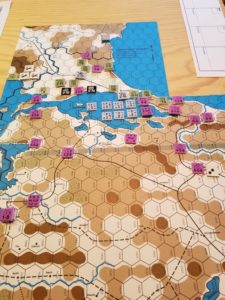
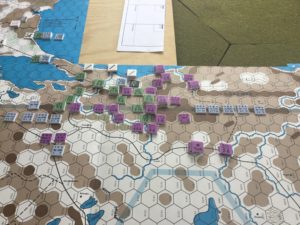
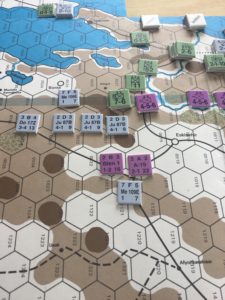
The game followed the standard Europa sequence, with the Axis phase first during the September I turn. Tim made some adjustments to his defenses, especially in the vicinity of Narvik. Regardless, the Allied landings went smoothly, with German air accounting for only one transport lost as well as one landing craft. Unfortunately, the lost transport contained the Headquarters for the 78th Division. In Europa, without a supporting headquarters, a regimental/brigade sized unit fights at one-half strength. The engineer unit was able to land at the port of Andennes, but would not be able to start work on the airfield next turn.  By turn’s end, this was the situation.

The September II turn went badly for the Allies. The weather turned, with stormy seas and mud creating rains. In this weather, beach landings are prohibited, ground movement is slowed, and engineering tasks take twice the time. This effected the Allied airfield construction and efforts to land reinforcements and supplies. Worse, the Germans were able to take advantage of the withdrawal of several Allied naval units from Narvik and overrun the leaderless and unsupported 78th Division.  No photographic record remains of this debacle.

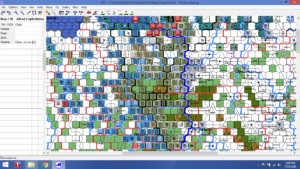
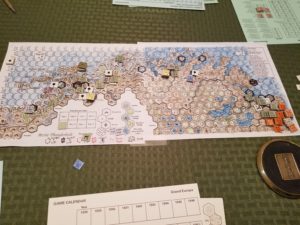
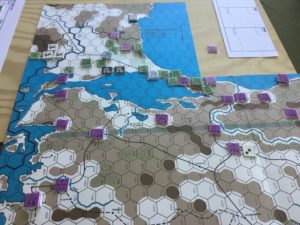
The weather remained muddy, but with stormy seas continuing  The German units continued to pressure the Allies, but did not attack due to low odds.  The Allies were able to evacuate the remaining Narvik survivors, despite Axis bombing attacks.  The British were able to attack and destroy a German Penal Battalion at Bardufoss, but that was the limit of Allied successes.  The situation looked very grim for the Allies at the end of turn.

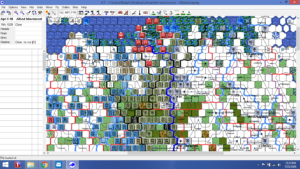
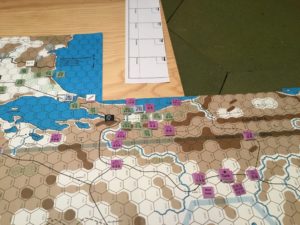
Things got worse with the weather roll at the beginning of the Oct II turn:  Snow.  Sea conditions became marginally better, with rough conditions.  Allied air units landed at the new Andennes airfield, but ground forces were unable to make any real progress against the German defenses.

The Nov I weather roll for snow and stormy seas effectively ended the game, as the Allies were now unable to resupply their forces over beaches and movement was severely restricted.

This was a painful experience.  The Europa naval rules are tortuous, especially when coastal defenses, danger zones and minefields are involved.  The game becomes a slog, and because of this, no longer is a “game”, but a simulation.

The  simulation makes it clear obvious why Operation Jupiter never happened.  The dependence on good weather beginning in October is enough to make the entire proposition marginal at best.  Add into this demands for naval resources that require the withdrawal of units that provide significant naval gunfire support, as well as critical landing craft for troop buildup and resupply, add to the “options of difficulties”.

Churchill wanted to do it and Hitler thought he would do it.  Reason prevailed on the Allied side, but significant resources were still poured into Norway’s defenses.  Was this irrational, or did Hitler’s fixation prove to be a deterrent?

I hope Tim will post up with his thoughts.  But here, briefly, is what we discussed right after I threw in the towel.

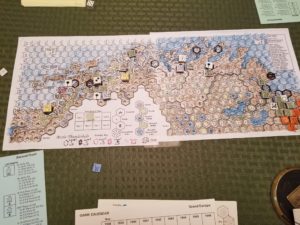
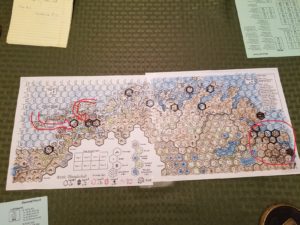
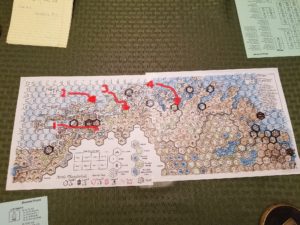
I have circled the northern part of the map to represent the positions of Soviet troops.  They are too few, the German positions to well fortified, to do anything more than tie down assets that could be used against the landings to the south.

The Narvik landings could have taken place to the west, with the forces crossing the narrow straits.  This would slower, but might allow a greater buildup of troops using minor ports.  Again, with time of the essence, I chose a more direct approach.

Me, I’m just glad the game, and these posts, are done.  OOFTA!

Nordic Saga – Part 1

Another late post.   This time it’s about the Operation Jupiter game played with Tim several weeks ago.

The lead-up to this game was a comedy of errors even by our broad standards.  The scenario is in The Europa  Magazine (TMO)  #41, entitled Arctic Thunderbolt, simulating  a late 1942 invasion of Norway.  The magazine contains special rules, orders of battle, and a map for the scenario.  We decided to play this game during a phone conversation back in October.

This is where the fun started, because, the scenario was re-done in the boxed game Storm Over Scandinavia (SOS).  I studied the scenario as presented in the game.  Tim used the scenario in  TEM.

We set up the SOS maps and started to play.  But….nothing matched up.  The OBs, locations on the map, special rules were all different.  The game was out of phase, and we were losing our minds.  The only thing to do was stop, settle on using the TMO rules, maps, etc, and start again in December.

As the Allied commander, I spent the next few weeks in a funk, grappling not only with the involved Europa naval rules, but also the challenges of the invasion.  Things were just too depressing struggling with these “options of difficulties” and staring at a soul less black-and-white magazine, so I copied and garishly colored the map.

This was a very tough mission.  Suitable landing sites were limited, weather could disrupt the landings at any time, and the invasion fleet(s) would have to run a gauntlet of German aircraft.  To top things off, the Allies had a very aggressive schedule for the withdrawal of naval assets after the initial turn.

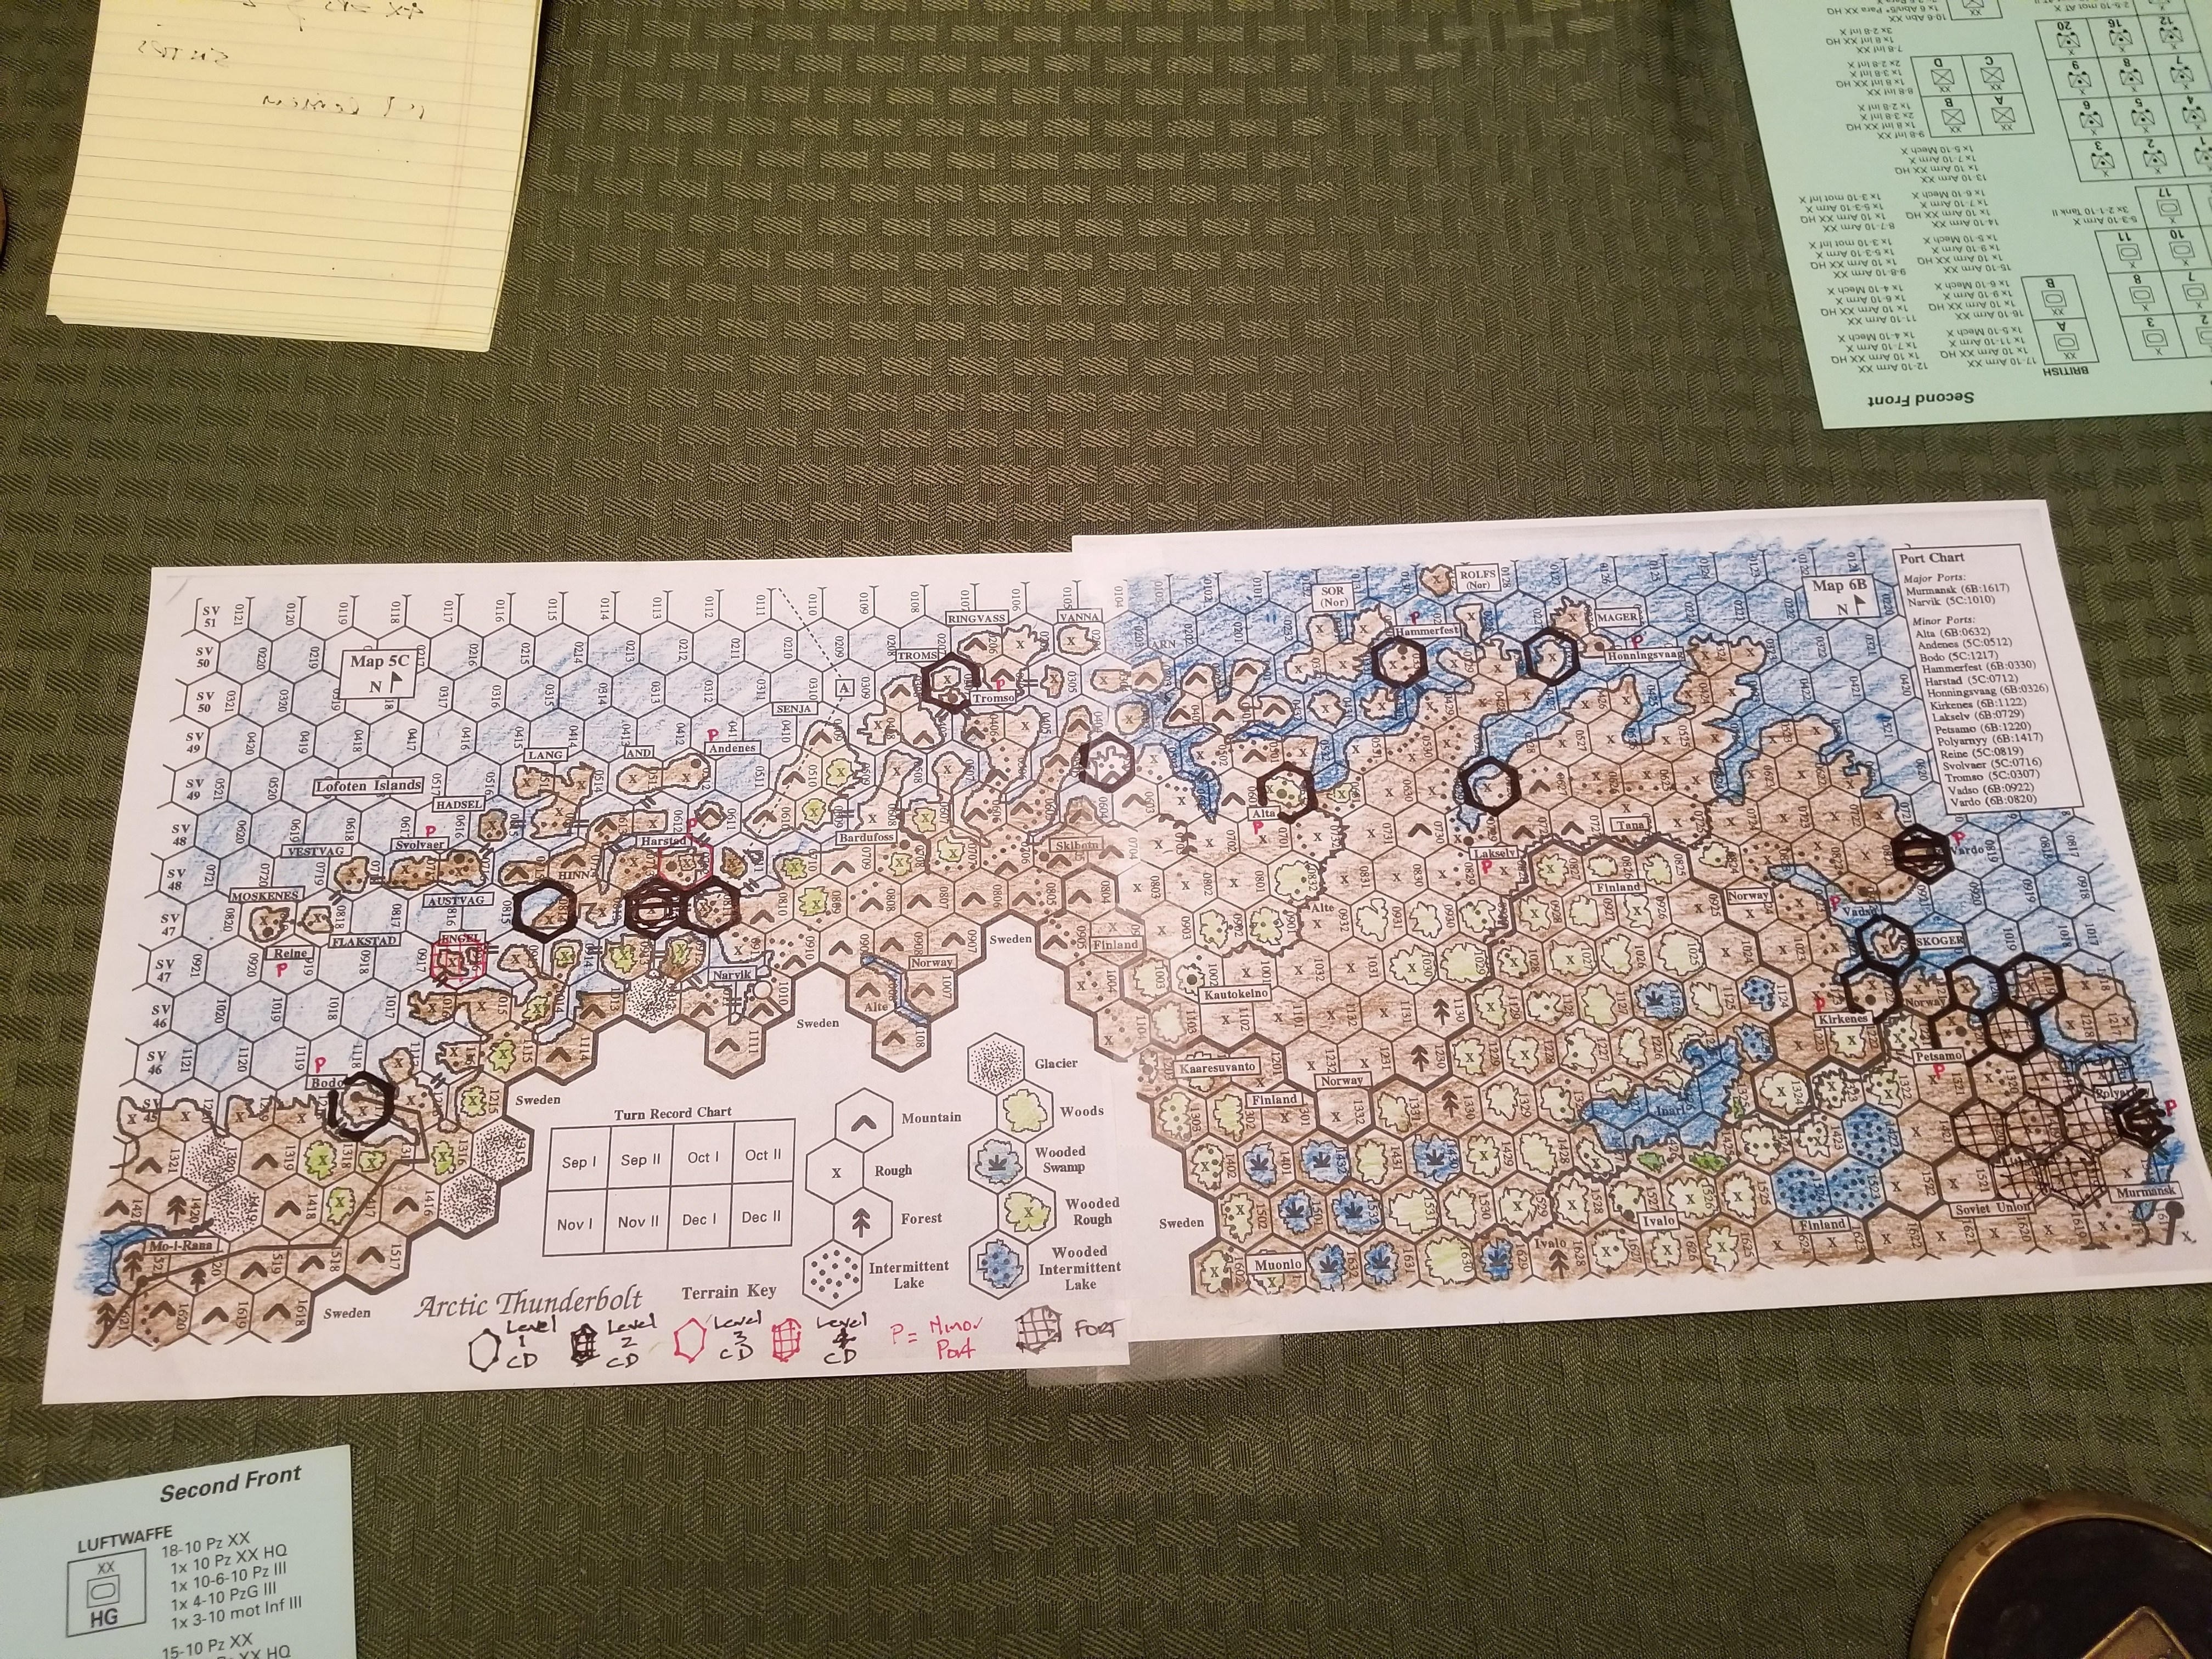
We played a couple of days before Christmas, squeezing in a session  between a visit to other friends in Portland and football viewing.  The SOS maps proved so cumbersome we used my little map.  Even with my invasion plans completed, we managed just a single turn.  Lots of naval movement, naval patrol , danger zone and mine field roles.  After this session, I re-did the little map, which is shown below.

map

For the new game, my amphibious forces would land at Alta, Narvik, Bardofuss and Andenes.

I realize the following illustration sets a new low in media crudeness for this site, but it’s a matter of communicating effectively, and spending my time gaming, rather than focusing on developing media presentation skills.

Landing # 1  – Narvik (United States):   6 Pt WNTF-1, 6 Pt WNTF-2, CG-1 (F4F & SBD), NTPs and LC for 85th Div. 1x 2-8, 1×3-8 & HQ, along with 4 SPs at Hex 0811.

Landing # 2  – Andenes (British):  4 NTPs & LC for 102 RM 3-6 & 10 Eng 2-3-8 along with 4 SPs at Hex 0512

Landing #3  – Alta (British):  16 Pt ENTF-1, 8 Pt ENTF-2, CG-1 (with Sfire, F4F & Albacore) & CG-2 (with Sfire, & Fulmer) , NTPs and LC for 46th Div.  1x 2-8, 1x 3-8 & HQ, along with 4 SPs at Hex 0532.

Landing #4  – Bardofuss (British): 8 Pt ENTF-3, NTPs & LC for 2x 3-6 RM (101,103), 2-8 Layforce along with 4 SPs at Hex 0608.

Landing #2 was scheduled for the Exploitation Phase when – it was hoped – all German air assets had been used for naval patrol or strike missions.  The engineer unit  build an airfield.

Fall Gertrude – Botched……..And Boxed.

To borrow from Christopher Shores….a “Bloody Shambles.”  And as bad as the TV Show.

Axis forces now in a cul-de-sac.  I’m sure there is a way out of this (desperate airborne divisional drop?), but lack the time and patience.

So, where did it all go wrong?  Feel like Jeff Goff looking at Super Bowl film.  I’m so Kubler-Ross.

Think this sequence sums it up……

Ready to Break Into Asia

Too Many Units Mopping Up

Go South, Not East!

Instead of East, I should have moved the Panzers South and East, to the Anatolian Plateau, and tank country.  Needed to either quickly eliminate,  or mask,  the by-passed Turks west of Istanbul, and move the bulk of the infantry east  to maintain pressure there.  Too much reliance on speed and luck.

Still, it was way too much fun getting the Turks on the Europa Table, and exploring a might-have-been scenario.  Persia next?  I think there is a Europa Scenario for that…………

Fall Gertrude – Axis Turn 5 Movement and Combat

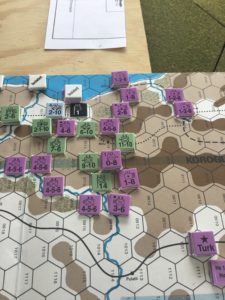
Axis armored units contined to move east into the teeth of the Turk defenses.  Slower moving infantry units moved to the southeast.

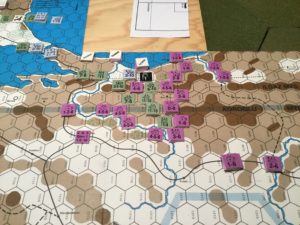
Overall View End Of Axis Movement. Air Units Shown Near GS/DS Hexes

The attack on Hex 0619 was at 49:8, or 6:1, -1 for Rough Terrain.  A “6” was rolled, for a DE result.

Infantry Attacks Hex 0619

The riskier, but necessary armored attack at Hex 0513 was at lower odds, or 4:1.  The Turk mixed fighter unit did abort an He-111 unit, but a roll of “6” makes up for that kind of setback.  This was a DE result.

Armor Advances After Successful Attack On 0513

Fall Gertrude – Tim’s Take

I was looking at your last post on your blog and I thought I would pass along some comments.

  • If the unit in 0119 has a ZOC the German spearhead is out of supply.  Either way, I would move that unit onto hex 0219 to block the rail line.  Can the Turks use any naval supply?  There is a port in 0219.
  • I would move the 3rd Infantry Division from hex 0617 to hex 0417.  Occupying that hex cuts the supply to the German spearhead.  Since it is a mountain hex behind a river, it will be a tough nut to crack.  Hex 0417 is a pretty important one.  It has good defensive terrain and divisions there have ZOCs which will make it tough to move though the chokepoint in hex 0418.
  • I would think about throwing somebody into hex 0418, just to make it harder to attack 0417.
  • I would move the Fifth infantry XX into hex 0517.  This will support hex 0417 by making it harder to redeploy German units to attack it.
  • I would move the 20th Infantry XX into 0615 or pull it back across the river into 0717.  The former move puts more German units in enemy ZOCs and might make it more difficult to attack 0417.  The latter puts it in a better defensive position.
  • From an operational POV, I would have attacked along the railroad towards 0816.  You’re going to need that RR to supply any deep thrust into anatolia and the terrain is more open, which helps your armor.  It also would have the benefit of making the Turks come to you if they are going to cut your supply line.  I would have grabbed 0417, but left the rest of any attacking force on the west bank of the Sakarya (is that the new name for the Meander?).  Once hex 0417 is occupied, any prospective counterattack on your supply line would be across a river and coming from either rough or clear terrain (and would be vulnerable to counterattacks).
  • Do you have any engineers with the spearhead that could build temp airfields?  I always forget to use them, but they can be really handy supporting a rapid advance.


Fall Gertrude – Turkish Movement Phase Turn 4

The reinforcements delayed during Turn 3, now appear on the battlefield, providing desperately needed support to the Turk MLR, allowing for some defense in depth.

The  fighting has moved far enough east that many of the best Axis air assets are either out of range, or have to stage up to reach the battlefield, and return to Istanbul’s overcrowded airfields.

This will be a difficult turn for the Axis, as Fall and possible bad weather is approaching.

Fall Gertrude – Axis Combat And Exploitation Phase Turn 4

Axis forces continued to move aggressively towards Ankara via the narrow valley  just north and west of the capital.  In addition, the SS Corps drove south in an attempt to flank the main Turk defenses.

The main effort was against Hex 0414.  The basic odds were 41:8 with a -1 for rough terrain, and a +3 for AECA.  Turkish A-19 and H-111 squadrons flew DS, but were countered by Luftwaffe assets staging up through Istanbul.  The final odds were 5-1, +2.  The die roll was a 2, modified to a 4, for a DH result.  The surviving Turkish units retreated one hex.

The SS attack fared eaven worse.  Despite 6:1 odds with a +1 modifier, a 1 was rolled, for a DR result.  Ugh!

Rather than continue blasting away in the south, the SS corps exploited back northeast to assist in the now tenuous main effort.

Turkish Forces At 0414 Have Retreated To 0514. Axis Forces Will Occupy Vacated Hex. SS Corps Has Already Occupied Hex 0520 Vacated by Turkish Division.


End Axis Exploitation

Fall Gertrude – Axis Turn 3 Combat and Exploit

Two attacks for the turn.

The first was against Hex 0315, Duzce.

Initial odds were 19:8, +3 for AECA.  Threw a lot of air at the hex in order to increase the odds to 5:1.  The Turks came up to fight, and attempted to bypass the two escorts.  The P-40 was shot down on a roll of 2 (!).  The Mixed Fighter unit got through, but could not shoot down the targeted Stuka unit.  Turkish flak was ineffective.  The combat die roll of 2, was modified to 5, for a DE result.

Here’s the air matchup.  Note that only six air units were eligible for the mission (one per RE), not the eight shown.

Illustrating My Mistake Using Sophisticated Photo Editing Skills

The second attack was against Hex 4625.  The odds were 5:1 (with some help from a single Axis air unit), with a -2 for wooded rough terrain, and -1 for the defending armor cadre’s AECD.  The die roll of 6 was modified to 3, for a DR result and a ZOC kill.

The Axis pushed up through the Turk defenses during the Exploitation Phase.