Monthly Archives: June 2024

Modeling Realities

Proceeding with the DH-2 kit, and it is turning into the same old story.

In the beginning it all seems so easy.  Read the instructions, snip the pieces off the sprues, remove flash,  and start assembling the kit.  It’s so easy to imagine the  process proceeding smoothly.

Then, pieces go astray, glue goes where it shouldn’t,  and what you thought attached to one piece should really go somewhere else.

Not that I’m making things easier by trying to do some “basic” rigging with 3.5 pound test monofilament leader, hole drilling, and super glue.   Infinite possibilities for foul-ups.

Taking a short break before girding up my loins to attach the top wing (with monofilament glued in) and thread the lines through the bottom wing.

I need to zen my way through it.

Never Know

Having fun with Advanced Squad Leader Starter Kit (ASLSK).  Time spent studying rules was time well spent, as game flow is much smoother, with fewer breaks for references.

The game’s ebb and flow would drive me crazy if I was playing an opponent.  However, it is really entertaining when playing solitaire.

An example from “88’s At Zorn” (S12), last German turn, with US having one turn after that.  To win, US has to exit at leasts 3 squads and one leader from hexes due south of their current positions in the lower right hand corner of the photo.

The Germans appear to be in good shape since they can finally bring one of their 88’s to bear (BTW, good fields of fire for the 88’s are limited, so they can only cover a part  of an avenue of approach).  But, what happened during their Prep Fire?  I rolled a “12”, weapon malfunction!  With that, and a US win in the melee, game over!  The US is able to exit the needed number of units from the map without any opportunity fire.

Now I’m all fired up to play another game.  But, another round of “Zorn”?  I did botch the rules for the first half of the game.  I somehow decided stone buildings were two-levels, completely changing lines of sight (LOS) and several fire combats. It would be interesting to find out if this gaffe really made a difference.

Or, another one-mapper.  I prefer the smaller scenarios, especially when ramping back up on the rules.  I also enjoy playing only one or two moves a session.  More than that and I start suffering from brain-strain.  Speaking of brain-strain……am I ready to dip into the AFV madness of ASLSK #3?  Gently, gently, gently……

Back Home

It’s Summer!

Not the best time to wargame.  Too much fun to be had outdoors.  But,  you can’t spend all of your time outside.  So, a couple of lightweight endeavours for the next couple of months.

The Irregular Wars campaign is on hold, and the “Small Table” is now set up for Advanced Squad Leader Starter Kit (ASLSK) scenarios.  My philosophy with ASLSK is that one has to keep playing it or lose all rules chops.  There is enough rulebook referencing when conversant, so a prolonged absence can make things painfull.  I’m going to take it easy and cherry-pick one-mappers, and maybe maintain momentum into the Fall.

While  figure purchases are on  indefinite hold,  but  I have the itch to build something, I dug up an aircraft model to use in my Red Actions game.  To do it right I need to learn how to “rig up” a biplane.  Things could get frustrating, but what the hell…….

Almost

Was going to title this post “Abject Failure”, but decided that was a little harsh and I need to cling to some shreds of self-respect.

I didn’t finish the game.  In fact, I couldn’t even finish the Central Powers’ turn.  I just had to role for the attacks.  I could use guests as an excuse, but it was probably  the prospect of failure, as the outcomes were grim, and I was hoping for an (more fun) ahistorical outcome.

Here’s where I’m at.

Despite my malingering, I am intrigued by this game.  Lots of options for the Central Powers.

The intriguing peripheral strategy is constrained by a limited ability to move reinforcements to Salonika much less the Middle East.  Yes,  Allied resources can be diverted from the Western Front, but the chances for the Central Powers to force game altering outcomes outside of the West seem very limited.

Maybe their chances are improved using the optional East Front rules, creating additional victory point possibilities, or by playing the 1919 scenario, putting the onus on the Allies to conduct attacks, with the possibility of losing victory points due to losses, and allowing additional time to develop strategies in the east.

Well, to be continued (sure, easy to say) in September when I return to the Sunfish Capital of the World.

The Kaiser’s War – Allies Turn 2 and Central Powers Turn 3

The Allies added three (3) Italian and one (1) US Army during their mobilization phase.  The Italians will arrive at the beginning of Turn 3, with the US Army not arriving until Turn 4.

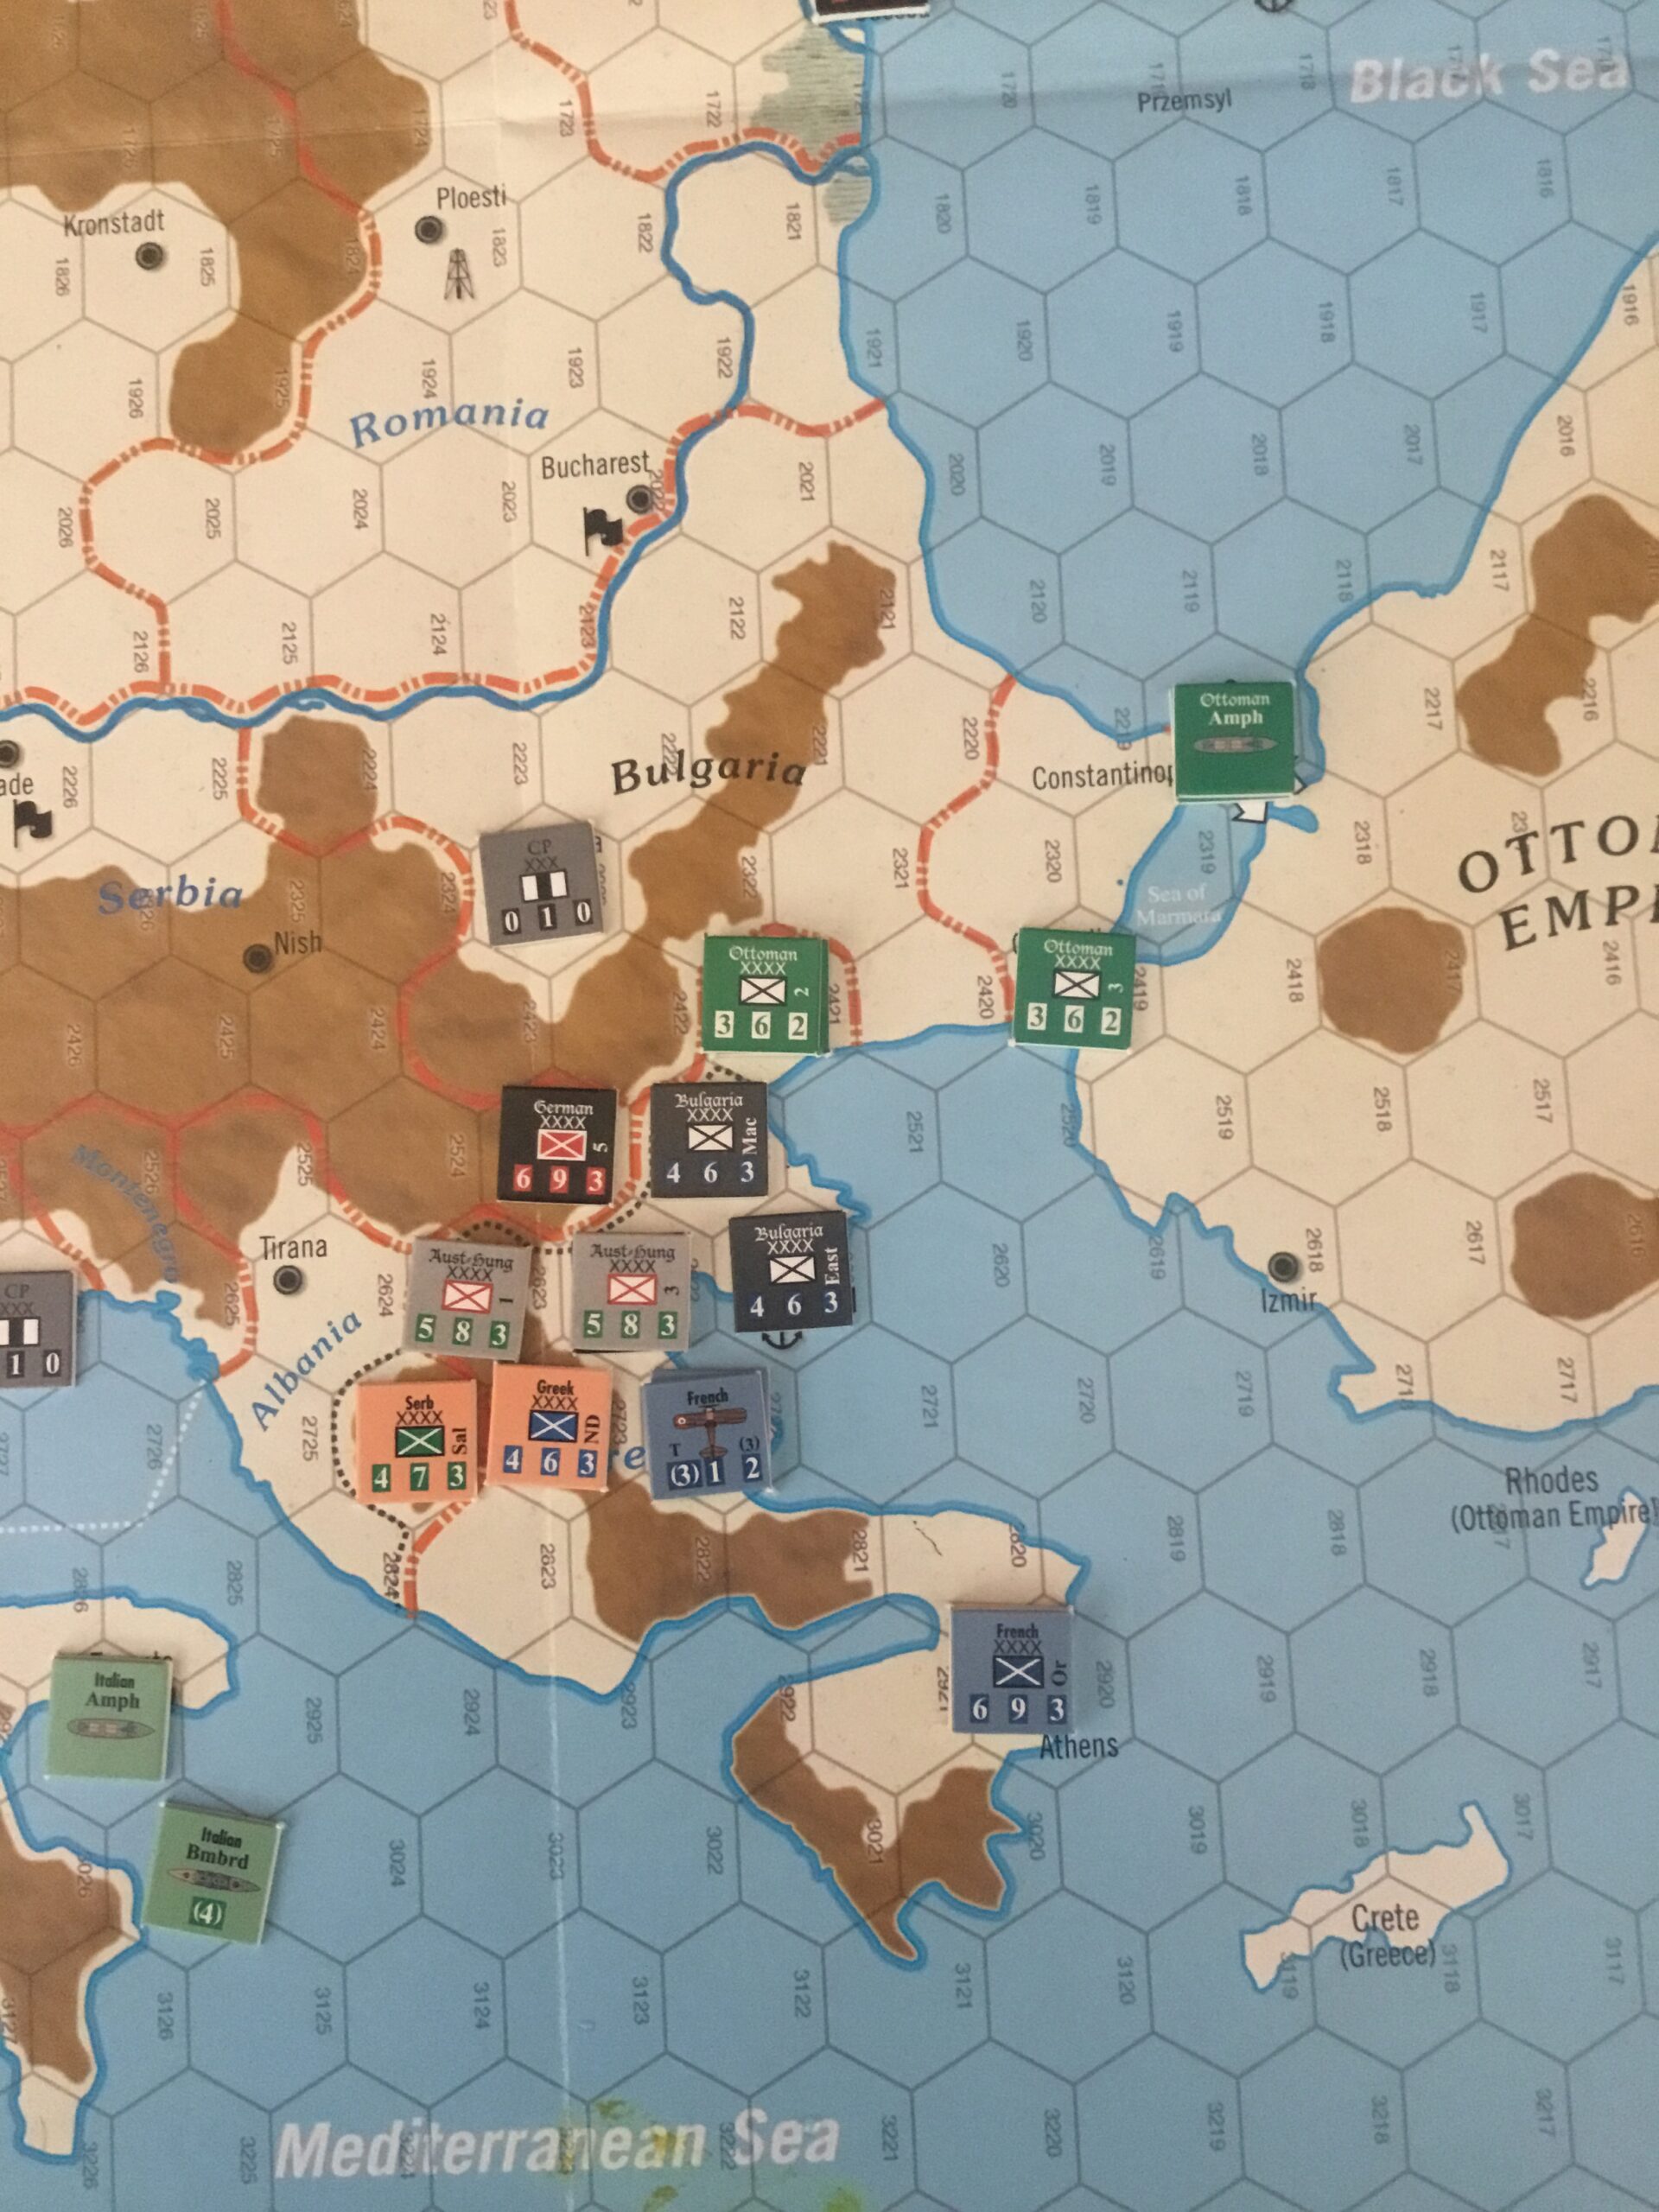
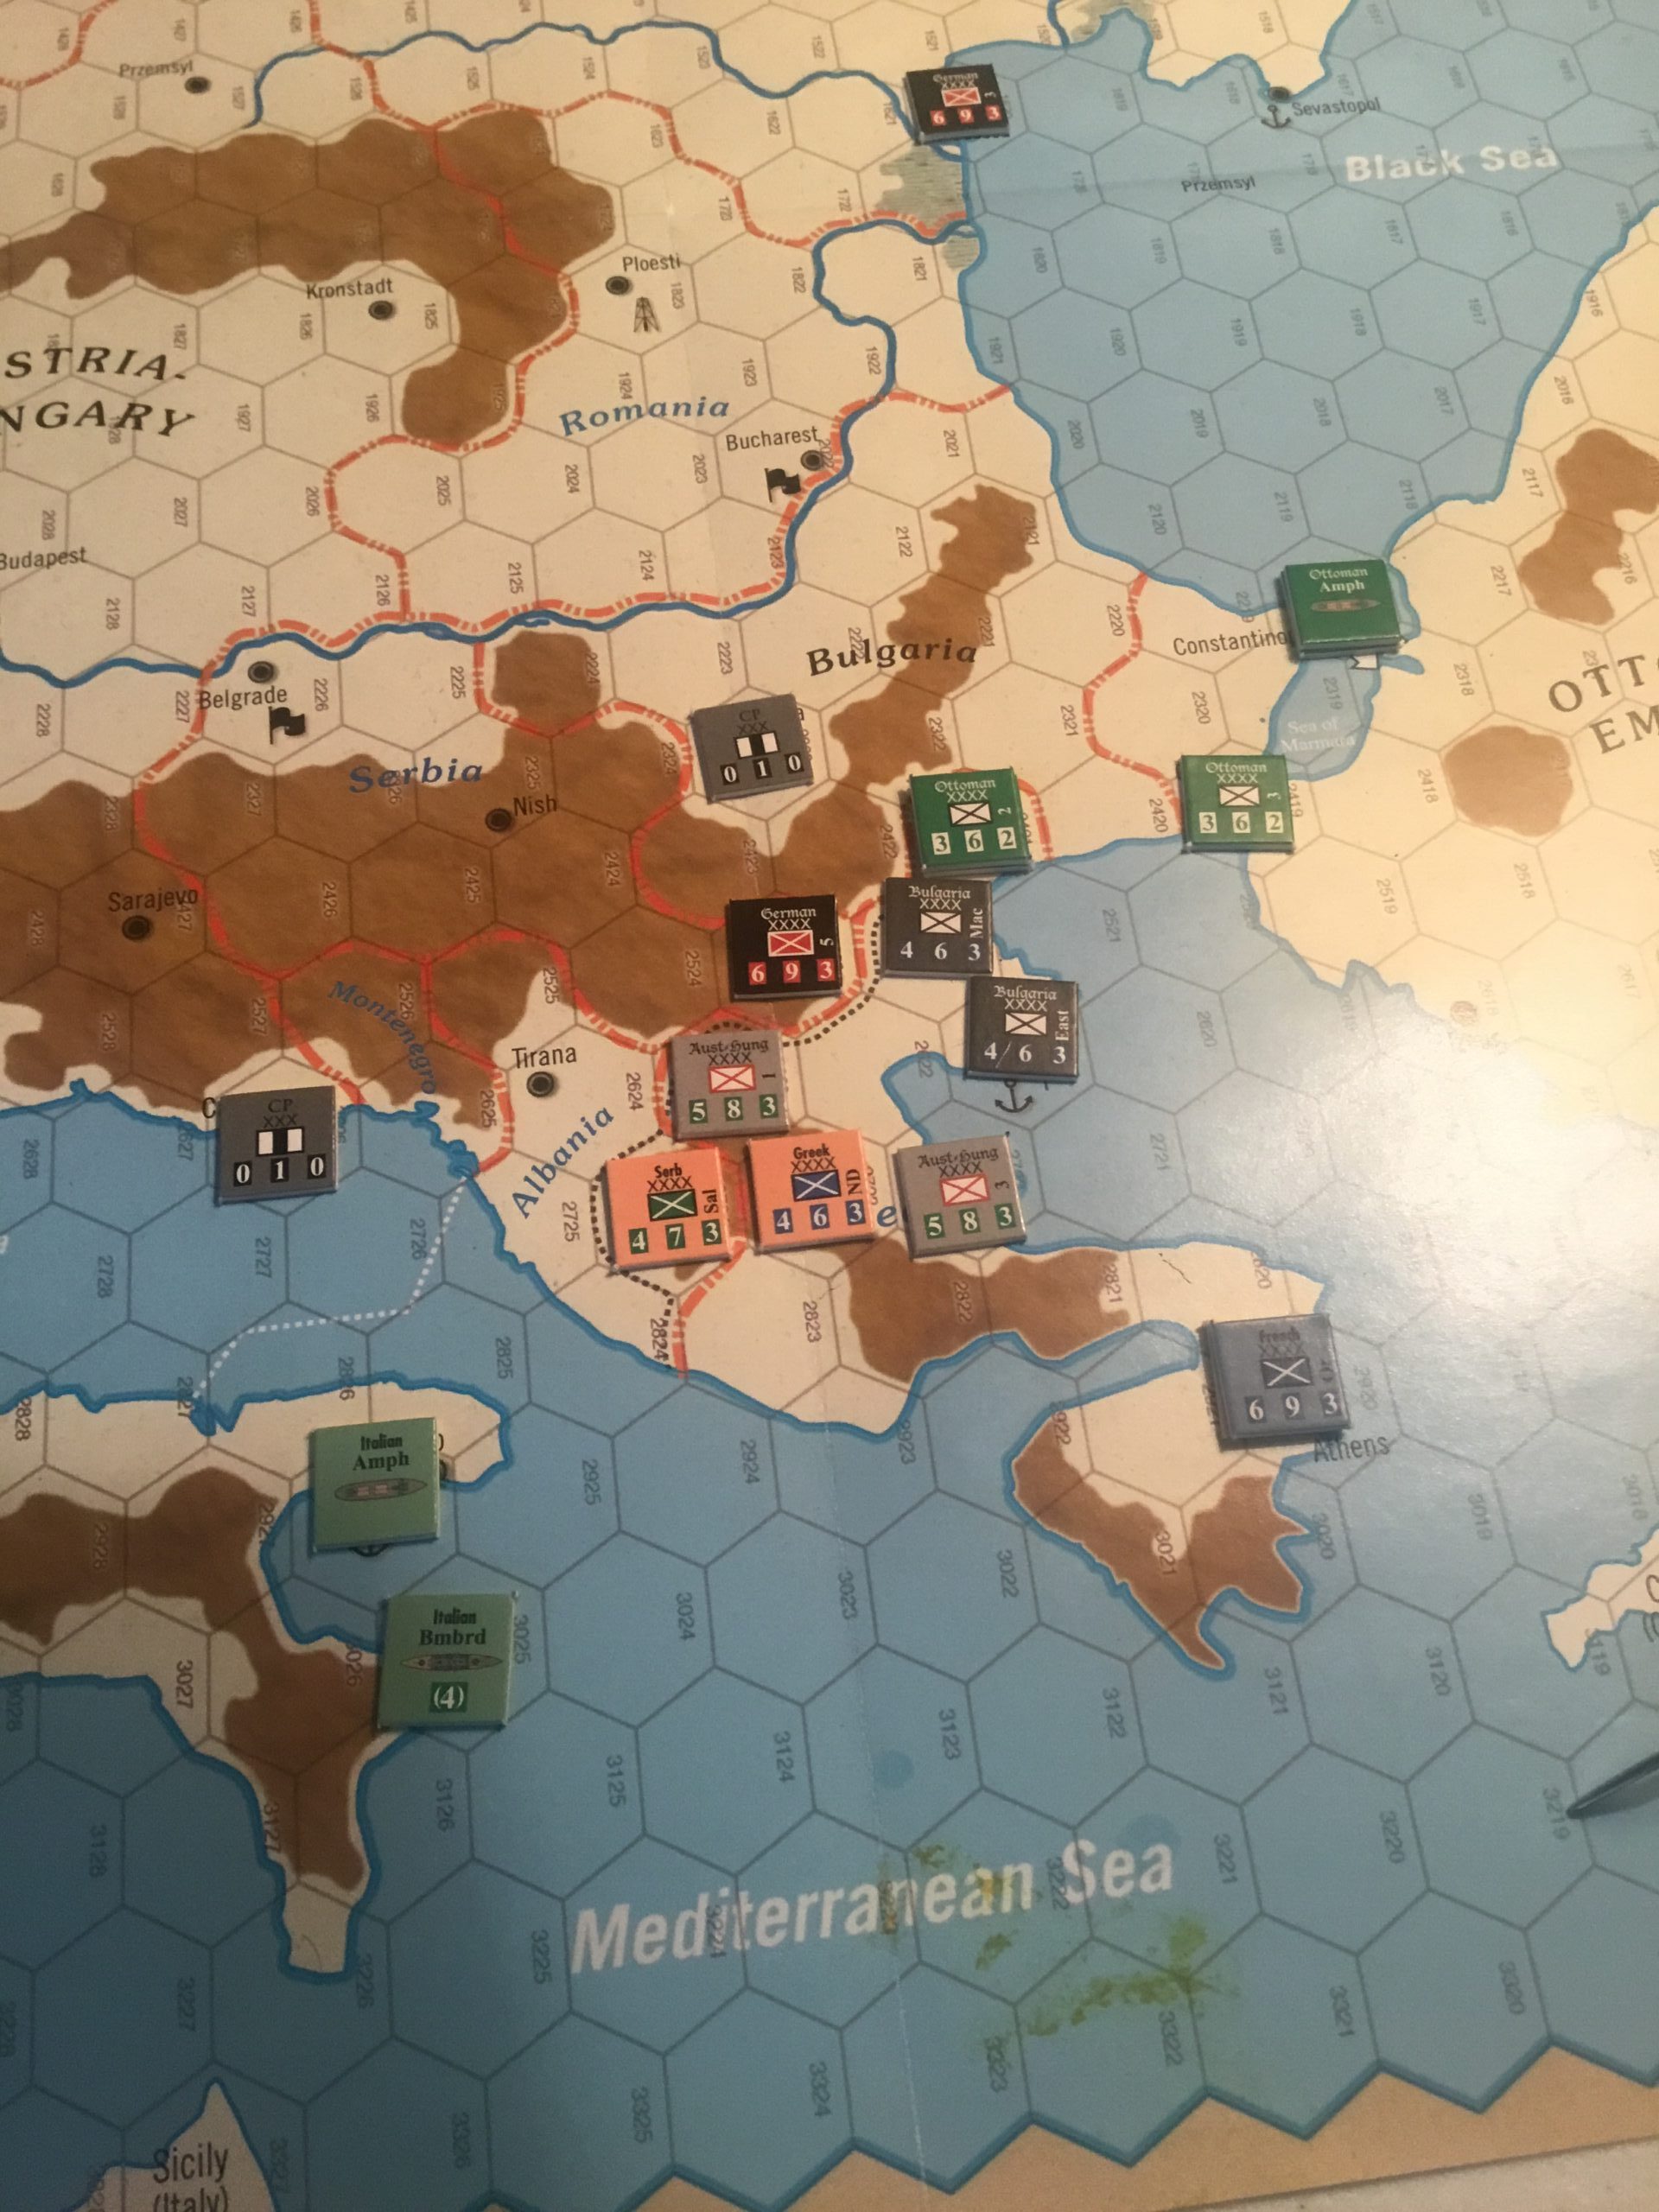
Arriving Allied units were fed into gaps on the Western Front and Italy.  A French army sailed to and arrived in Salonika. The Allies did not mount any attacks, content to remain on the defensive this turn.

At the end of the turn, the Victory Point count was Central Powers @ 132 and Allies @ 60.  This would be a significant Allied victory if the game ended.

The calculation of victory points is a little different.  Each country has a basic victory point production of 43 points.  I had to figure that out myself.  These points are for Major Capitals, Resource Centers and Political Cities occupied at the beginning of the game.  My understanding is that these points (+/- points for enemy capitals, resources, political cities taken) are added at the beginning of the turn to the net victory points calculated at the end of the preceeding turn.

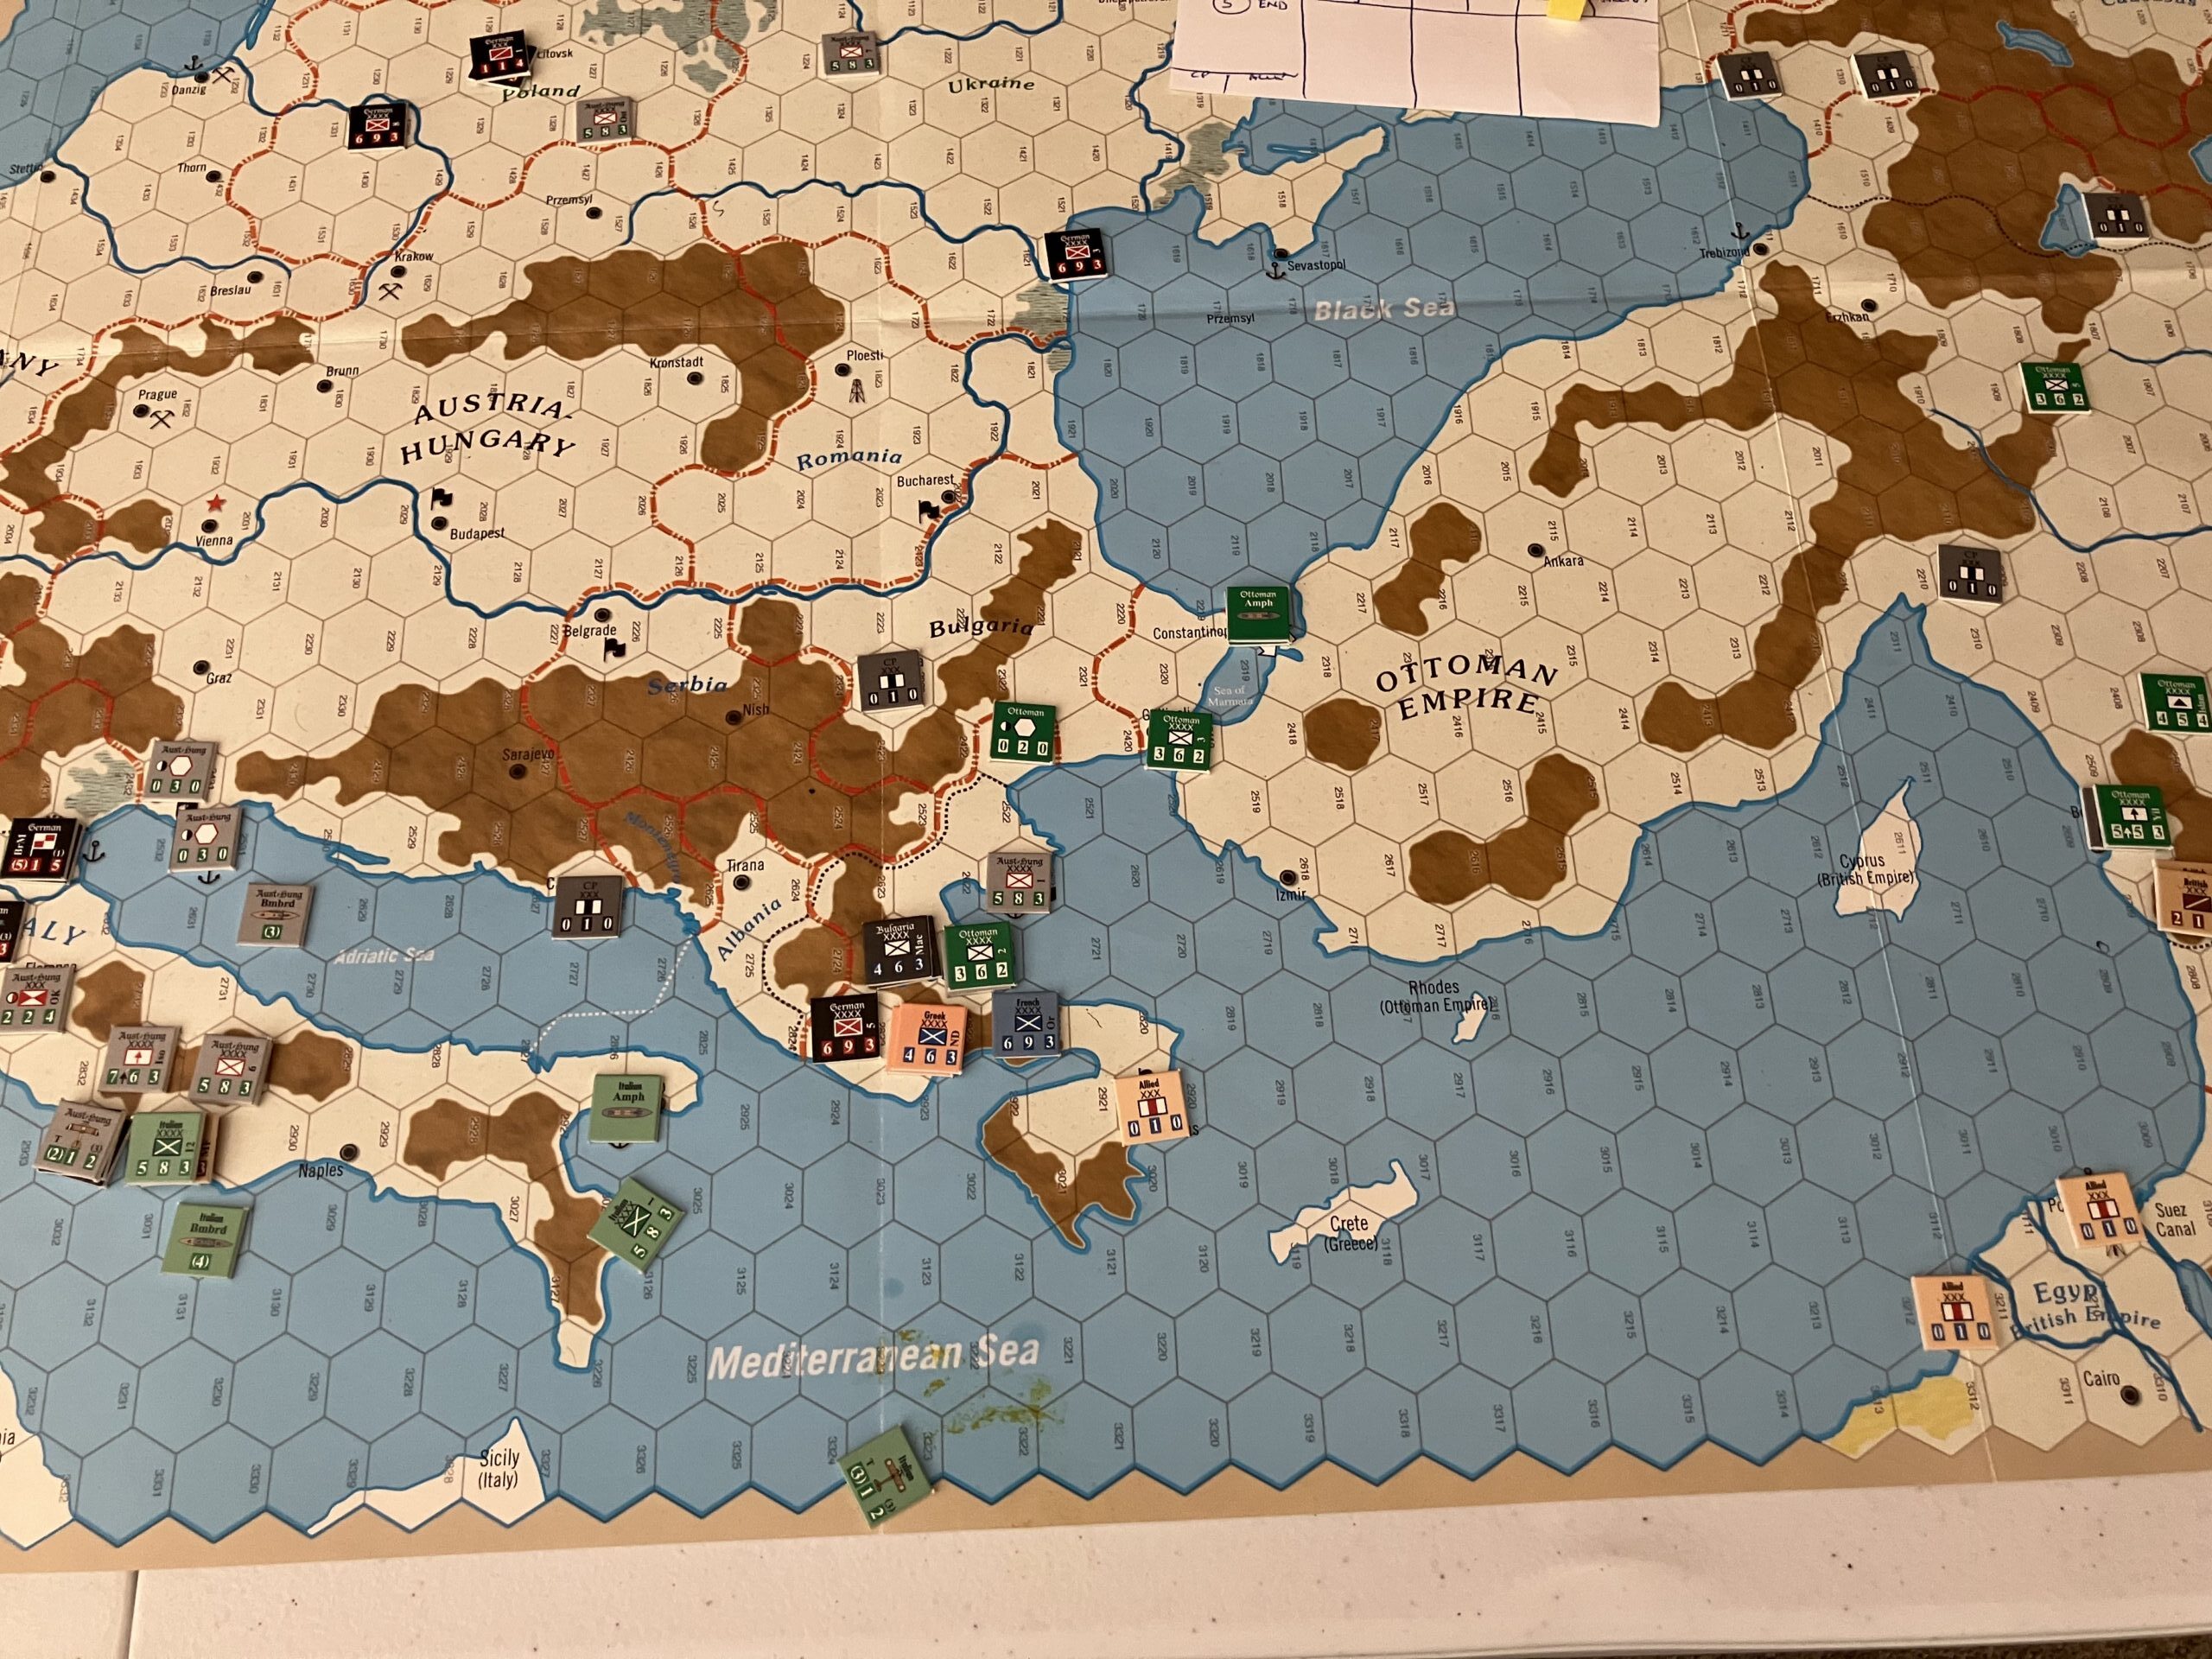
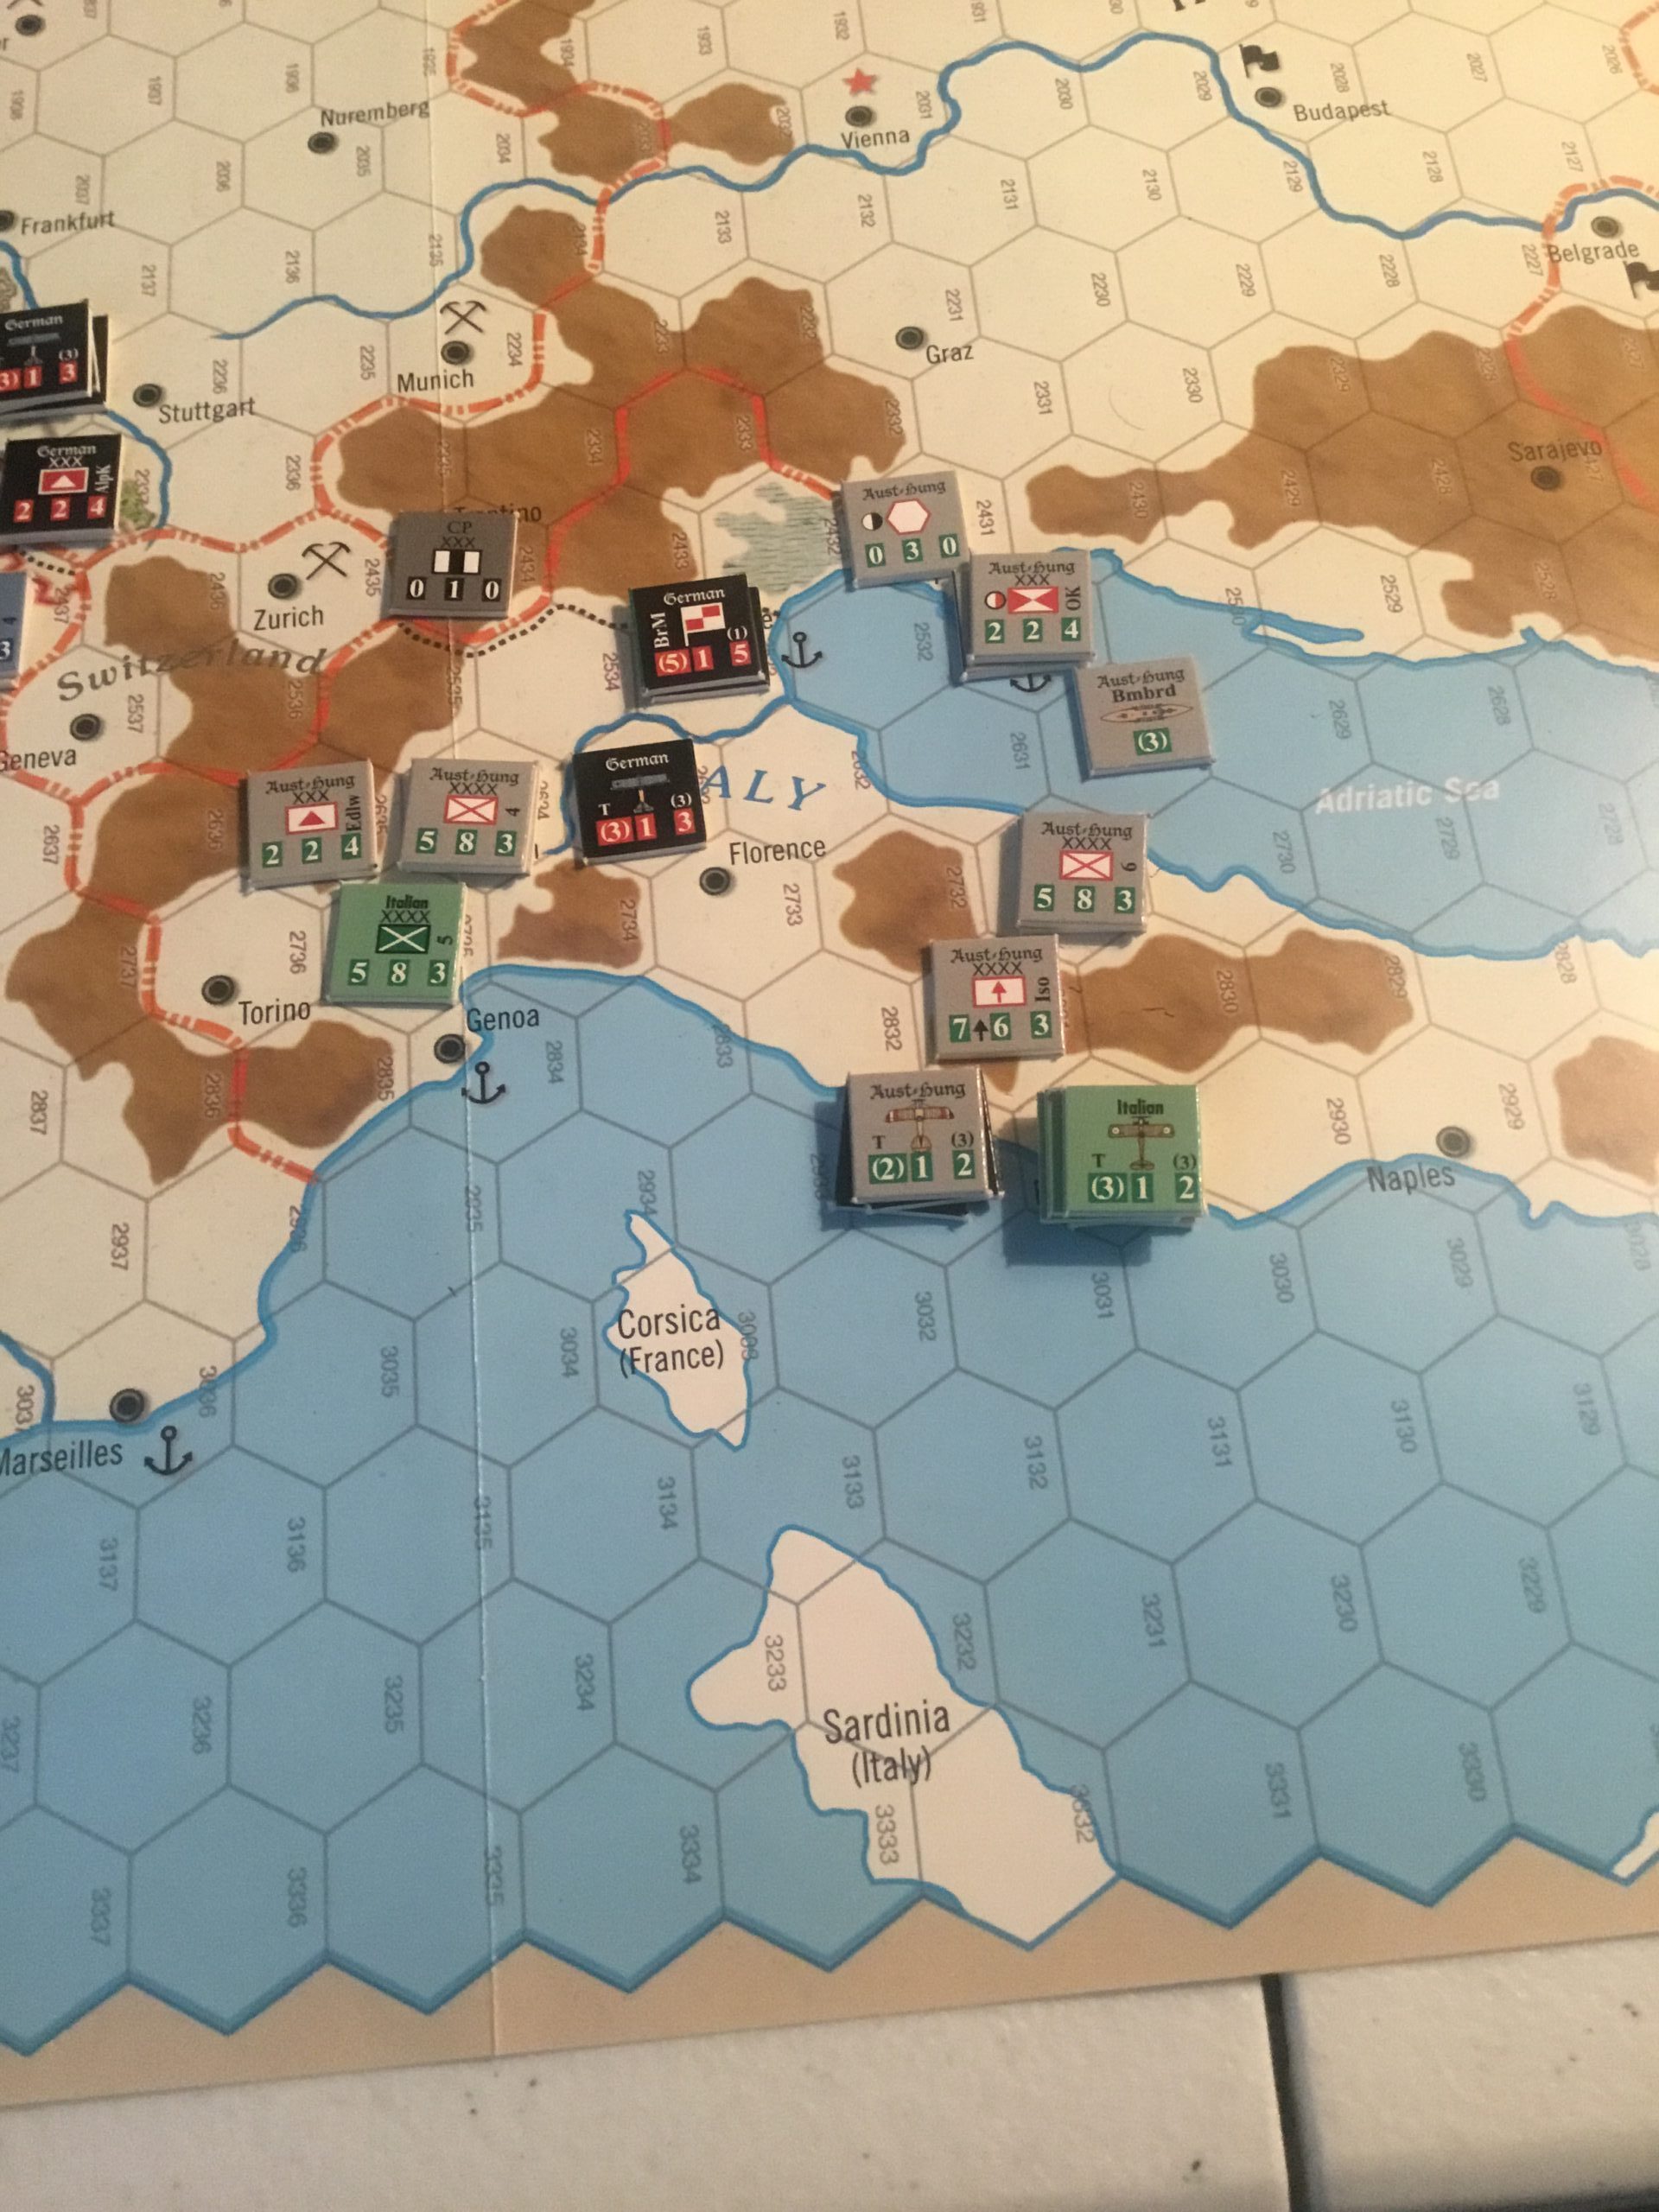
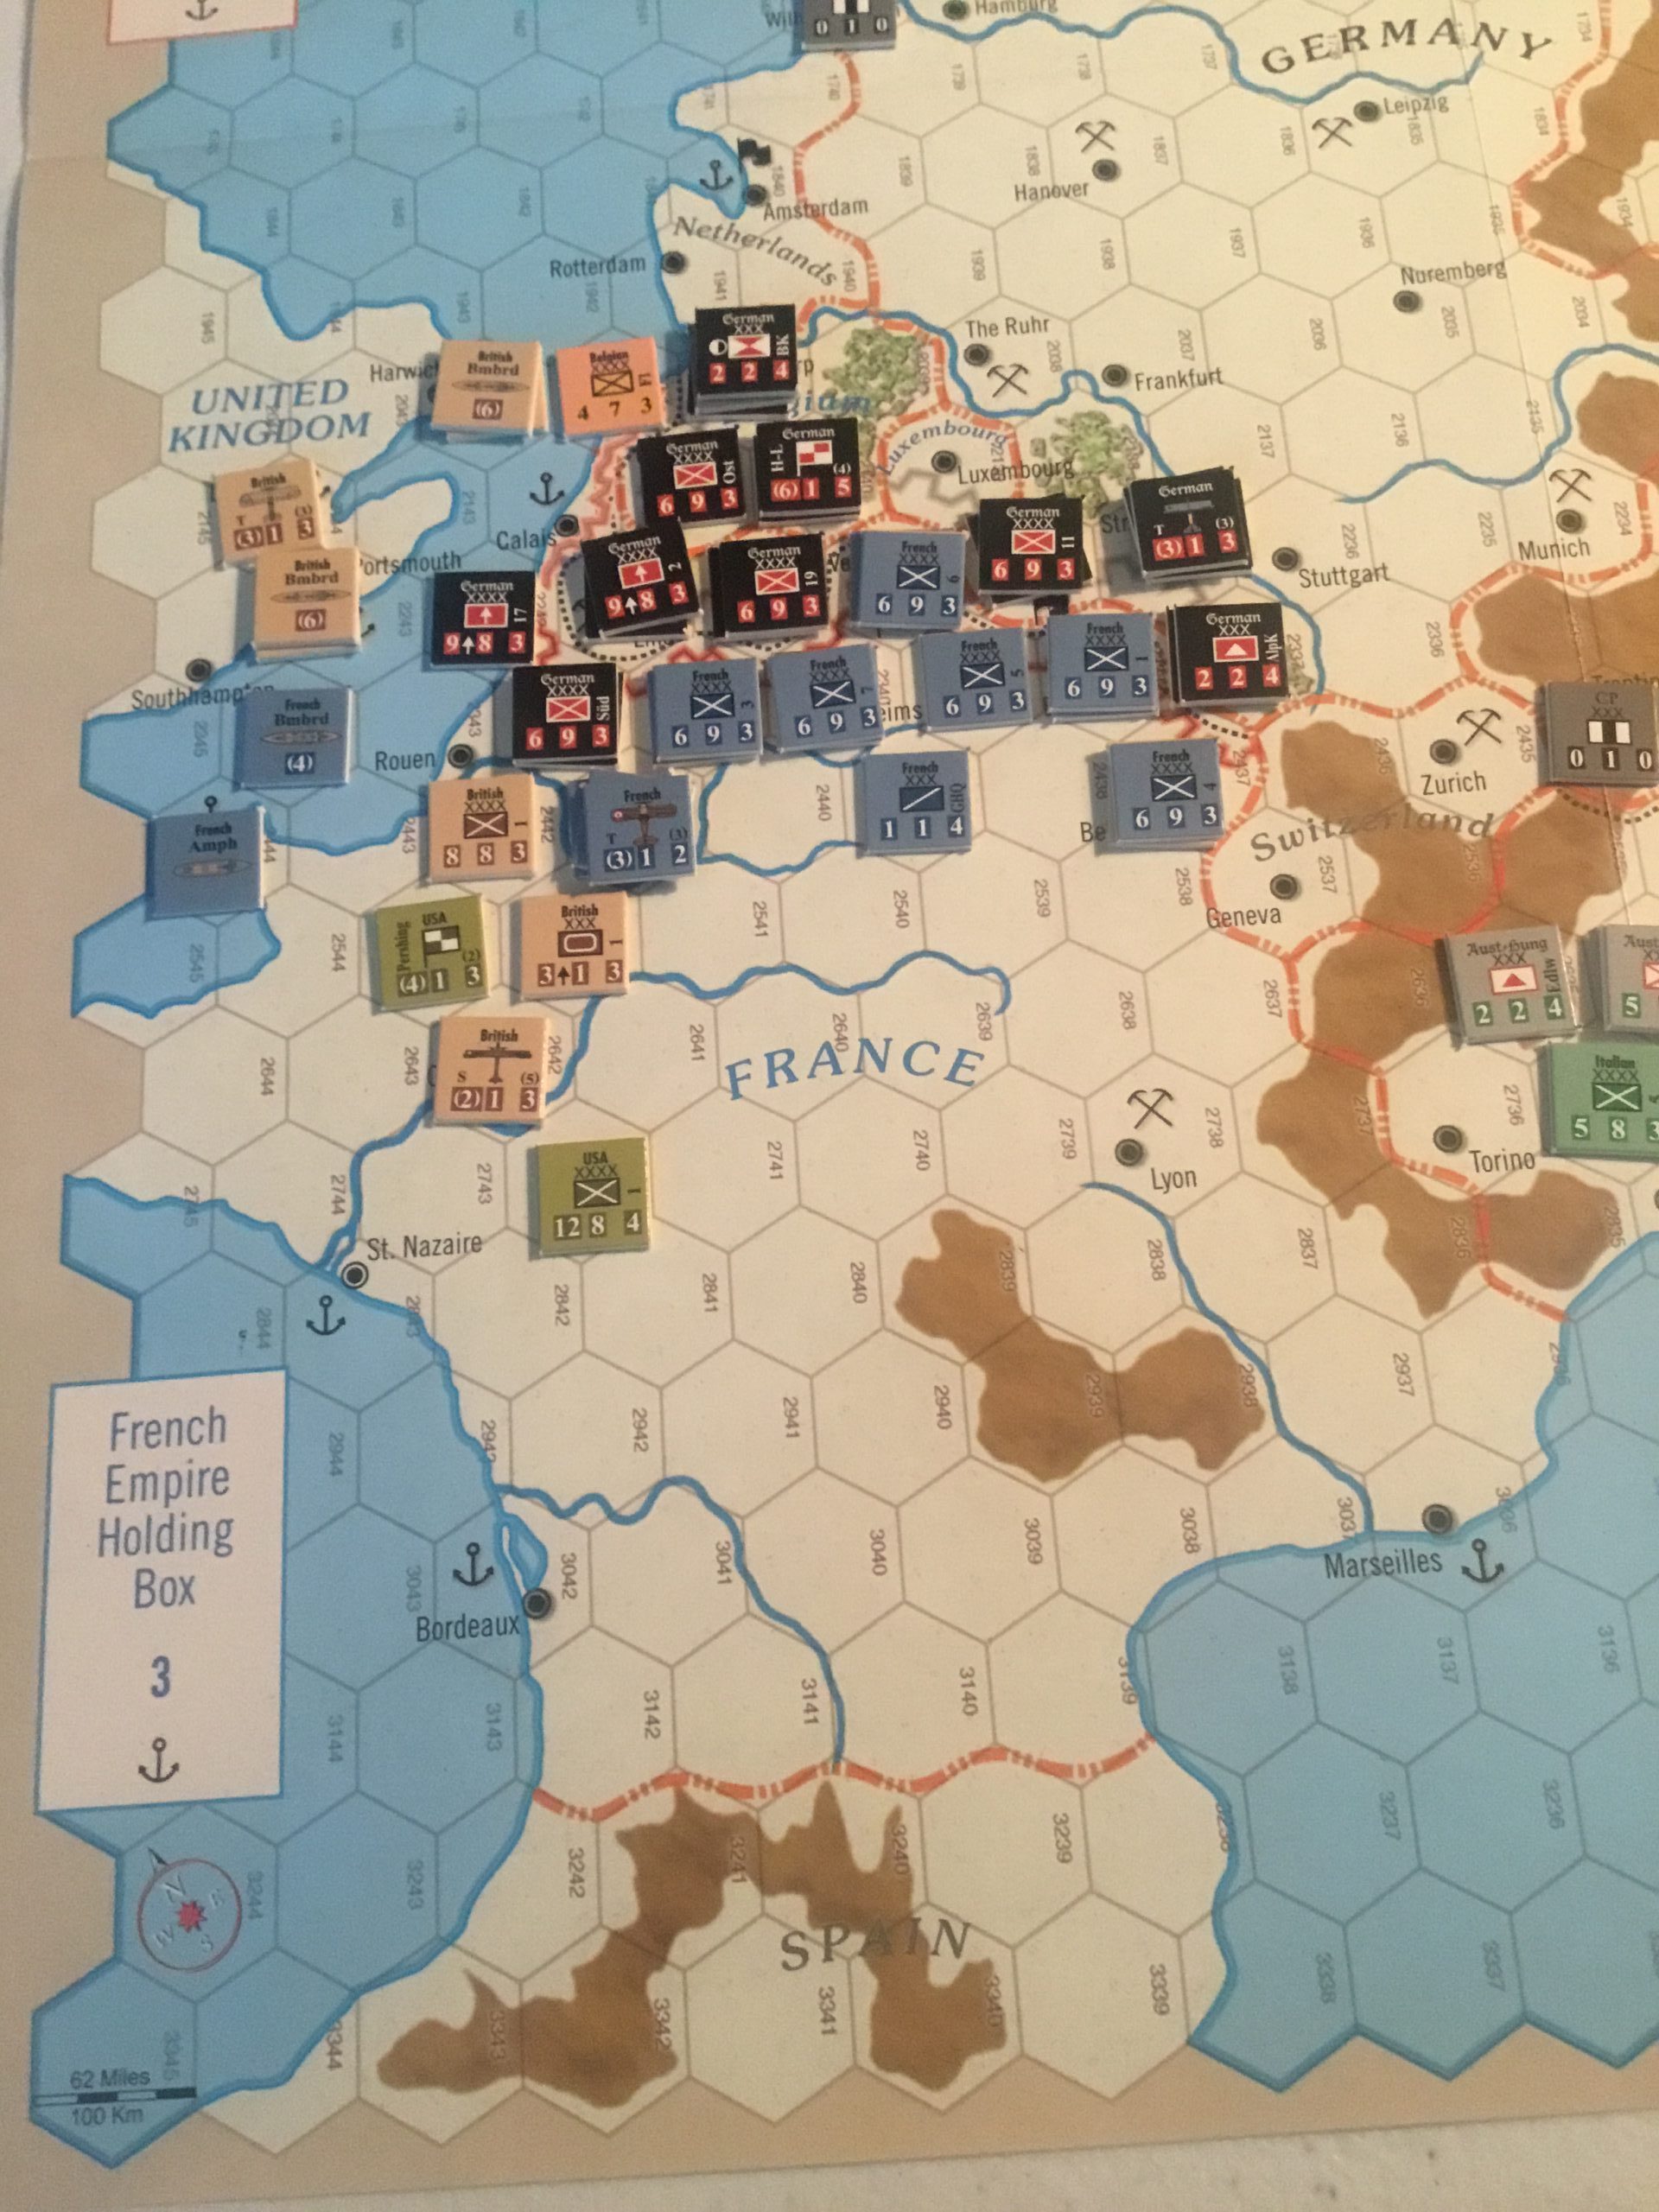
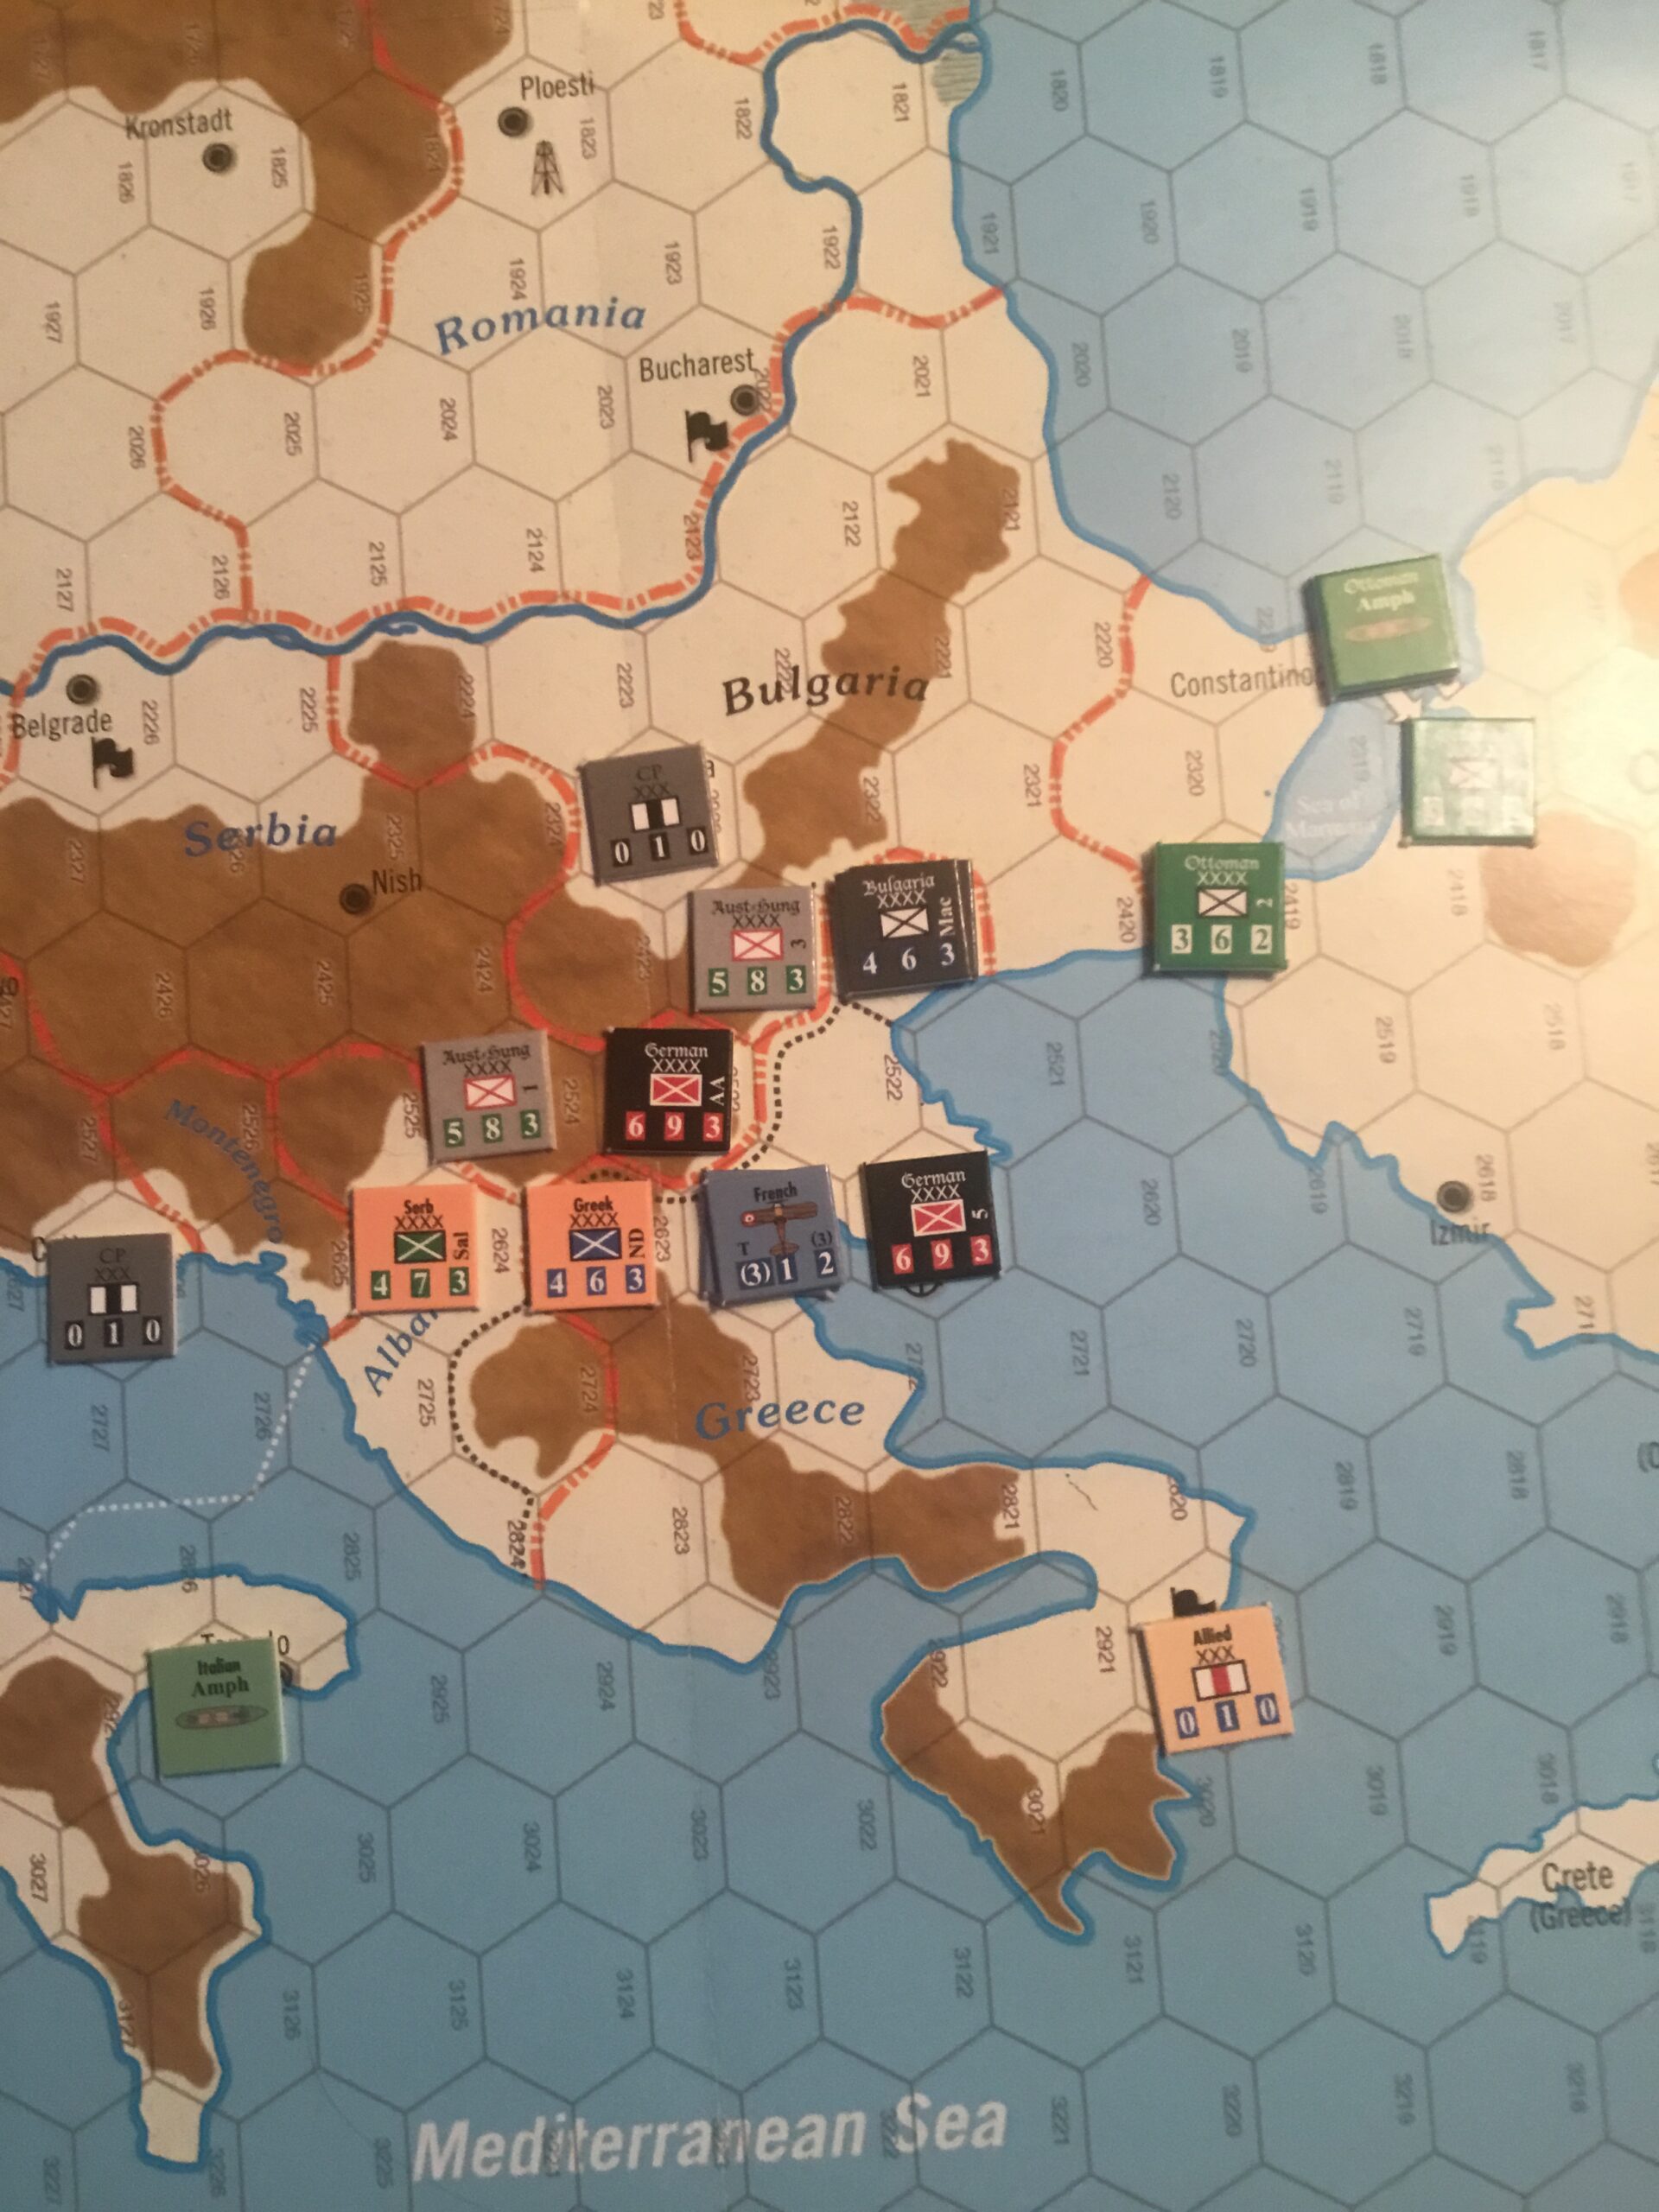
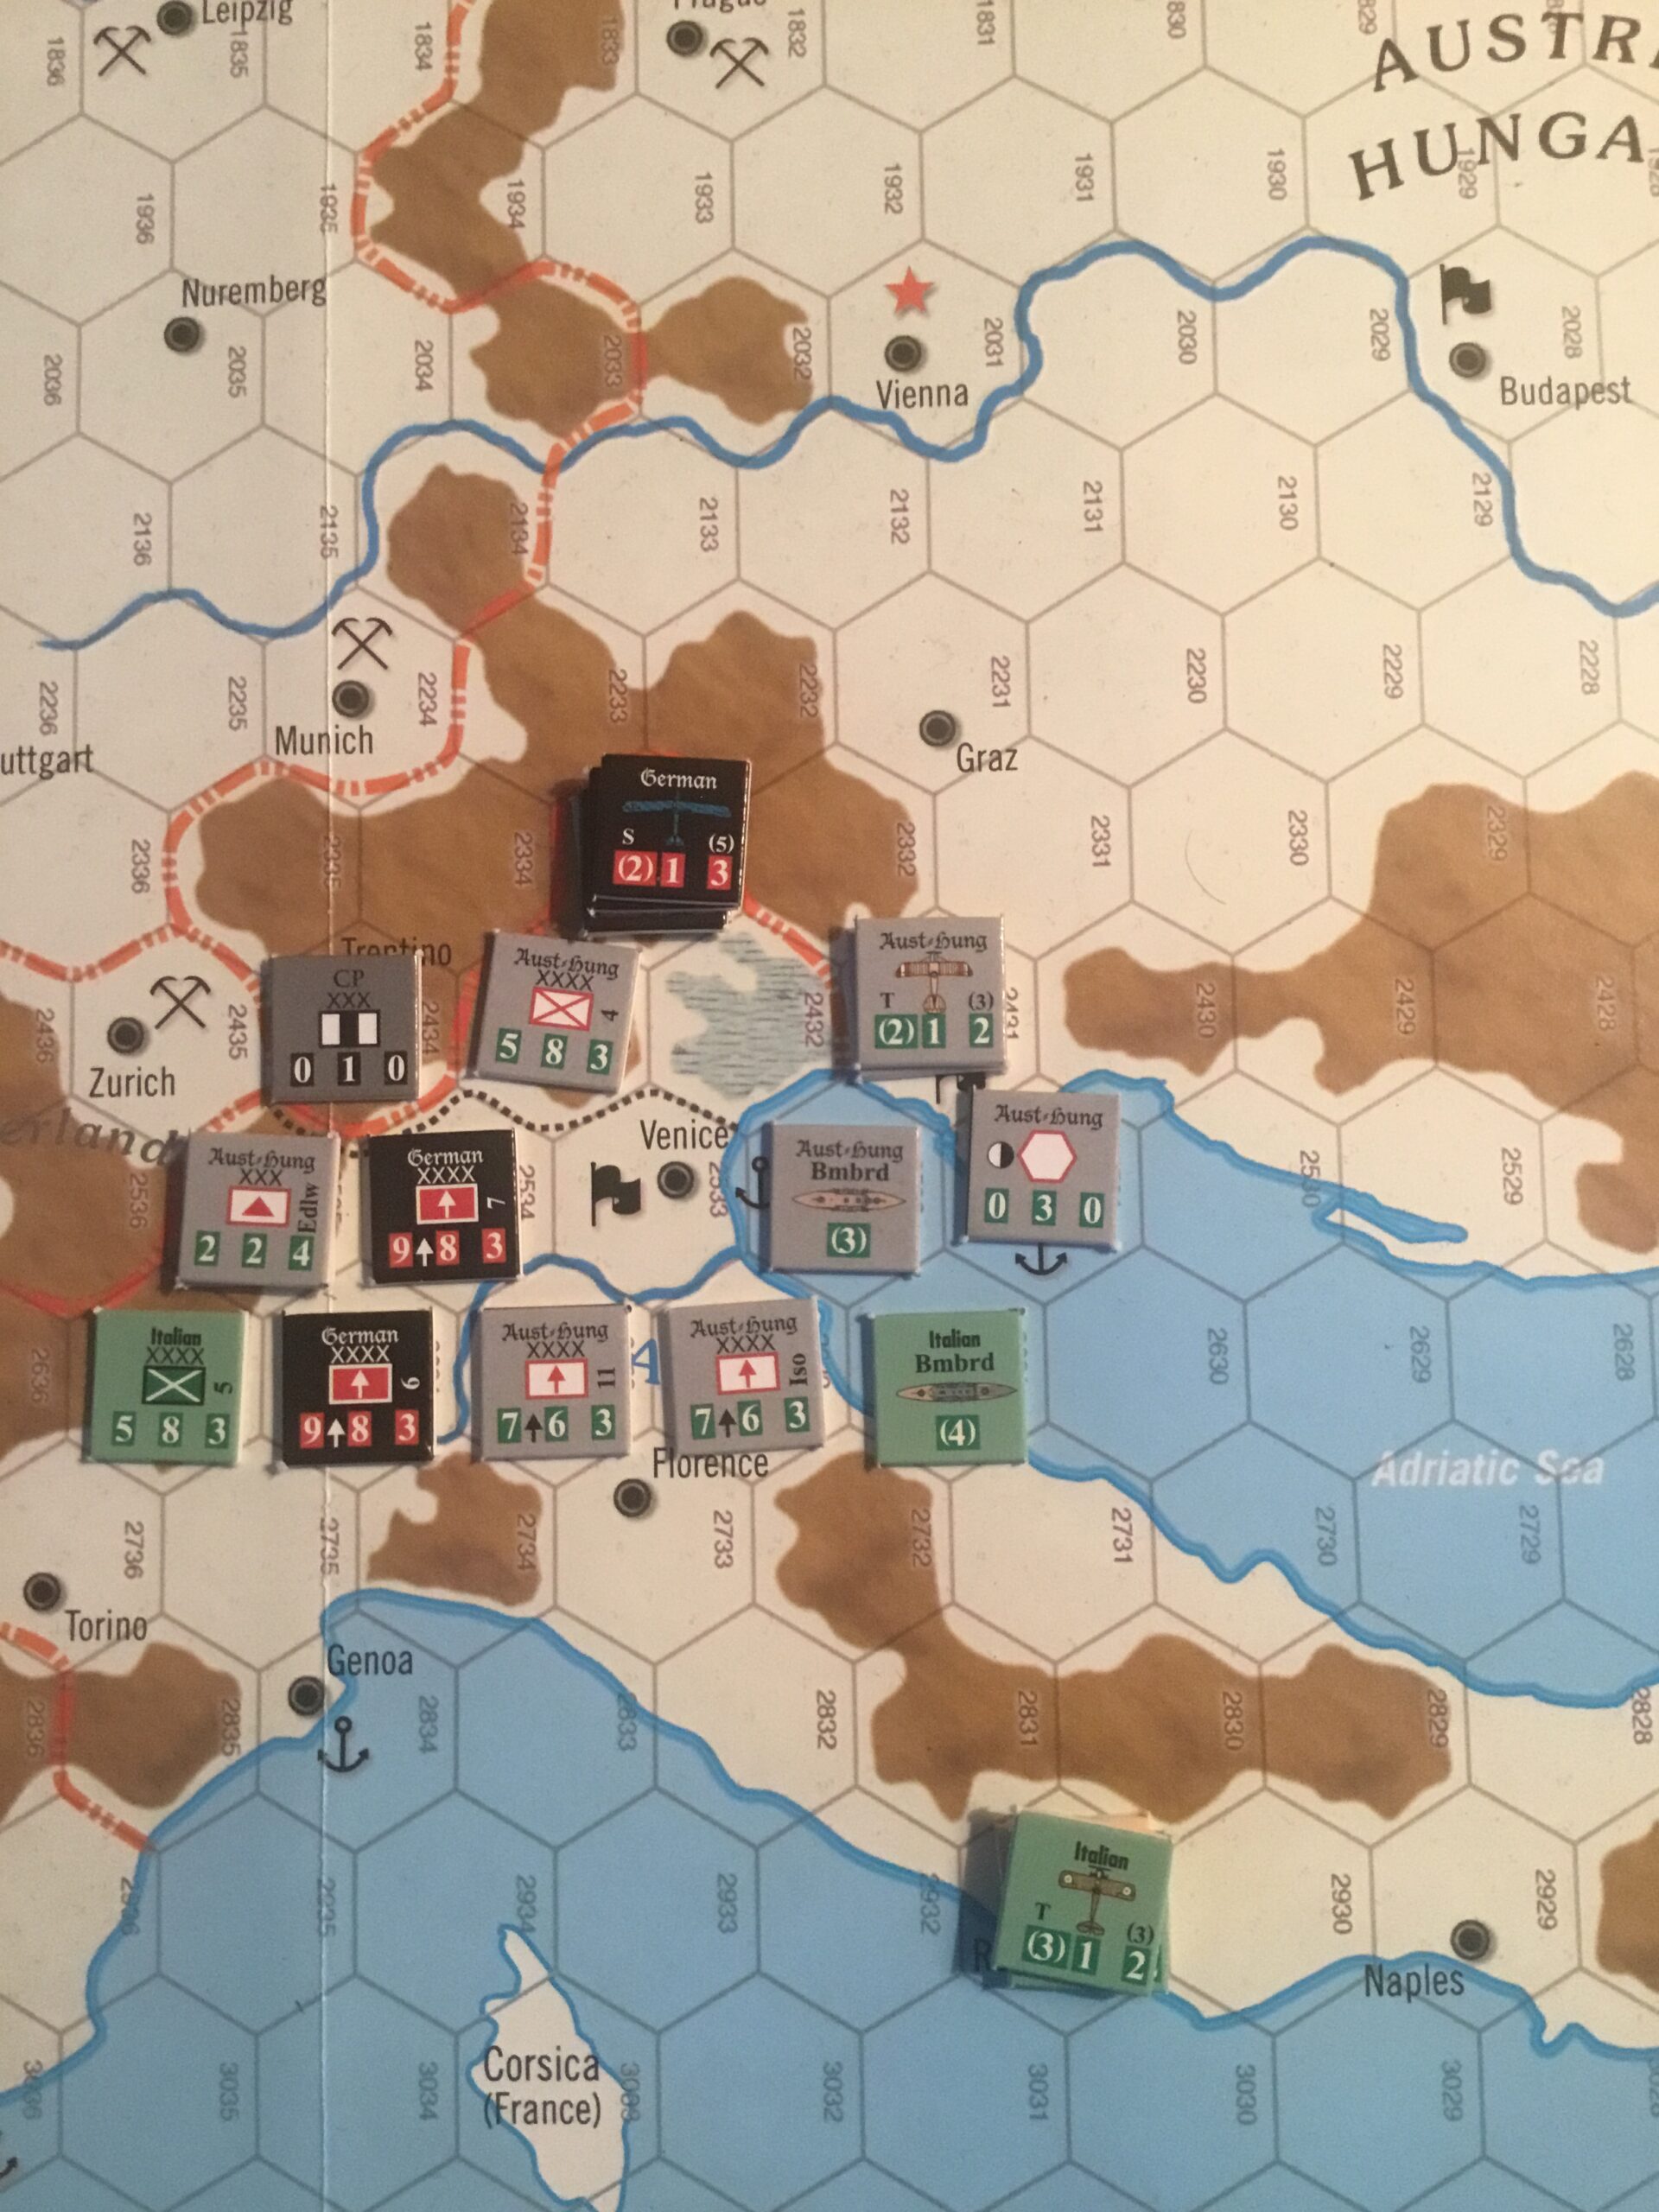
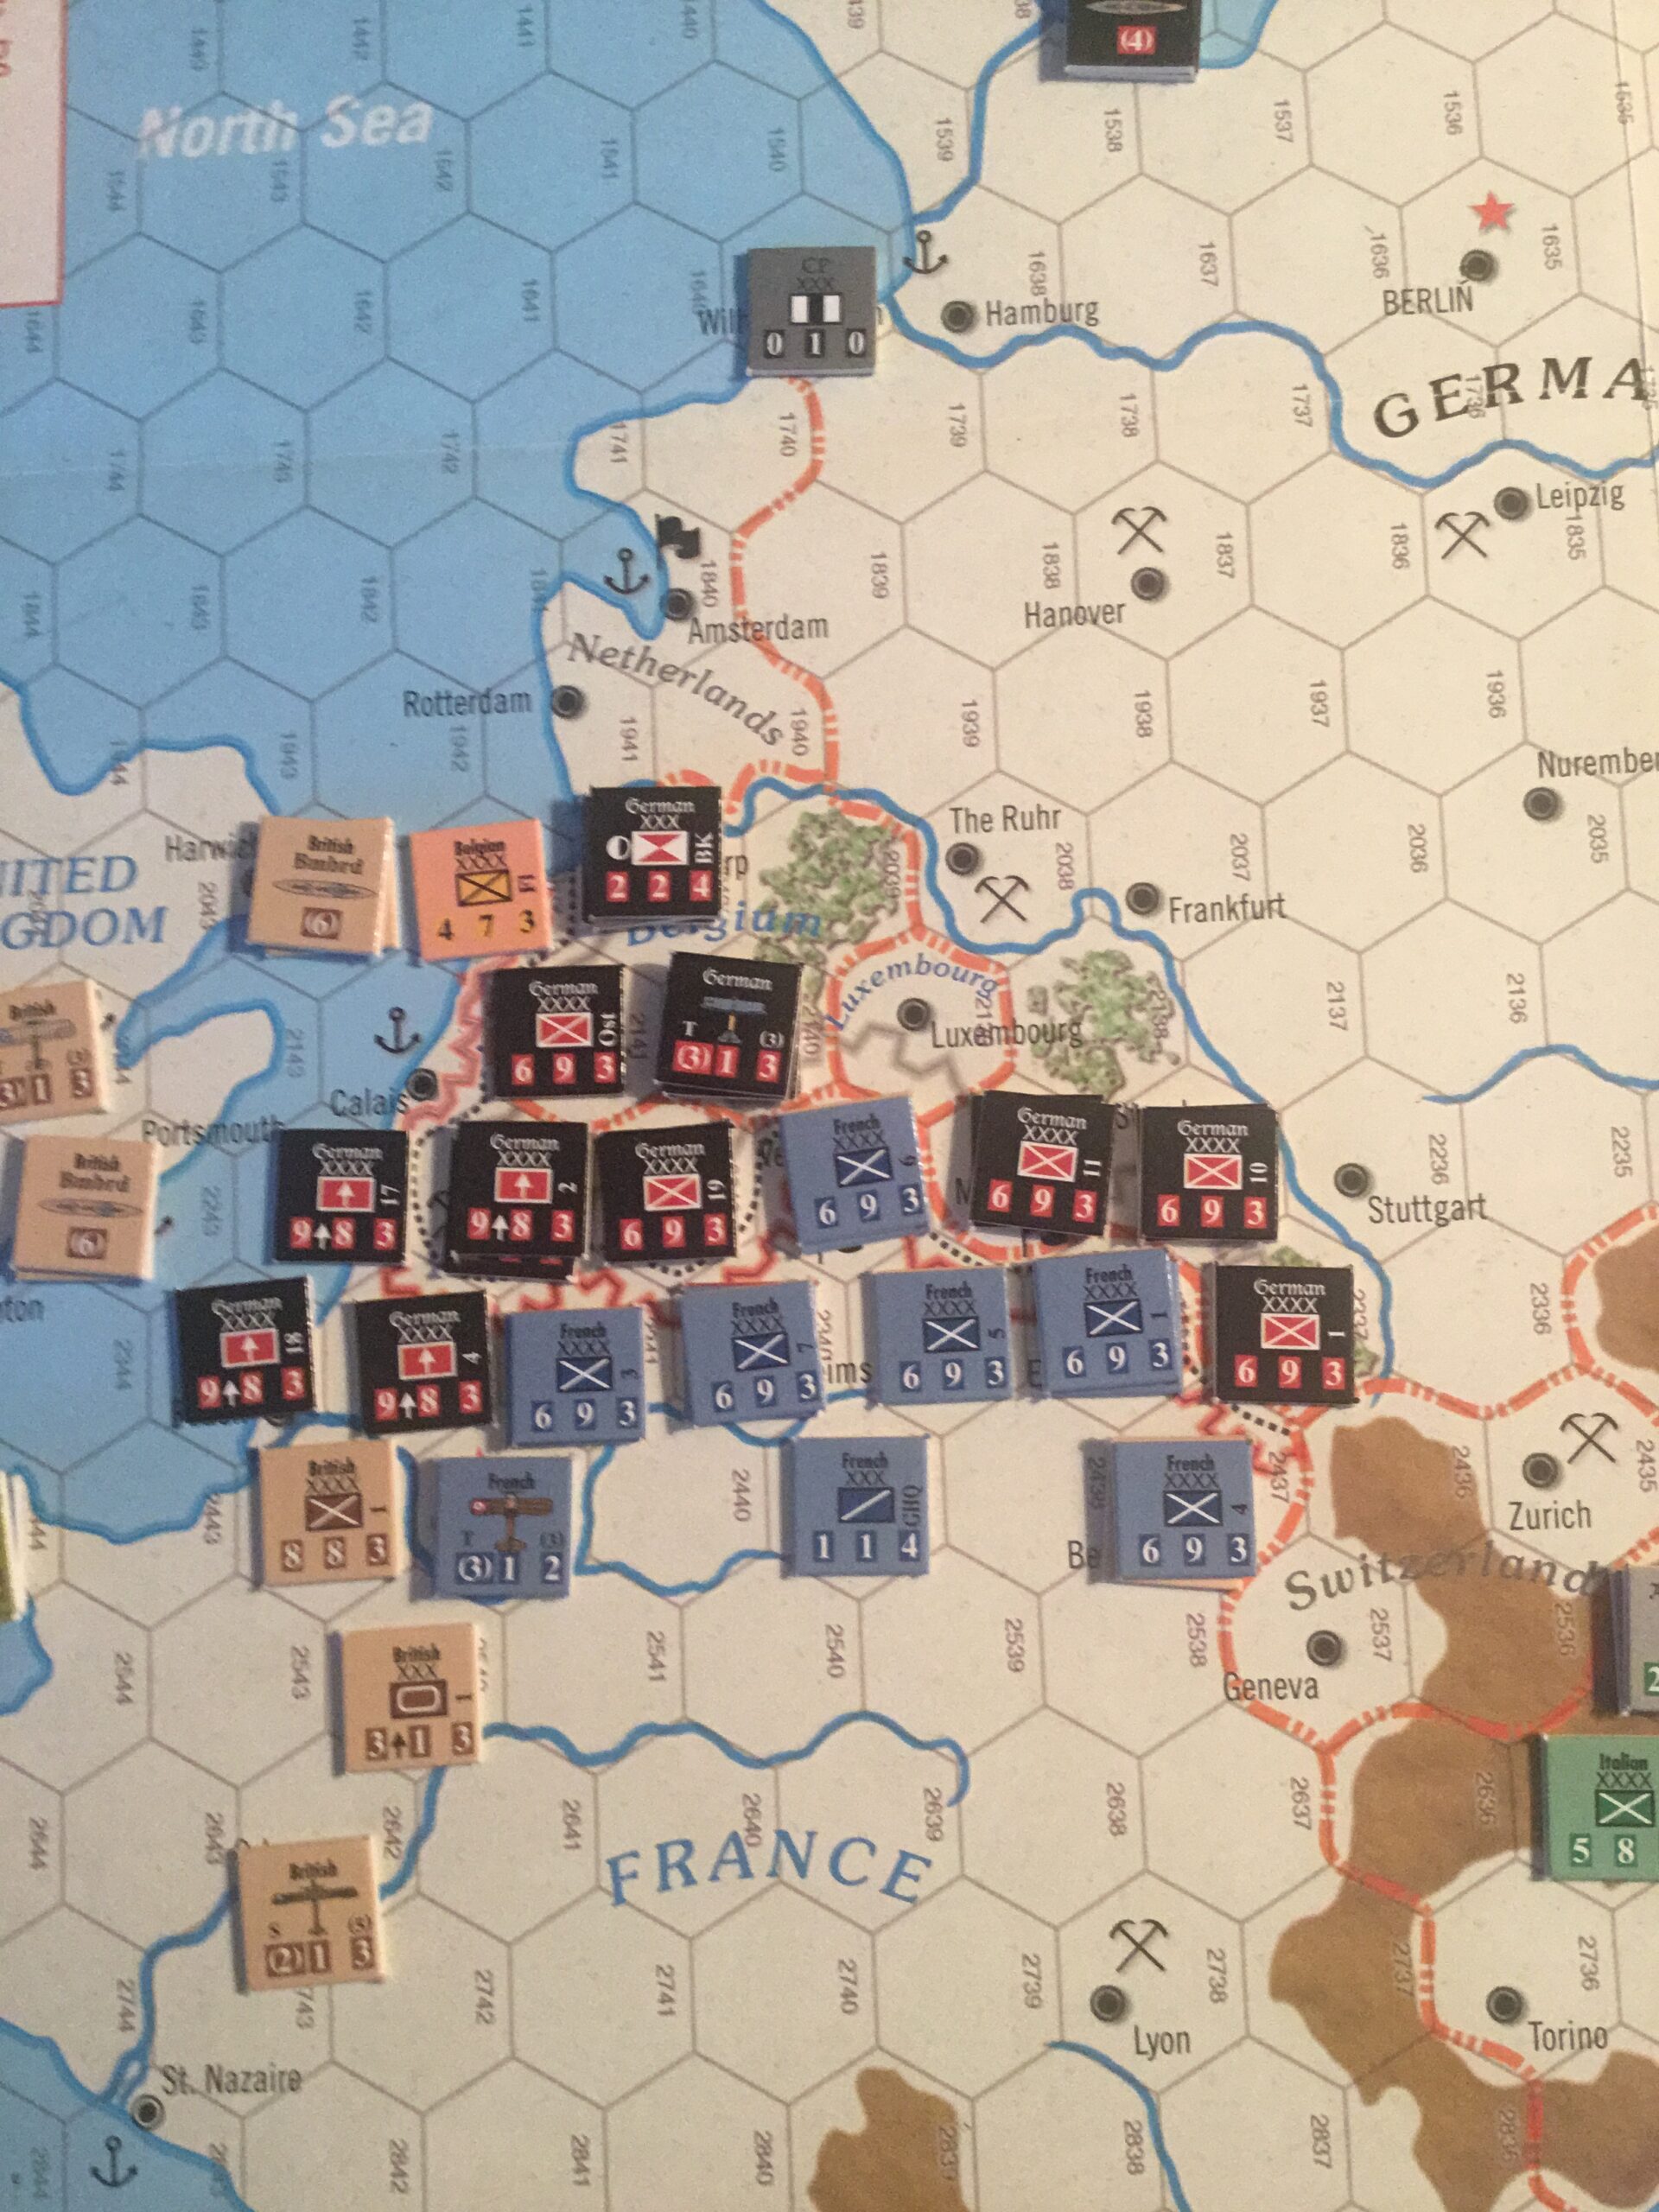
Here are the three major theaters and the end of the game turn.

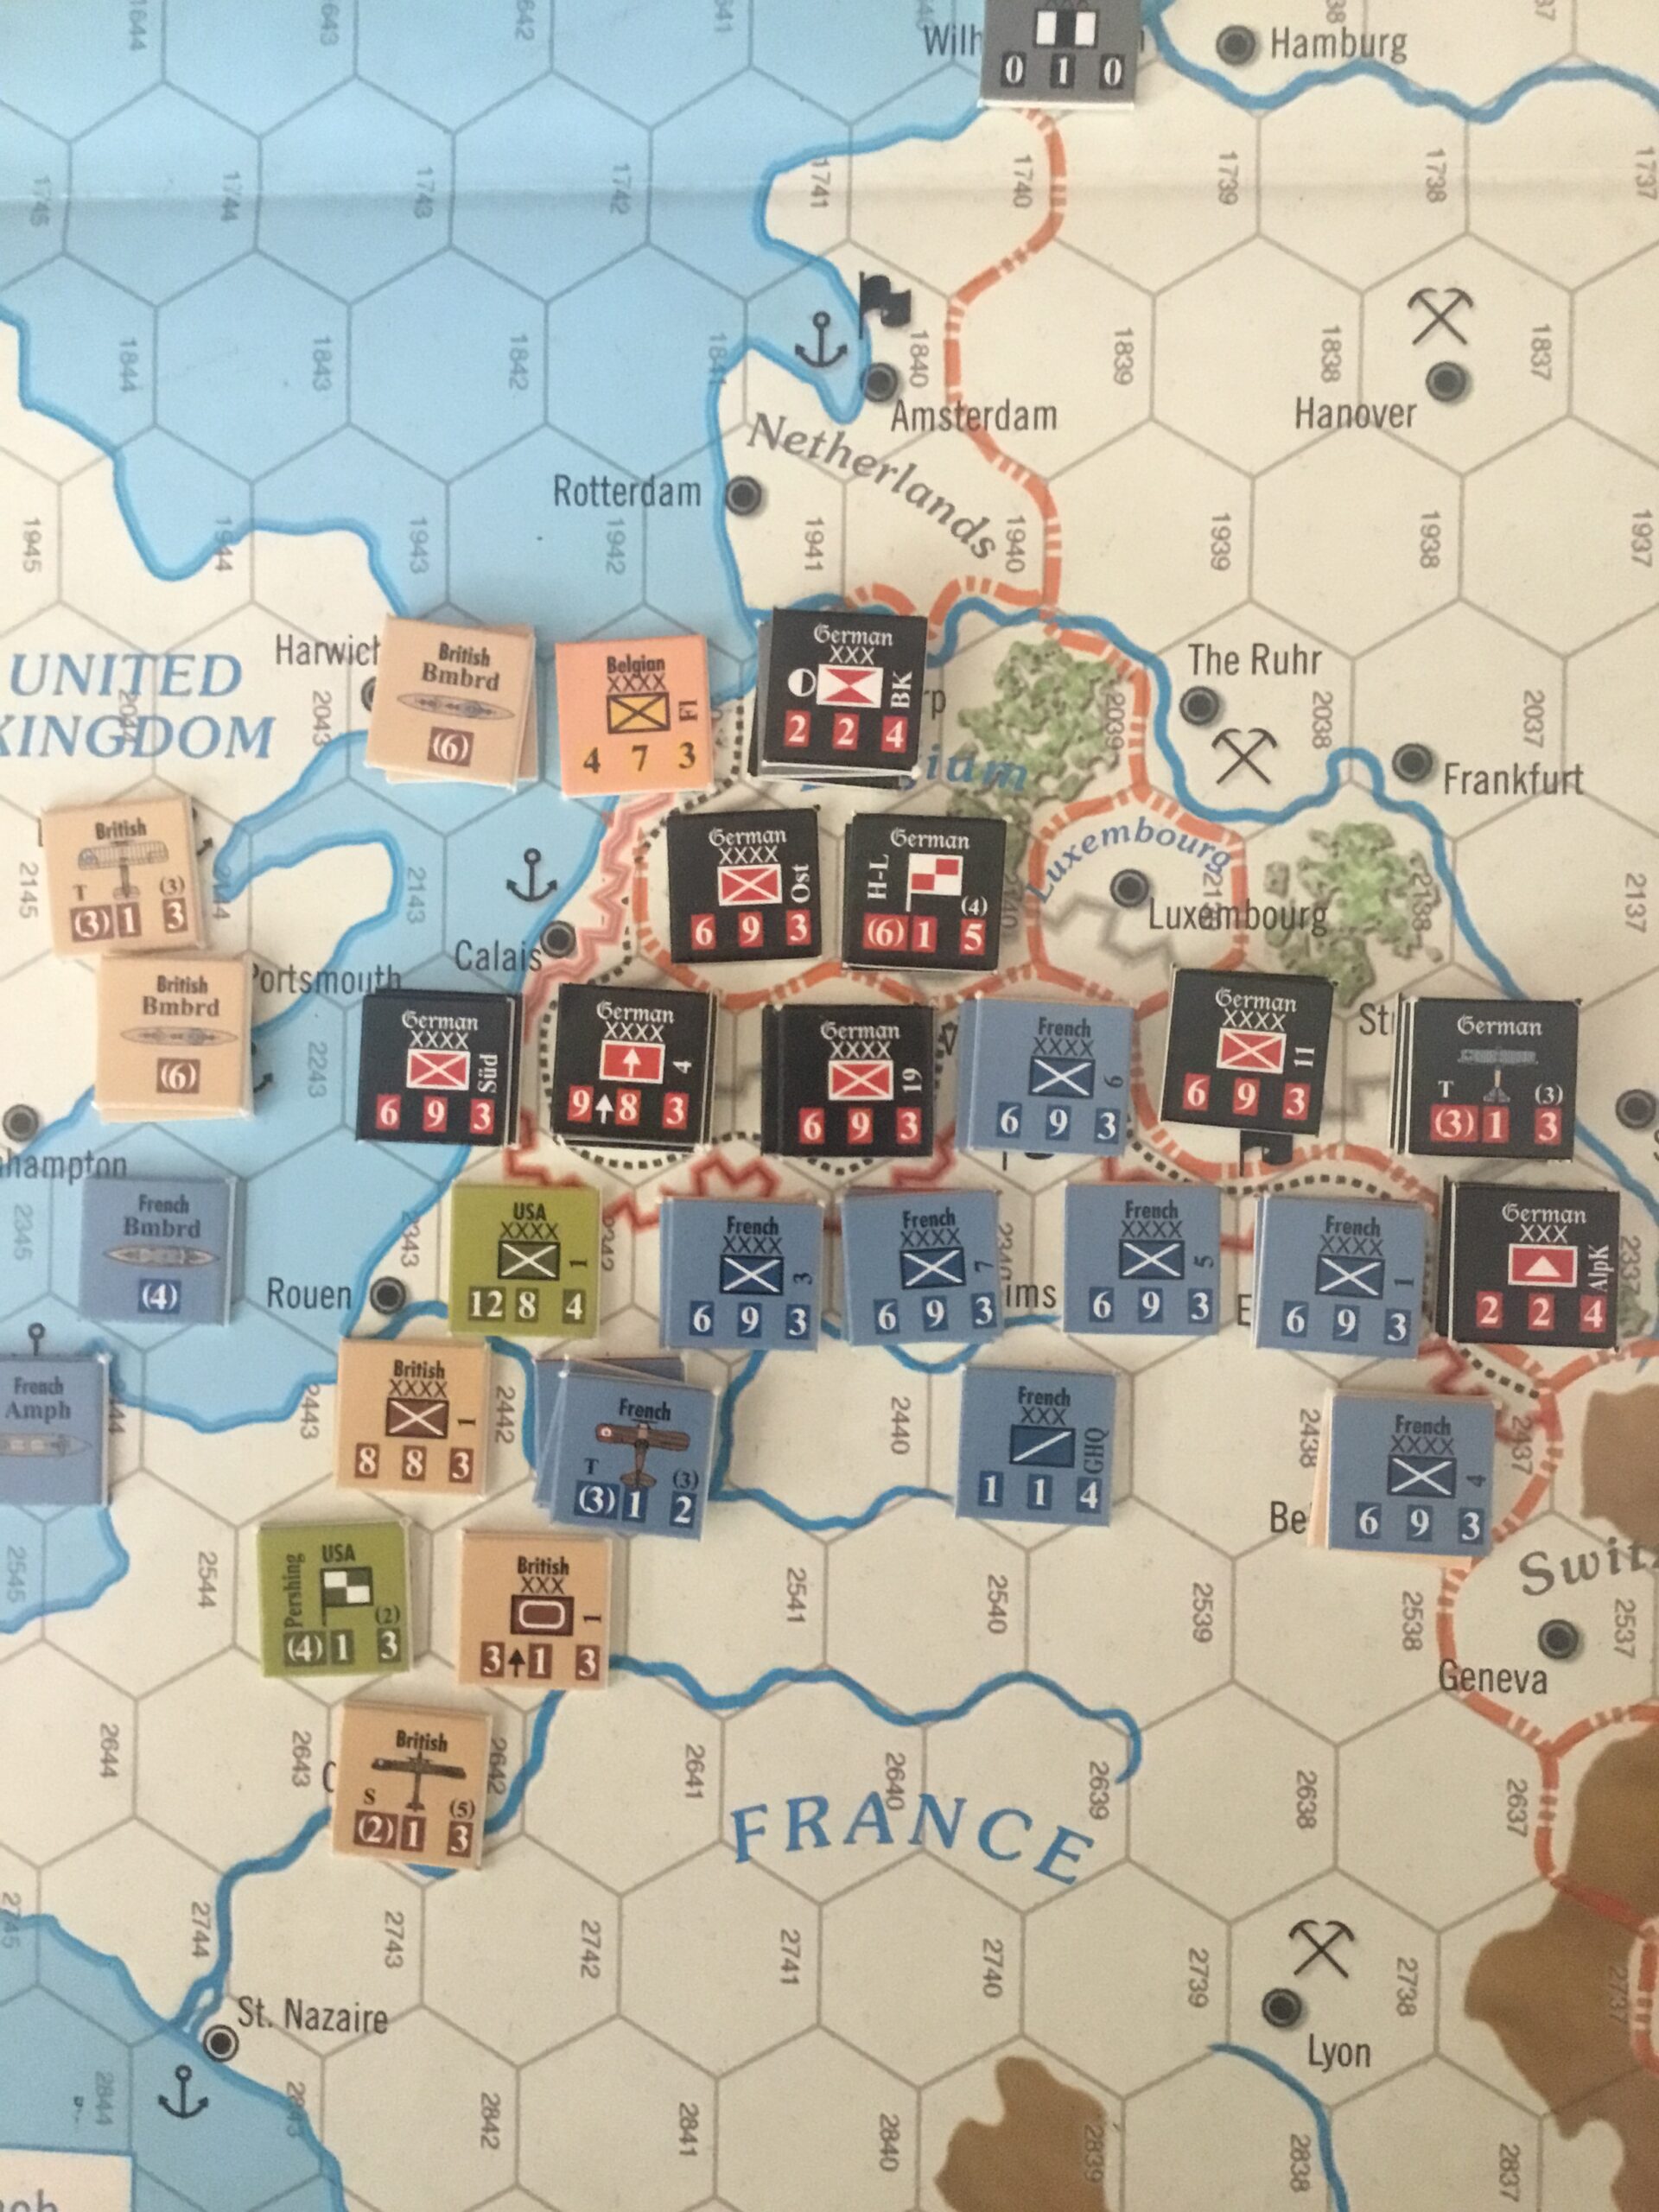
The Central Powers started Turn 3 by mobilizing one shock army and deploying the few units they had (or could) mobilize at the beginning of Turn 2.  Another series of shock army attacks on the Western Front drove back the newly arrived US Army.  They managed to avoid elimination by a fortunate die roll.
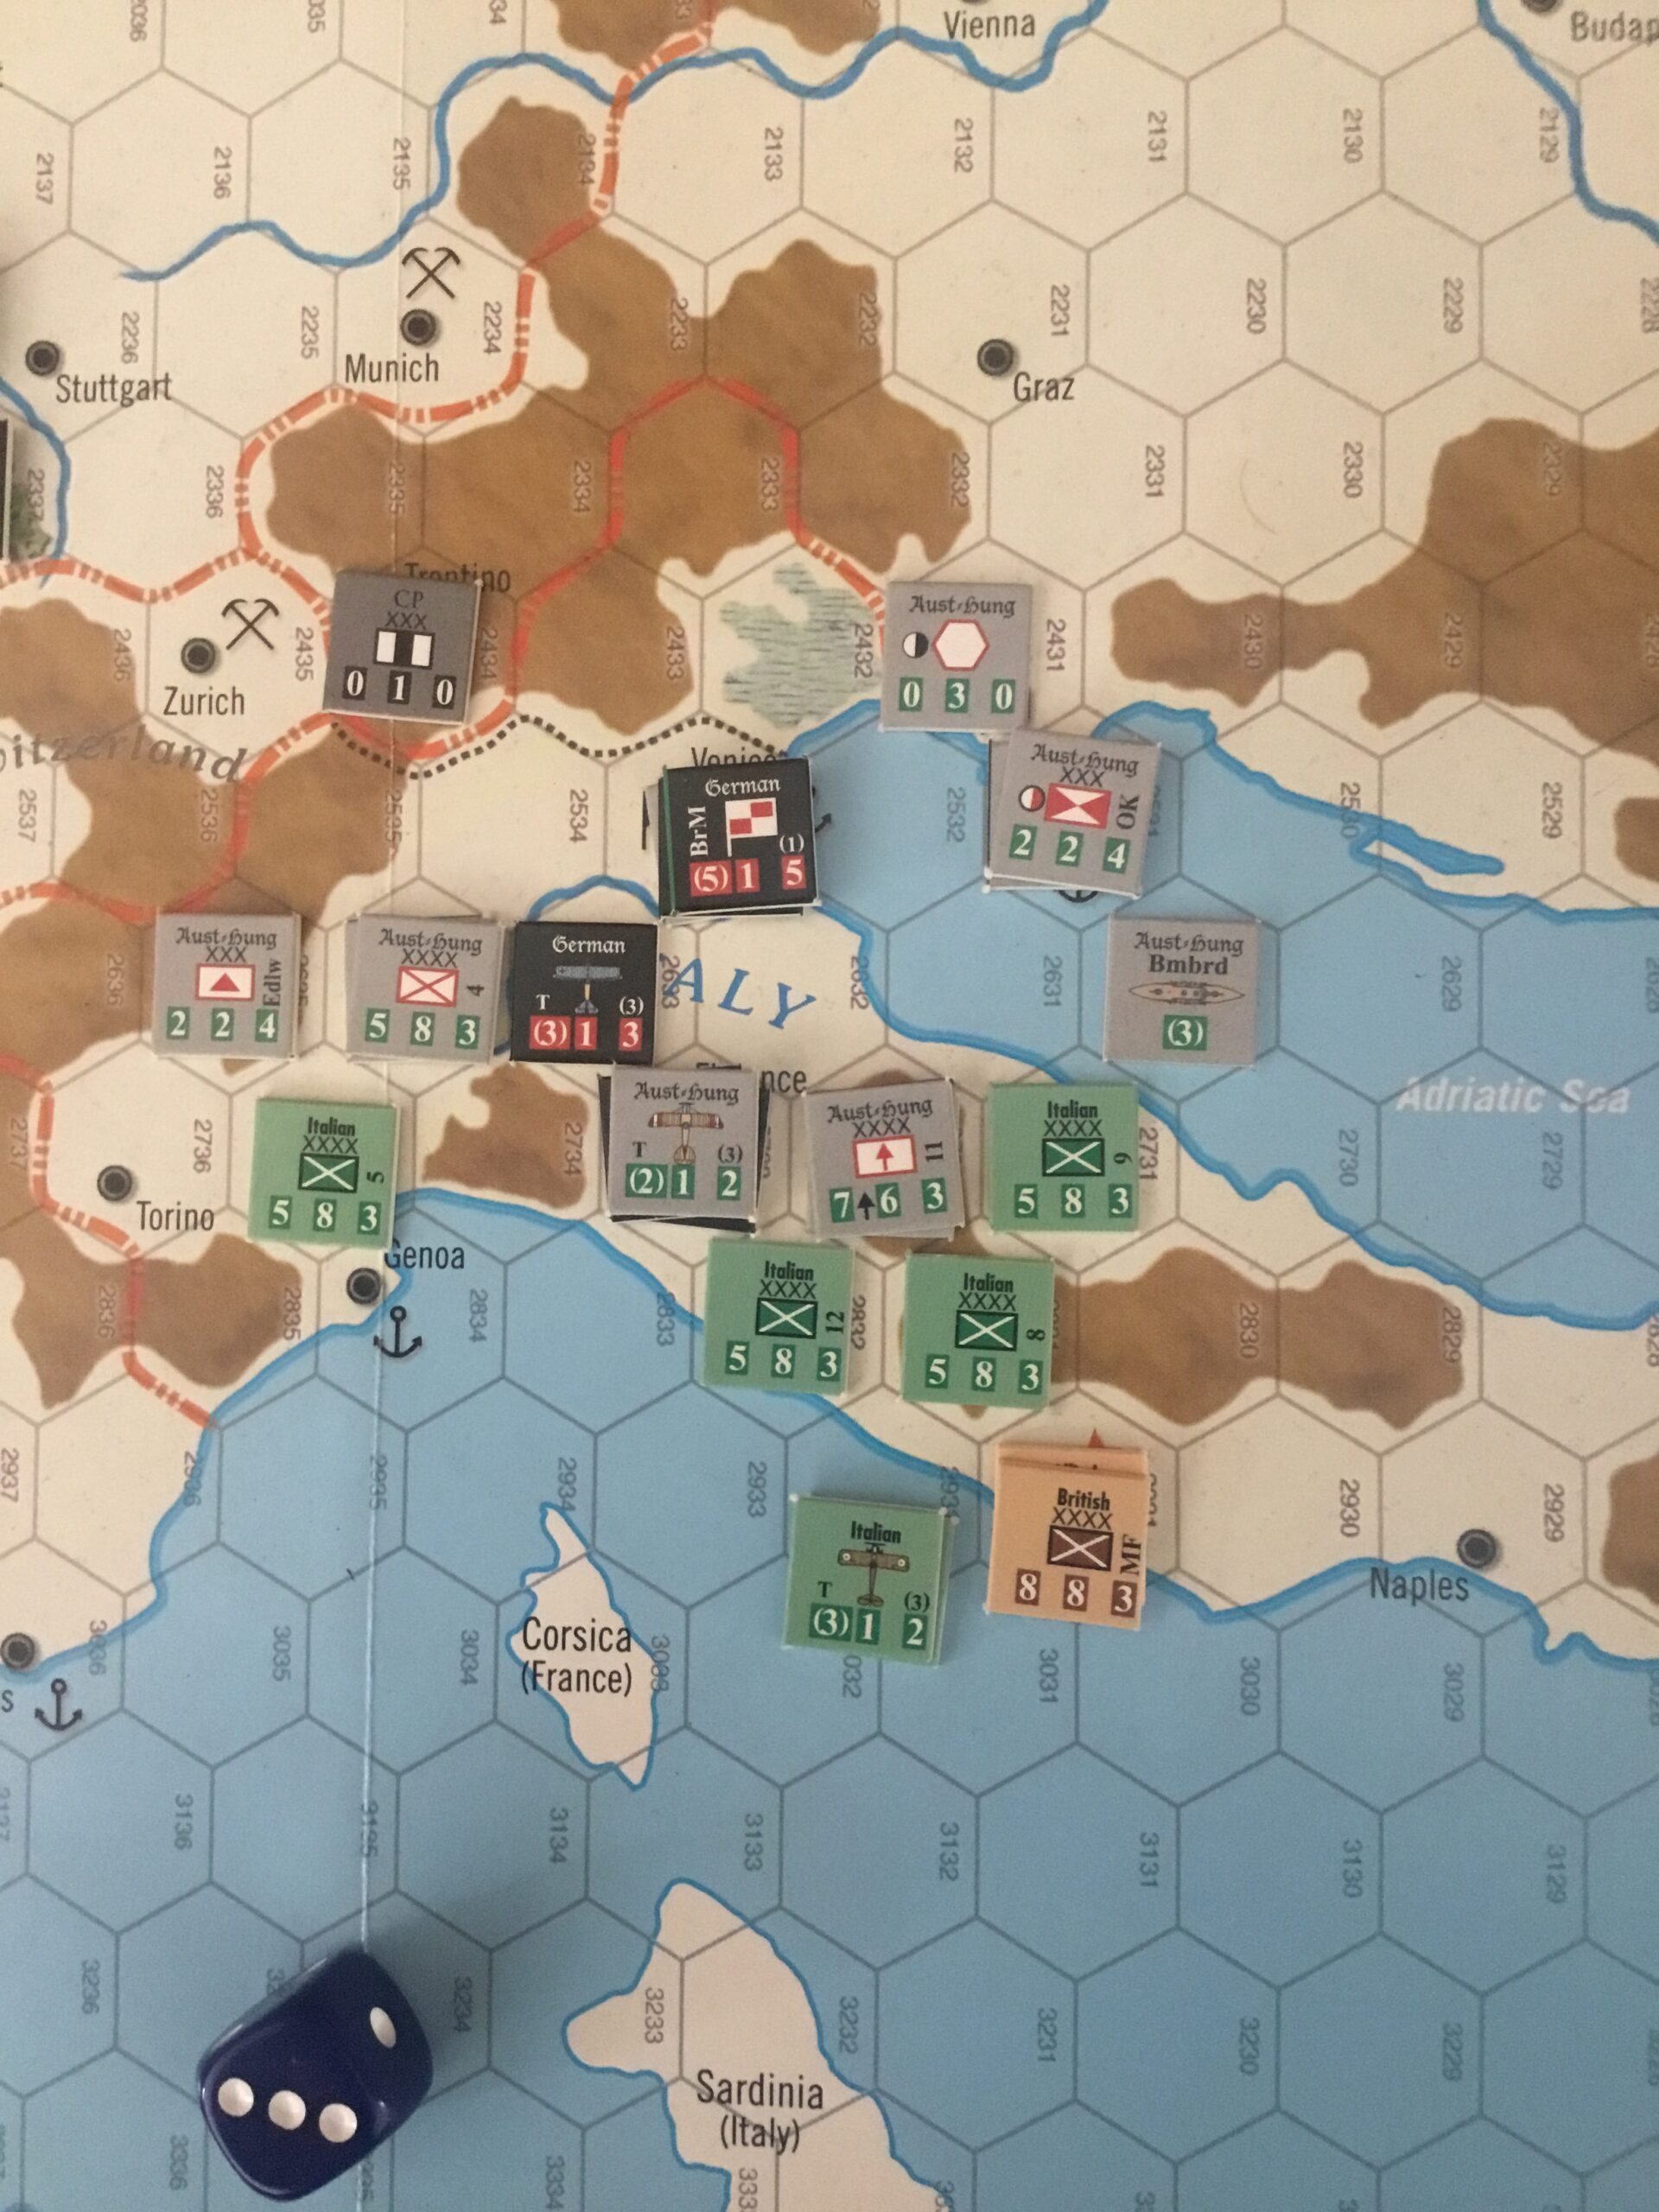
To the East, continued attacks drove Allied units back into Rome and Genoa.  These will be tough cities to capture, but are needed for victory points.
German, Austrian and Bulgarian armies continued to advance in Salonika, eliminating the original French Army.
One aspect of the rules that takes some getting used to are Zones of Control (ZOC).  Unlike many other games,  friendly units (except those representing fortified zones, or trench lines) do not negate enemy zones.  So, a unit can be eliminated if retreating through a friendly hex in a enemy ZOC, or if a supply line runs through a friendly unit, but that unit is in an enemy ZOC.

The Kaisers War – Central Powers Turn 2

The Central Powers continued their attacks both in Italy and along the Western Front.

In Italy the attacks came up just short of capturing Genoa, but did expand Turn One’s gains along the Adriatic.

Two British armies were pinned along the coast and destroyed near Calais.  German units are now adjacent to Paris.

Combined German and Austrian attacks captured Salonika, cutting off Allied armies from that port.

Here are photos of each front showing dispositions at the end of the turn.