Category Archives: Sessions

Renaissance Wargame – The Action Pt 3

What a dog fight!  The Poles right wing is shattered, with Tartars enveloping that flank.  However, the Dvor Sipahis’ attempts to repulse the Polish Haiduks threatening the Russia  rear failed.

The Polish cavalry are now a beaten command, with only the Hussars having a reasonable chance of being steadied.  The left flank Pancerni have been attrited and the light cavalry is incapable of any real resistance.

With all that, I still might play a couple more turns to see how the doughty Haiduks fare.

Haiduks Deploy
Haiduks Deploy
Polish Left is Shattered. Russian Cavalry Begins Envelopment
Polish Right is Shattered. Russian Cavalry Begins Envelopment
Russian Dvor Sipahis Regroup After Being Repulsed By Haiduk Musketry

Renaissance Wargame – The Action Pt 2

Solo war gaming can be either mundane or chaotic.  This is the latter.

Poles right flank caves in and losses mount, with center Hussars in disarray due to musketry.  Still some hope, as Haiduks and Pancerni attack on the left.  A wacky tactical revolving door.

Polish Right Flank: Problems
Polish Left Flank: Haiduks Deploying and Pancerni Ready To Charge
Russians React and Poles Hope
View To The West:  Russians React and Poles Hope

RAF – Initial Thoughts

Finally comfortable enough with the rules to start the “Hardest Days” scenario.  This is a highly regarded solitaire game with great reviews.  I started out with “Lion”, playing the British.

For a solitaire game, it has a relatively low level of wristage.  The game process and progress is, to a large degree,  driven by cards; for targets, raid size, raid strength, approach events, target events and passage of time during a raid “day”.  Dice rolling is limited to combat results, bombing results, British ability to respond to attacks and weather.

Unlike many other games, the end of a raid does not mean the time clock advances.  There can be raid somewhere else over England, or a followup raid on the target just attacked.  Have a couple of “0” time advance results, and it makes for a damn long turn, and day.

As a result, the RAF is stretched thin and beat up from the get-go.  Their warning system is not good, and this restricts the ability of the RAF to respond in any strength – from adjacent sectors – to a raid.  Even a minor raid can leave the RAF out-manned, especially when a sector has been attacked several times during the day.   In most instances, the RAF cannot even get to the bombers, having all their assets engaged by German “Hunter” gruppen.

The instructions advertise that the 5-Day, “Hardest” scenario can be played in three hours.  Don’t think so.  One day takes about an hour, and that’s now that I can play without my nose buried in the rules.

Gonna keeping hacking at it, and see if the game play speeds up.  Keep hoping for those “2 Hour” time advance cards.  Both the Brits and I need them!


Renaissance Wargame – The Action Pt 1

Was able to play several turns of my Poles vs. Russians DBR game.

The initial Polish Hussar attack on the formed Russian Streltsi was repulsed, as was a Cossack charge against the Russian Tartar light cavalry.

Attempts by the Hussars to reform were continually frustrated by Streltsi musketry. Both the Polish  Pancerni (Armored Cossacks)  and Russian Boyars moved to support their comrades. The Russian charge on their left shattered the Pancerni and Cossacks. The right wing Boyars maneuvered to engage the Polish left’s Pancerni.

Engrossed by this action, I forgot to role for the variable turn entrance on the Polish Haiduk infantry. The first role allowed them to enter on both roads leading into the village.

This seemed like a good time to quit for the evening.

A sessions report would not be complete without impaired photography.

Polish Pancerni Advance
Russian Boyars Begin Their Advance
Hussars and Pancerni Unsuccessfully Melee with Streltsi
Winged Hussars Attempt To Reform For Another Charge
Haiduks Enter Through Village

Renaissance Wargame – The Battlefield

Took RedActions! off the table yesterday.  Cleared off the old and dug out some new terrain and buildings in preparation for a battle between Russians and Poles circa 1625.

I’ll use Phil Barker’s De Bellis Renationis (DBR) rules.  The scenario is based on the Battle of Roundway Down as diagrammed and described in C.F. Wesencraft’s “With Musket and Pike”.  Why?  Because the book was at-hand and it’s a interesting little challenge.

The Russians are besieging a town, with Polish mounted units advancing  to lift the siege.  The Russian command decides to meet and destroy the Poles in the field, and then finish the siege.  In the historical battle, the besieged brushed aside forces masking the town, and attacked their enemy’s flank.

I’ve tweaked the layout of the battlefield by substituting a village for Blagdon Hill.  Wanted to get the buildings out of their box!

While the published scenario calls for the flank attack forces to come on-table during the fourth turn, I’m going to come up with the mechanics for a variable arrival sometime after Turn 2.

Here’s a few photos

The Battlefield Looking South
Initial Dispositions.
Close up of The Village.  A mix of purchased and scratch built buildings.
Close up of The Village. A mix of purchased and scratch built buildings.

Convoy Ambush – Red Actions! Pt 2

Turn 1:  German machine gun engaged the lead Machine Gun (MG) Truck.  The MG Truck failed the ambush morale check, causing it to rout.  Machine gun fire resulted in a terror result.  The Partisans moved out of the woods, one group to attack the convoy, the other to act as security to engage the escort and/or any reaction force.  The second vehicle in line failed the ambush morale check.  It routed and took a terror hit from the German Infantry’s rifle fire.   The Warlord Escort carried in the trail vehicle dismounted.  The MG truck Rallied.  However, the routed cargo truck did not.

View From German Machine Gun Position As Convoy Approaches
Partisans In The Woods. Ambush Group to Left (one stand behind tree), Security Group to Right

Turn 2:  Germans again engaged the MG Truck, but failed to inflict any damage.  Likewise with the advancing Ambush Group’s fire on the stalled cargo truck.  The Security Group reached the crest of its objective.  The Warlord Escort advanced down both sides of the road towards the front of the column.  The stalled cargo truck again failed its morale check, but the MG Truck maneuvered to engage the advancing Partisans.  The MG Truck’s fire was ineffective.

Partisans Emerge From Woods After Machine Gun Truck and Lead Cargo Truck Retire Due To German Fire
Partisans Engage Convoy and Move to Security Position.  Warlord Escort has Dismounted.

Turn 3:  The Partisans advanced,  masking  the Germans’ field of fire.   Once again, Partisan fire at the stalled cargo truck was ineffective.  The security group attacked the nearest Warlord Escort, inflicting a terror hit.  The MG Truck could not hit the Partisan ambush group.  The Warlord escort maneuvered towards and ineffectively engaged the security group.  The other Warlord Escort continued to advance to the head of the column.

Partisans Engage Convoy Escort

Turn 4:  Poor die rolling continued, as the Partisans once again could not damage any of their targets.  However,  both the Partisan Security Group and Warlord Escort recoiled in the fight for the hill.

Partisan Security Team Pushed Off Hill. Assault Group Continues to Engage Convoy Escort

Turn 5:  The Partisans again attacked both the stalled convoy and the escort.  Again, their fire was ineffective.  While the MG Truck and Escort both inflicted terror hits on the ambush and security group.

Turn 6:  According to plan, the Partisans disengaged, falling back to the woods, and prepared to move to the rally point.  The Chinese did not pursue.

Partisans Withdraw Into Woods

Comments:  Fun little scenario, horrific die rolling for both sides.  I thought the Partisans would make short work of the convoy, but their low firepower (4 factors for each stand) was consistently ineffective.  The Germans should have been able to do more damage to the convoy, but again, the marksmanship (die rolling) was bad.  The Warlord unit engaging the Security Group did its job, and the resilient MG Truck forced the Partisan Ambush Group to retire.  A decisive victory for the Warlord’s forces.

Convoy Ambush – Red Actions! Pt 1

After much procrastination, started playing this scenario.  I posted up some preliminary thoughts and photos of a couple of turns  back in December.

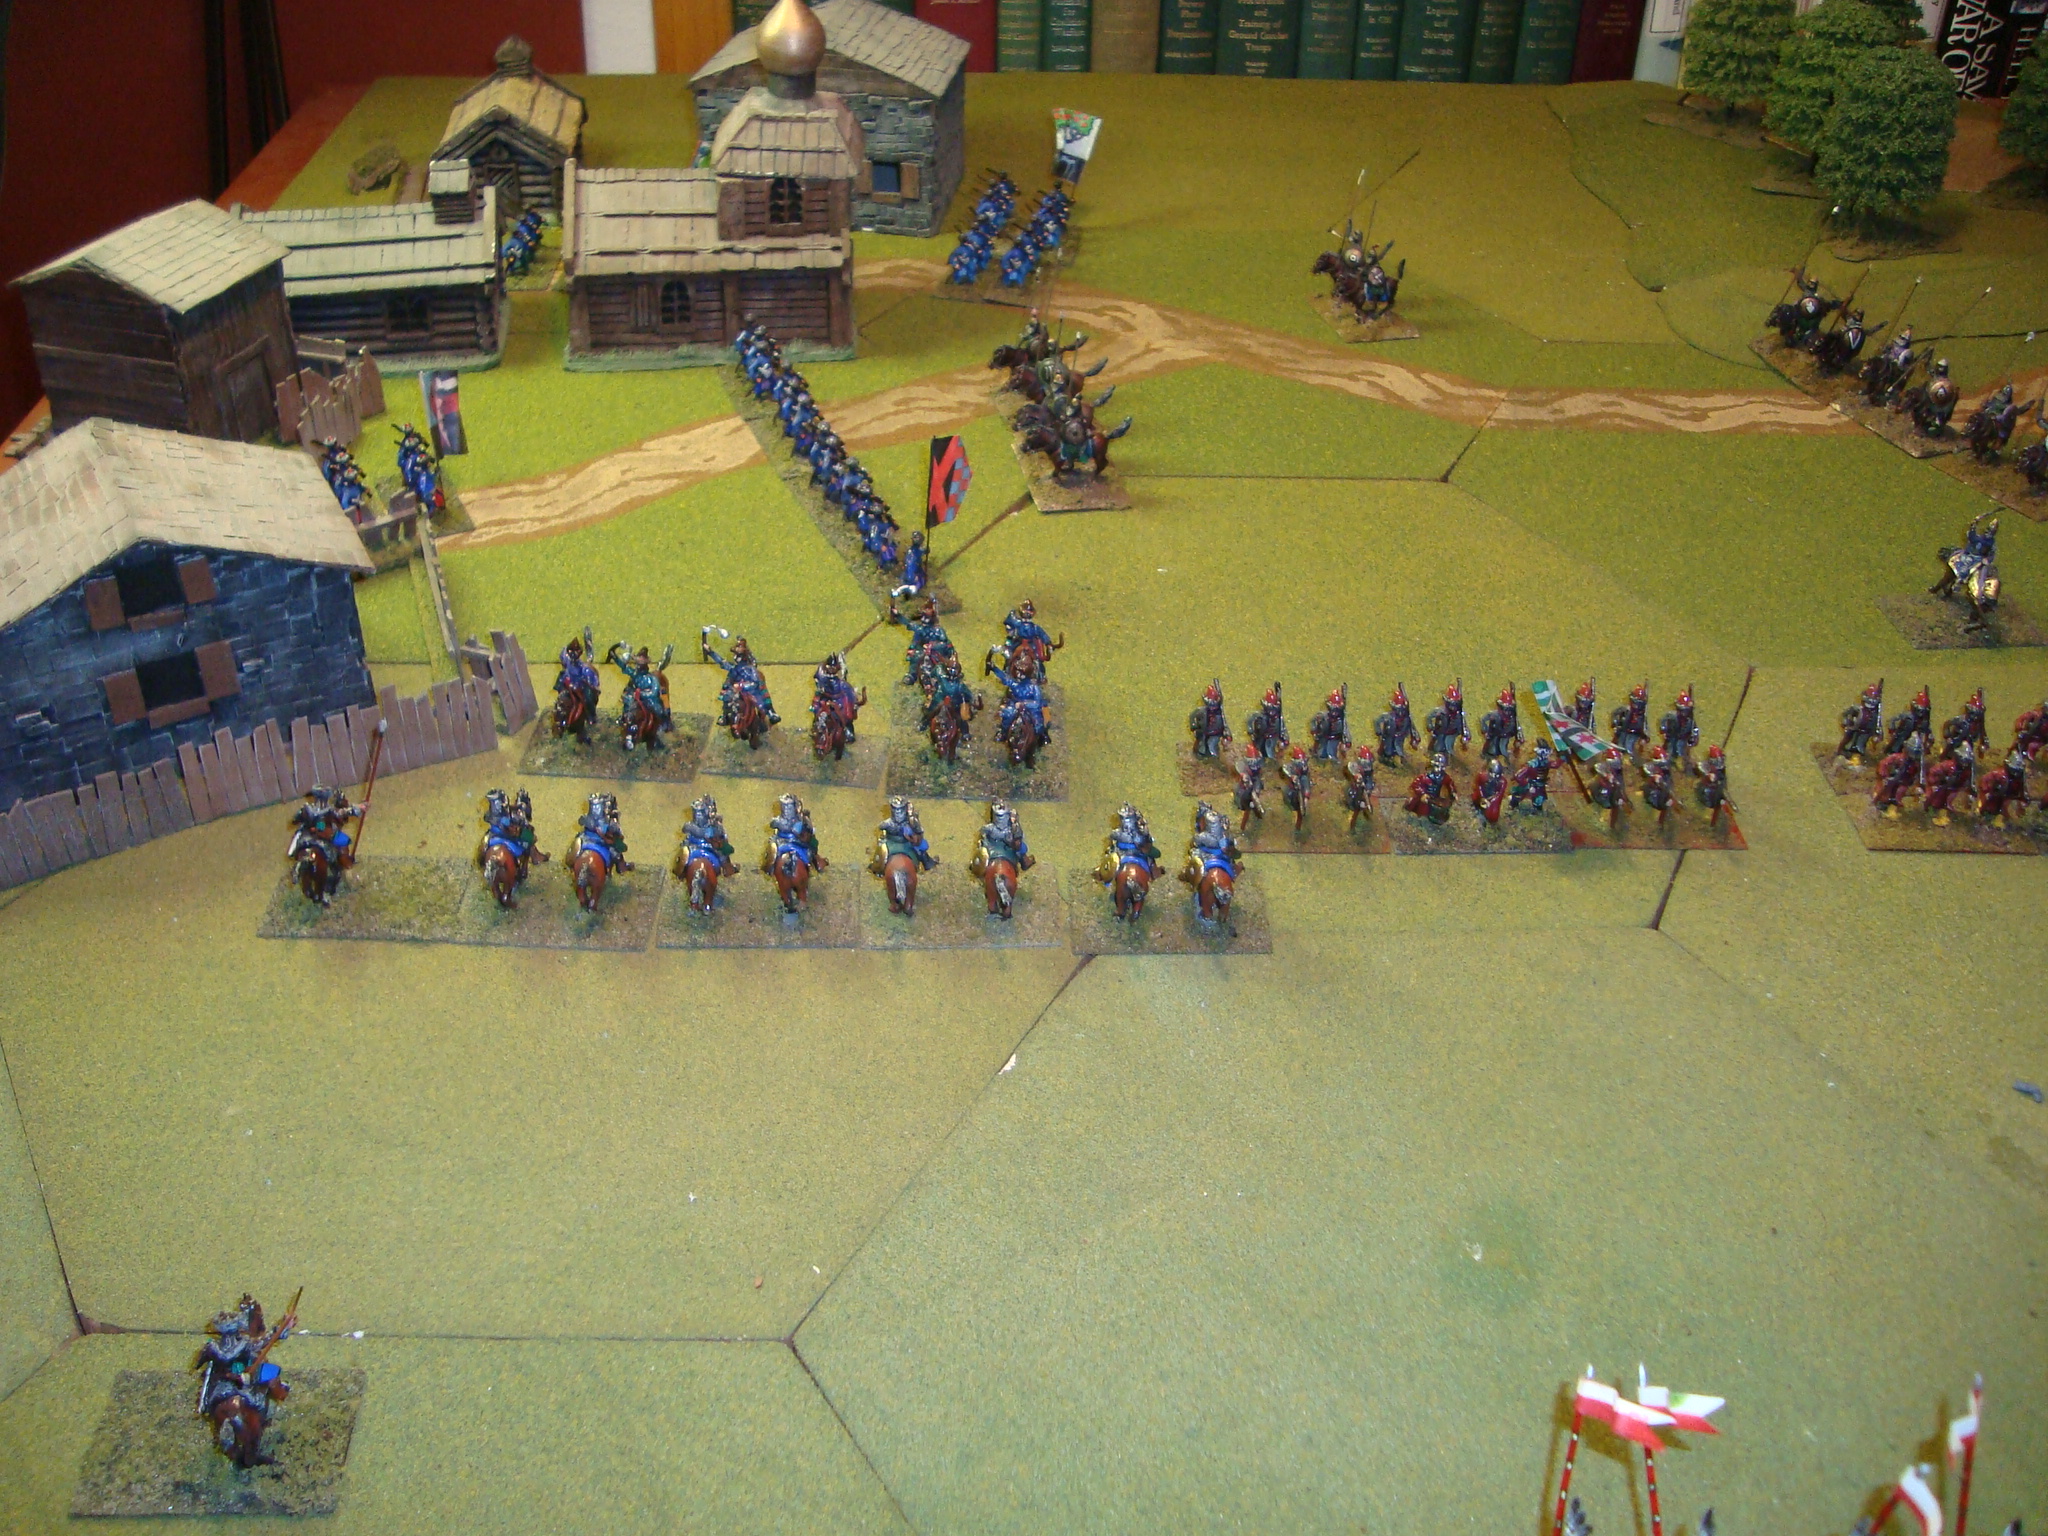
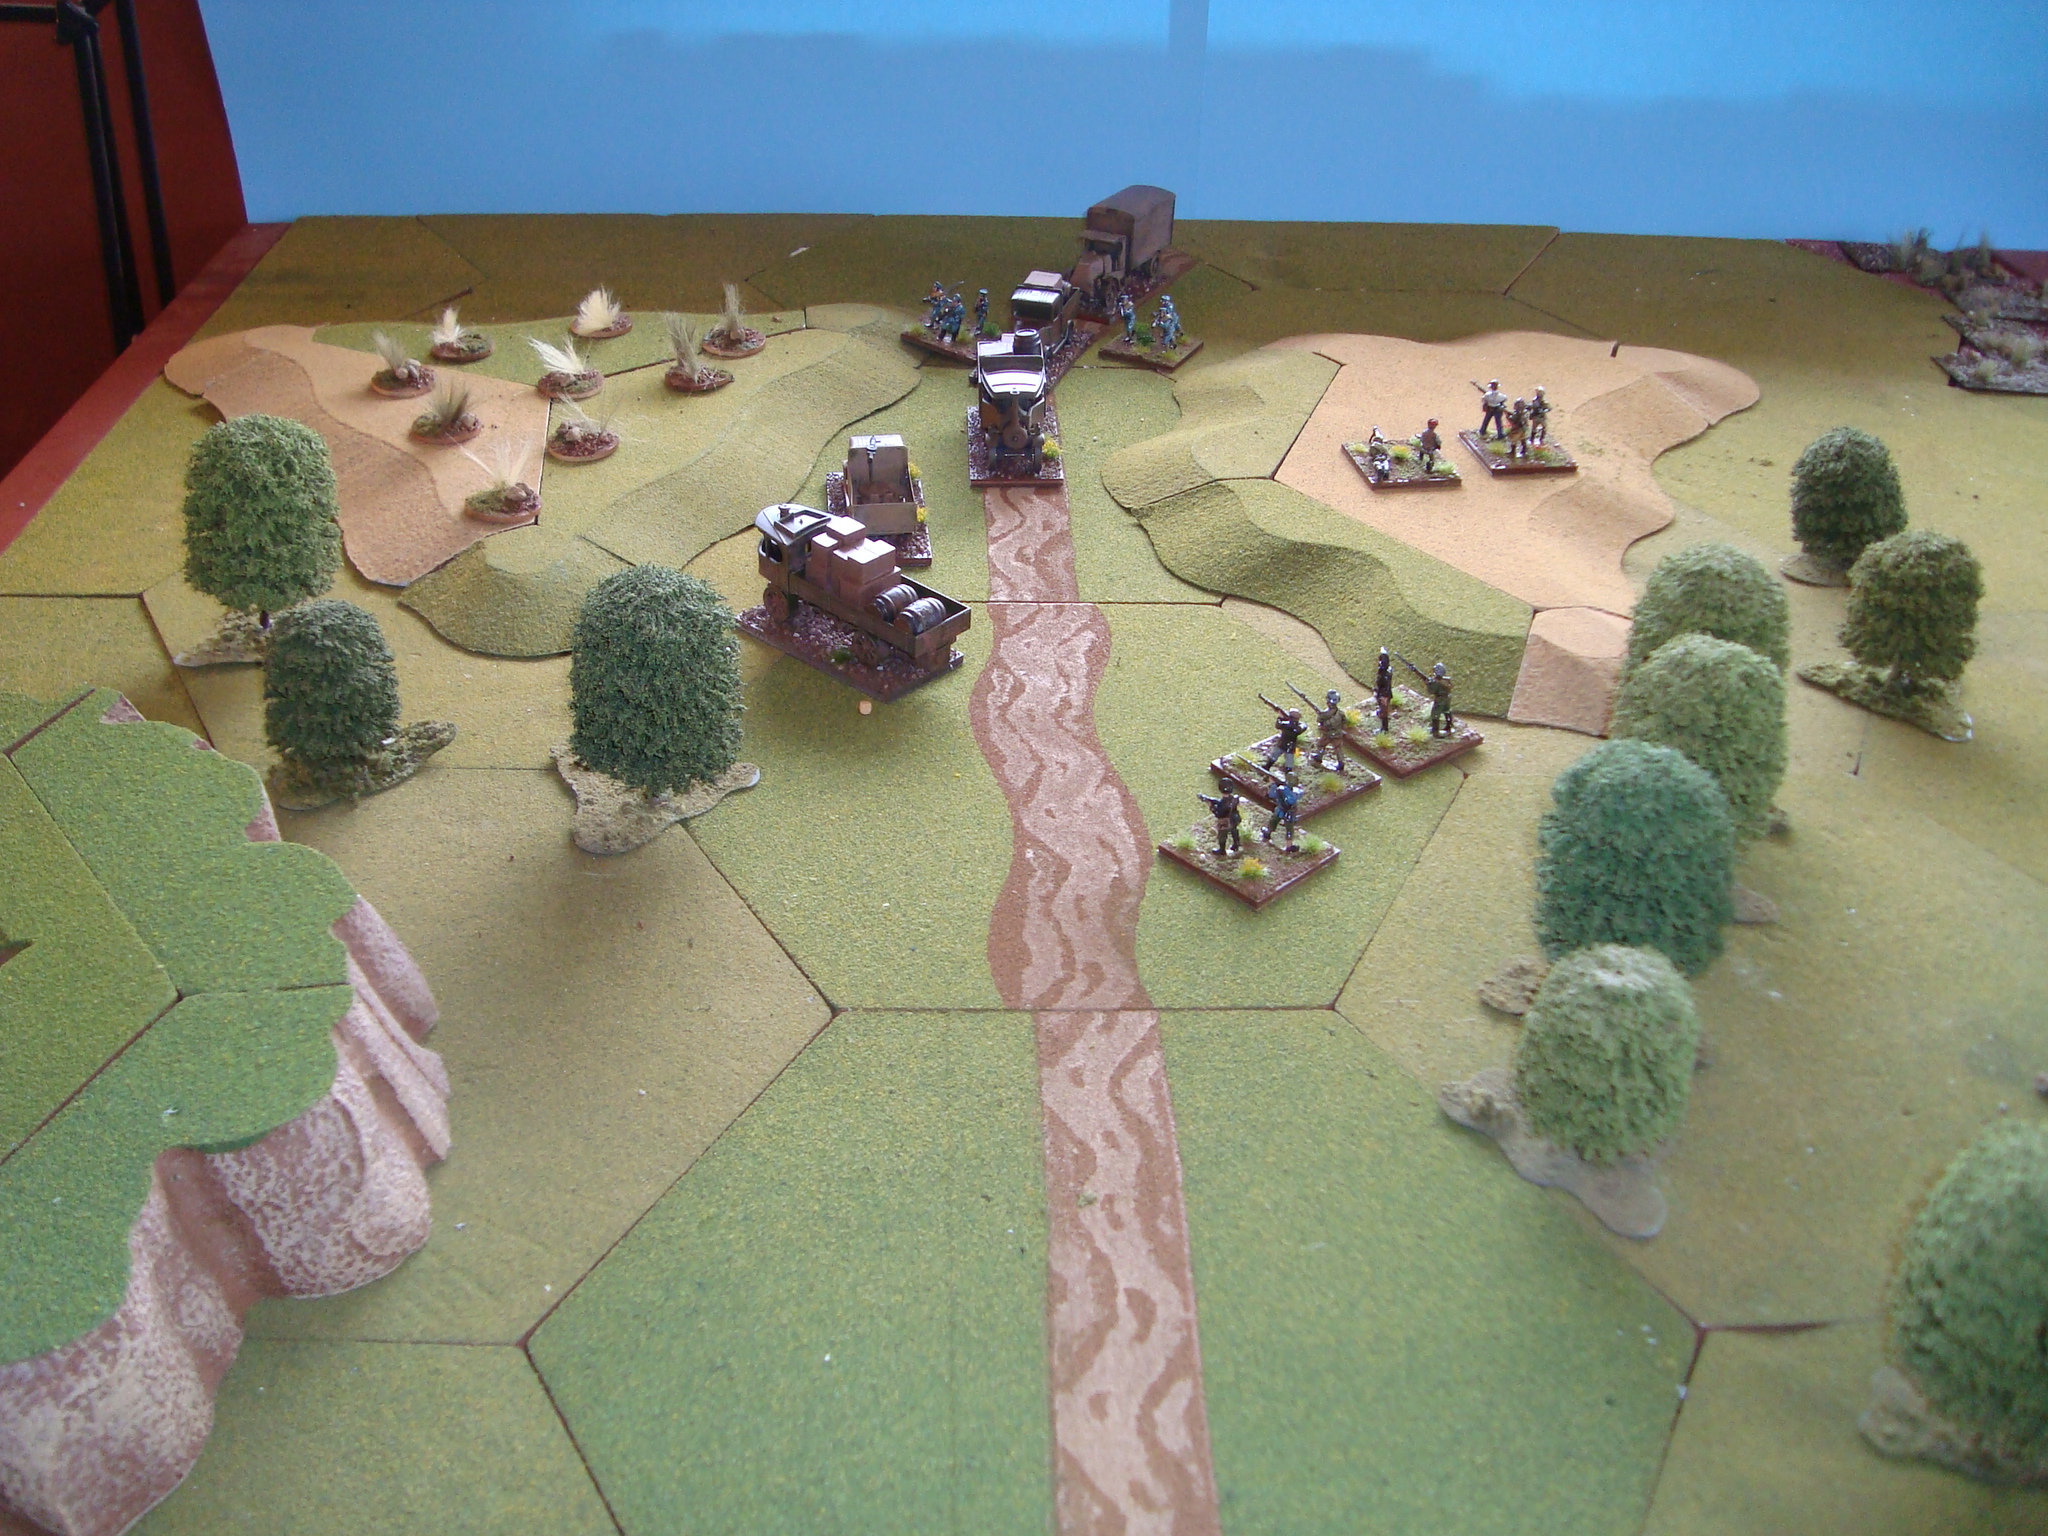
The scenario involves a Chinese Warlord convoy carrying all classes of supply.  The mission of the ambush force is to destroy the convoy and, if possible, remove weapons, ammunition and medical supplies.

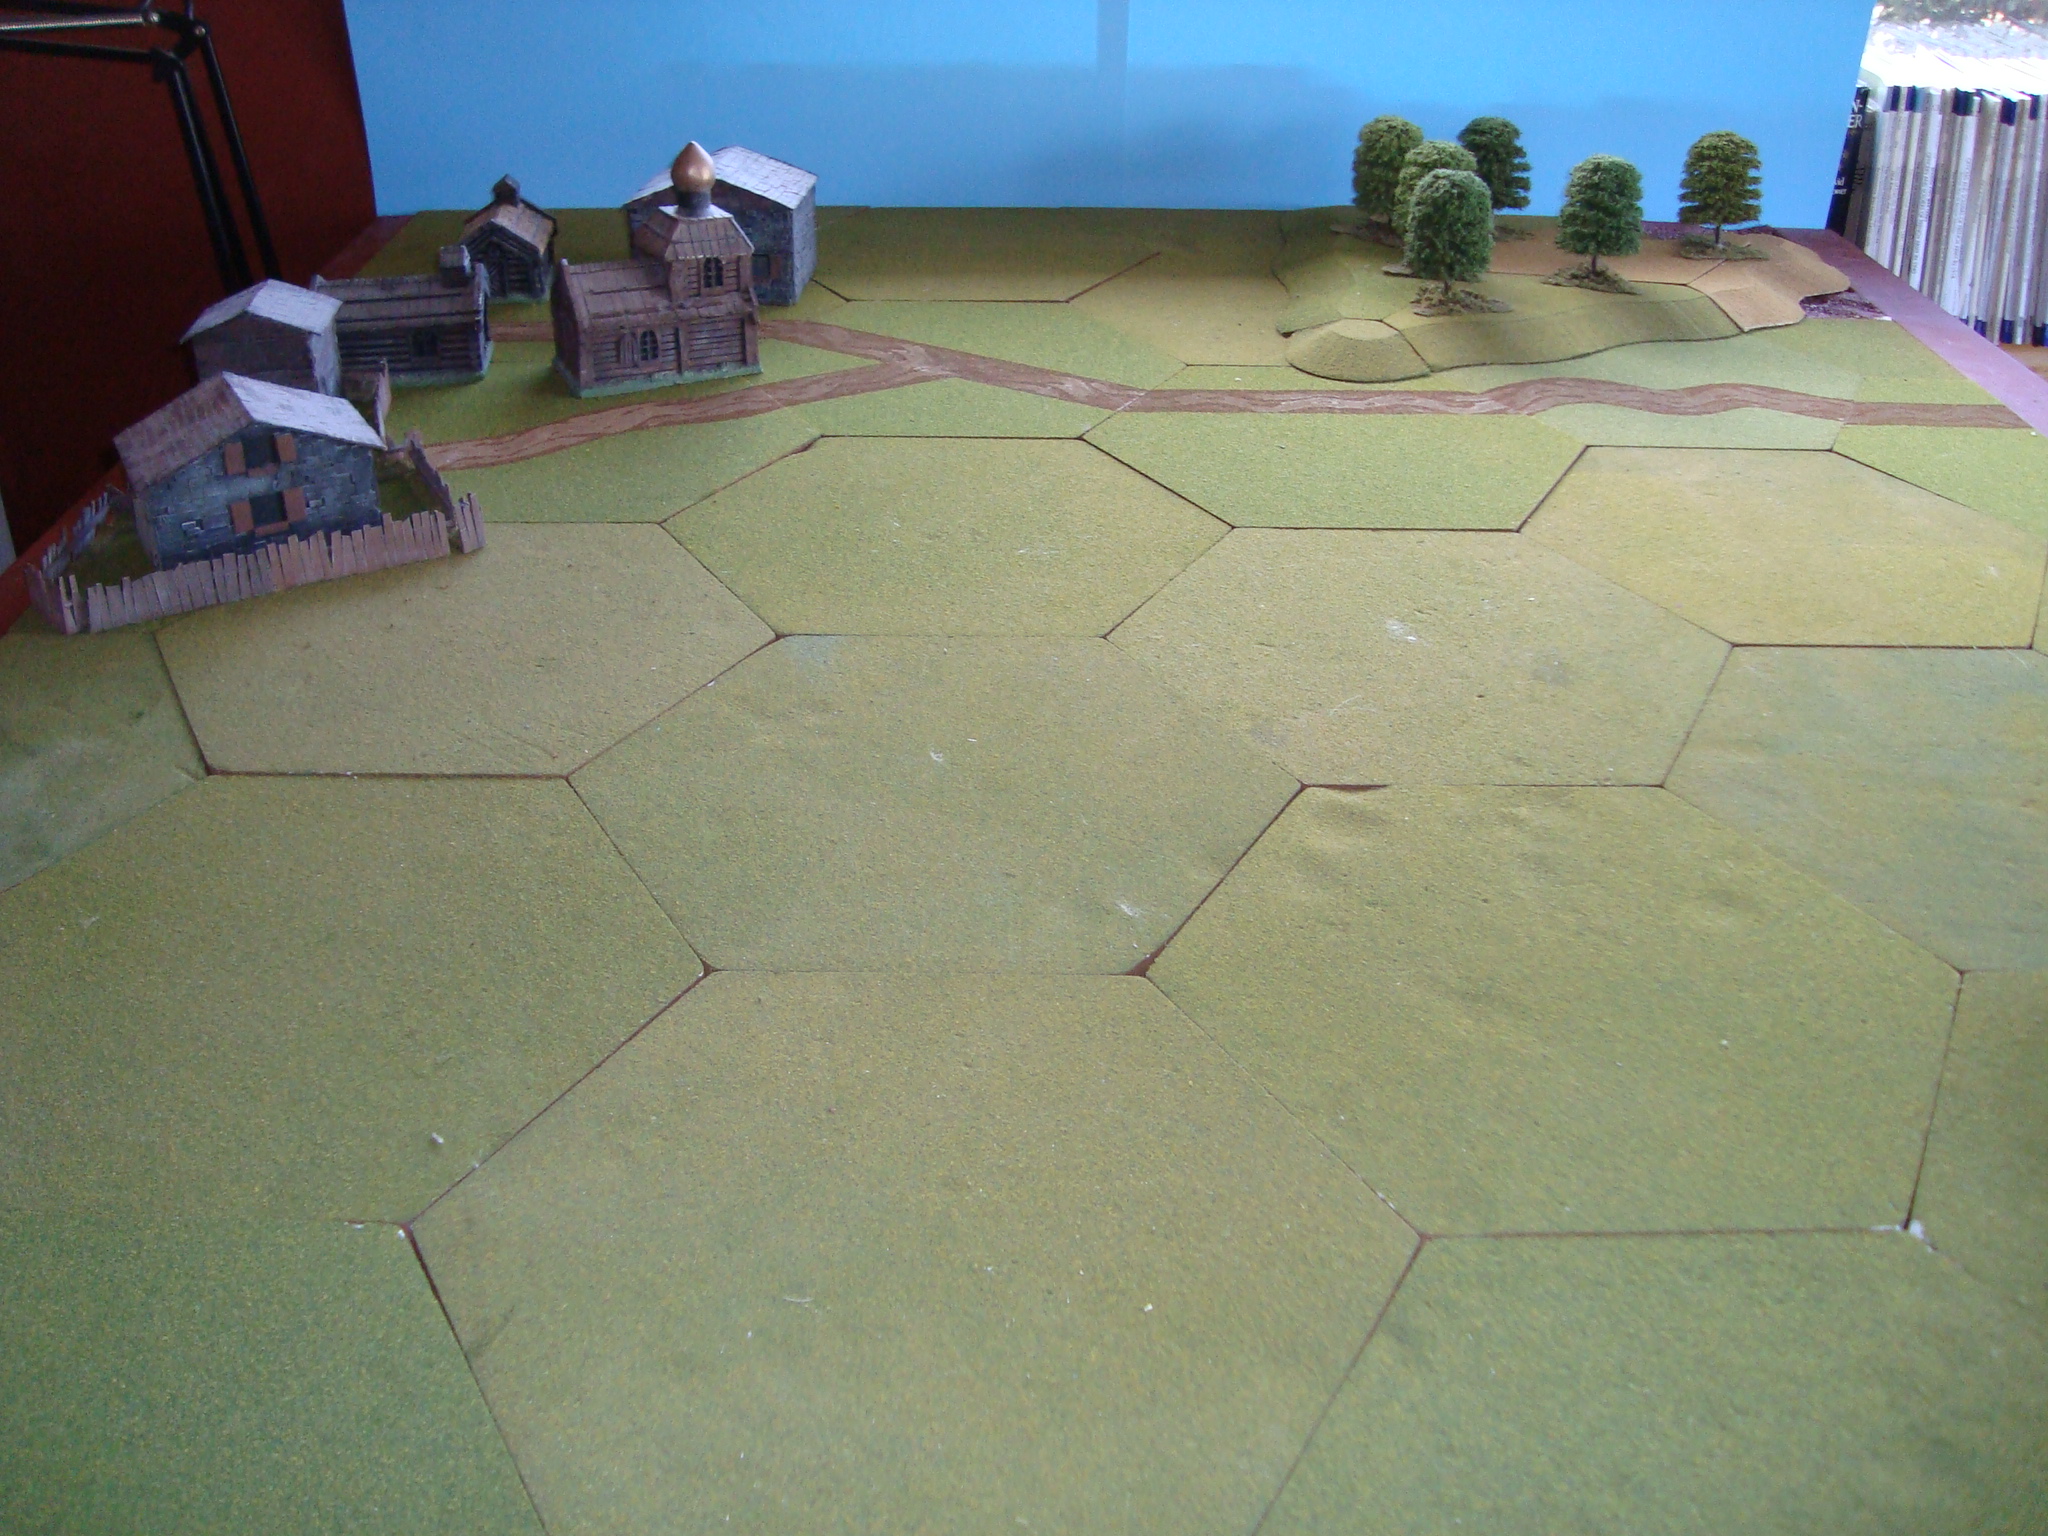
Since the best ambush point was near a Warlord controlled town, there is the chance that a reaction force will appear.

The first step was to construct a simple situation generator, which hinged on the awareness level of the convoy.  The levels were clueless, cautious, and, know something will happen.  This status was settled by a die roll.

If clueless, the convoy had little discipline, moving at maximum speed and bumper-to-bumper.  If cautious, distance was greater, speed lower, with armed vehicles at head and front.  If an ambush was suspected, there was a reaction team attached, in addition to an escort.

In each case, there was the chance of a reaction force coming to the aid of the convoy, but again, a die roll settled that with modifiers to decrease the size of the force the less “aware” the convoy was.  The number of turns it took the reaction force to arrive on table was again a function of the Warlord force’s awareness level and die roll.

The required wristage created the following:

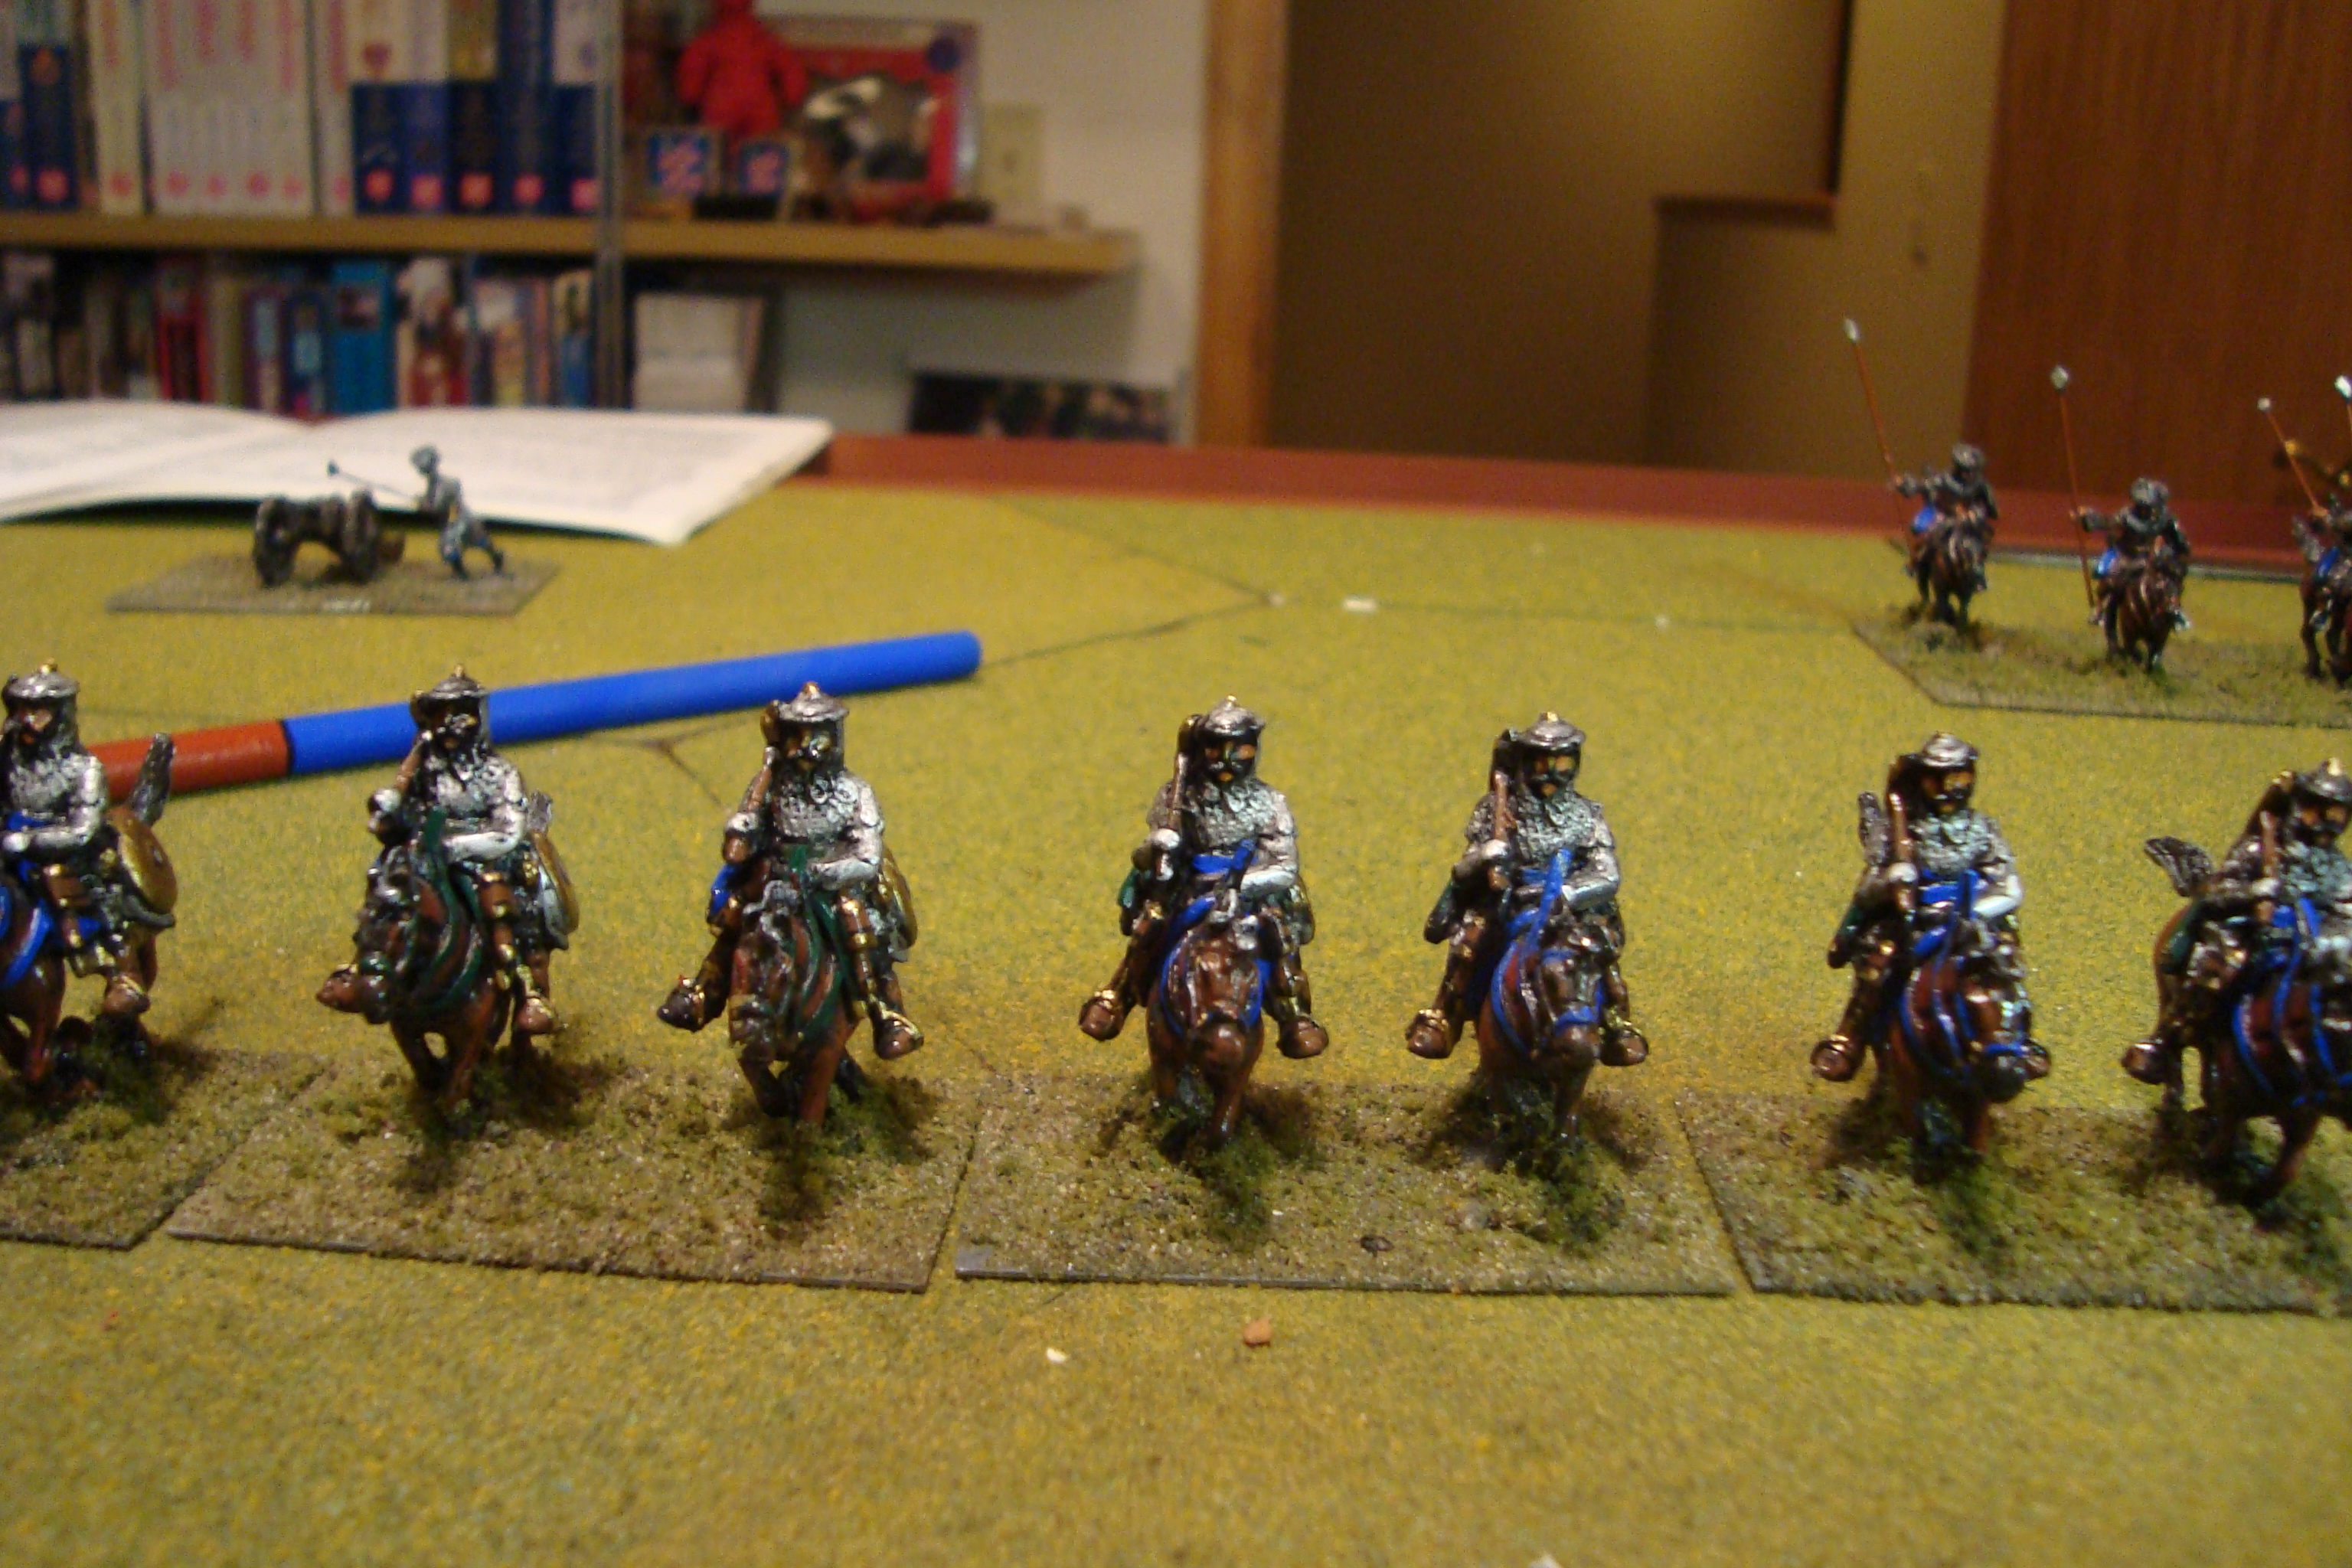
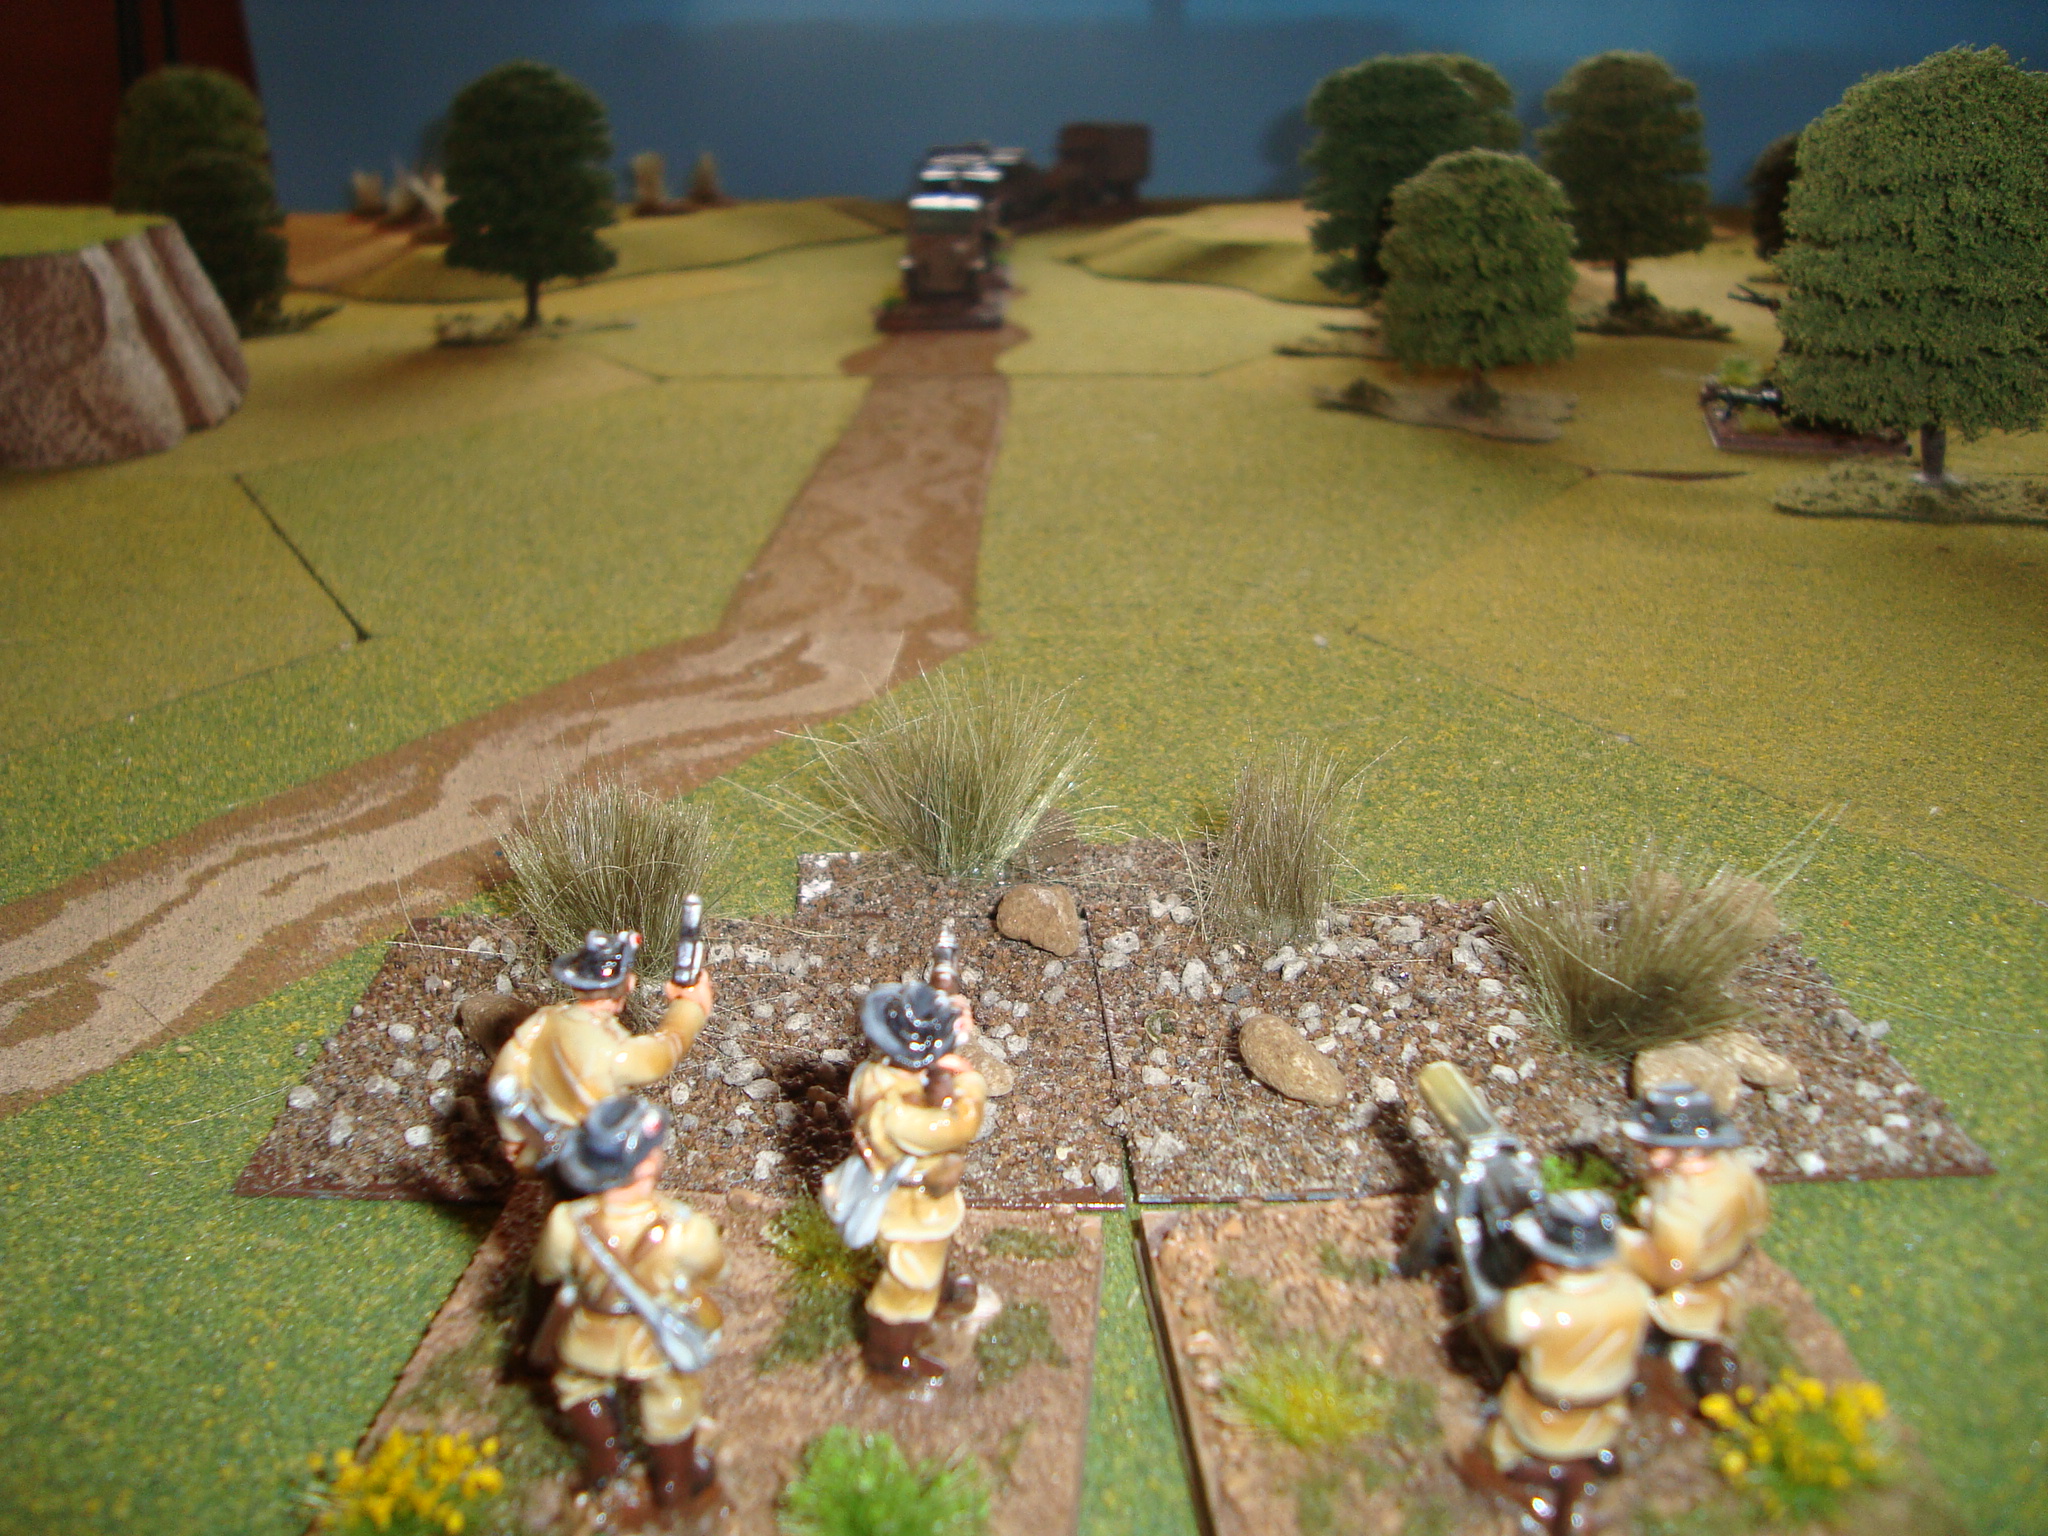
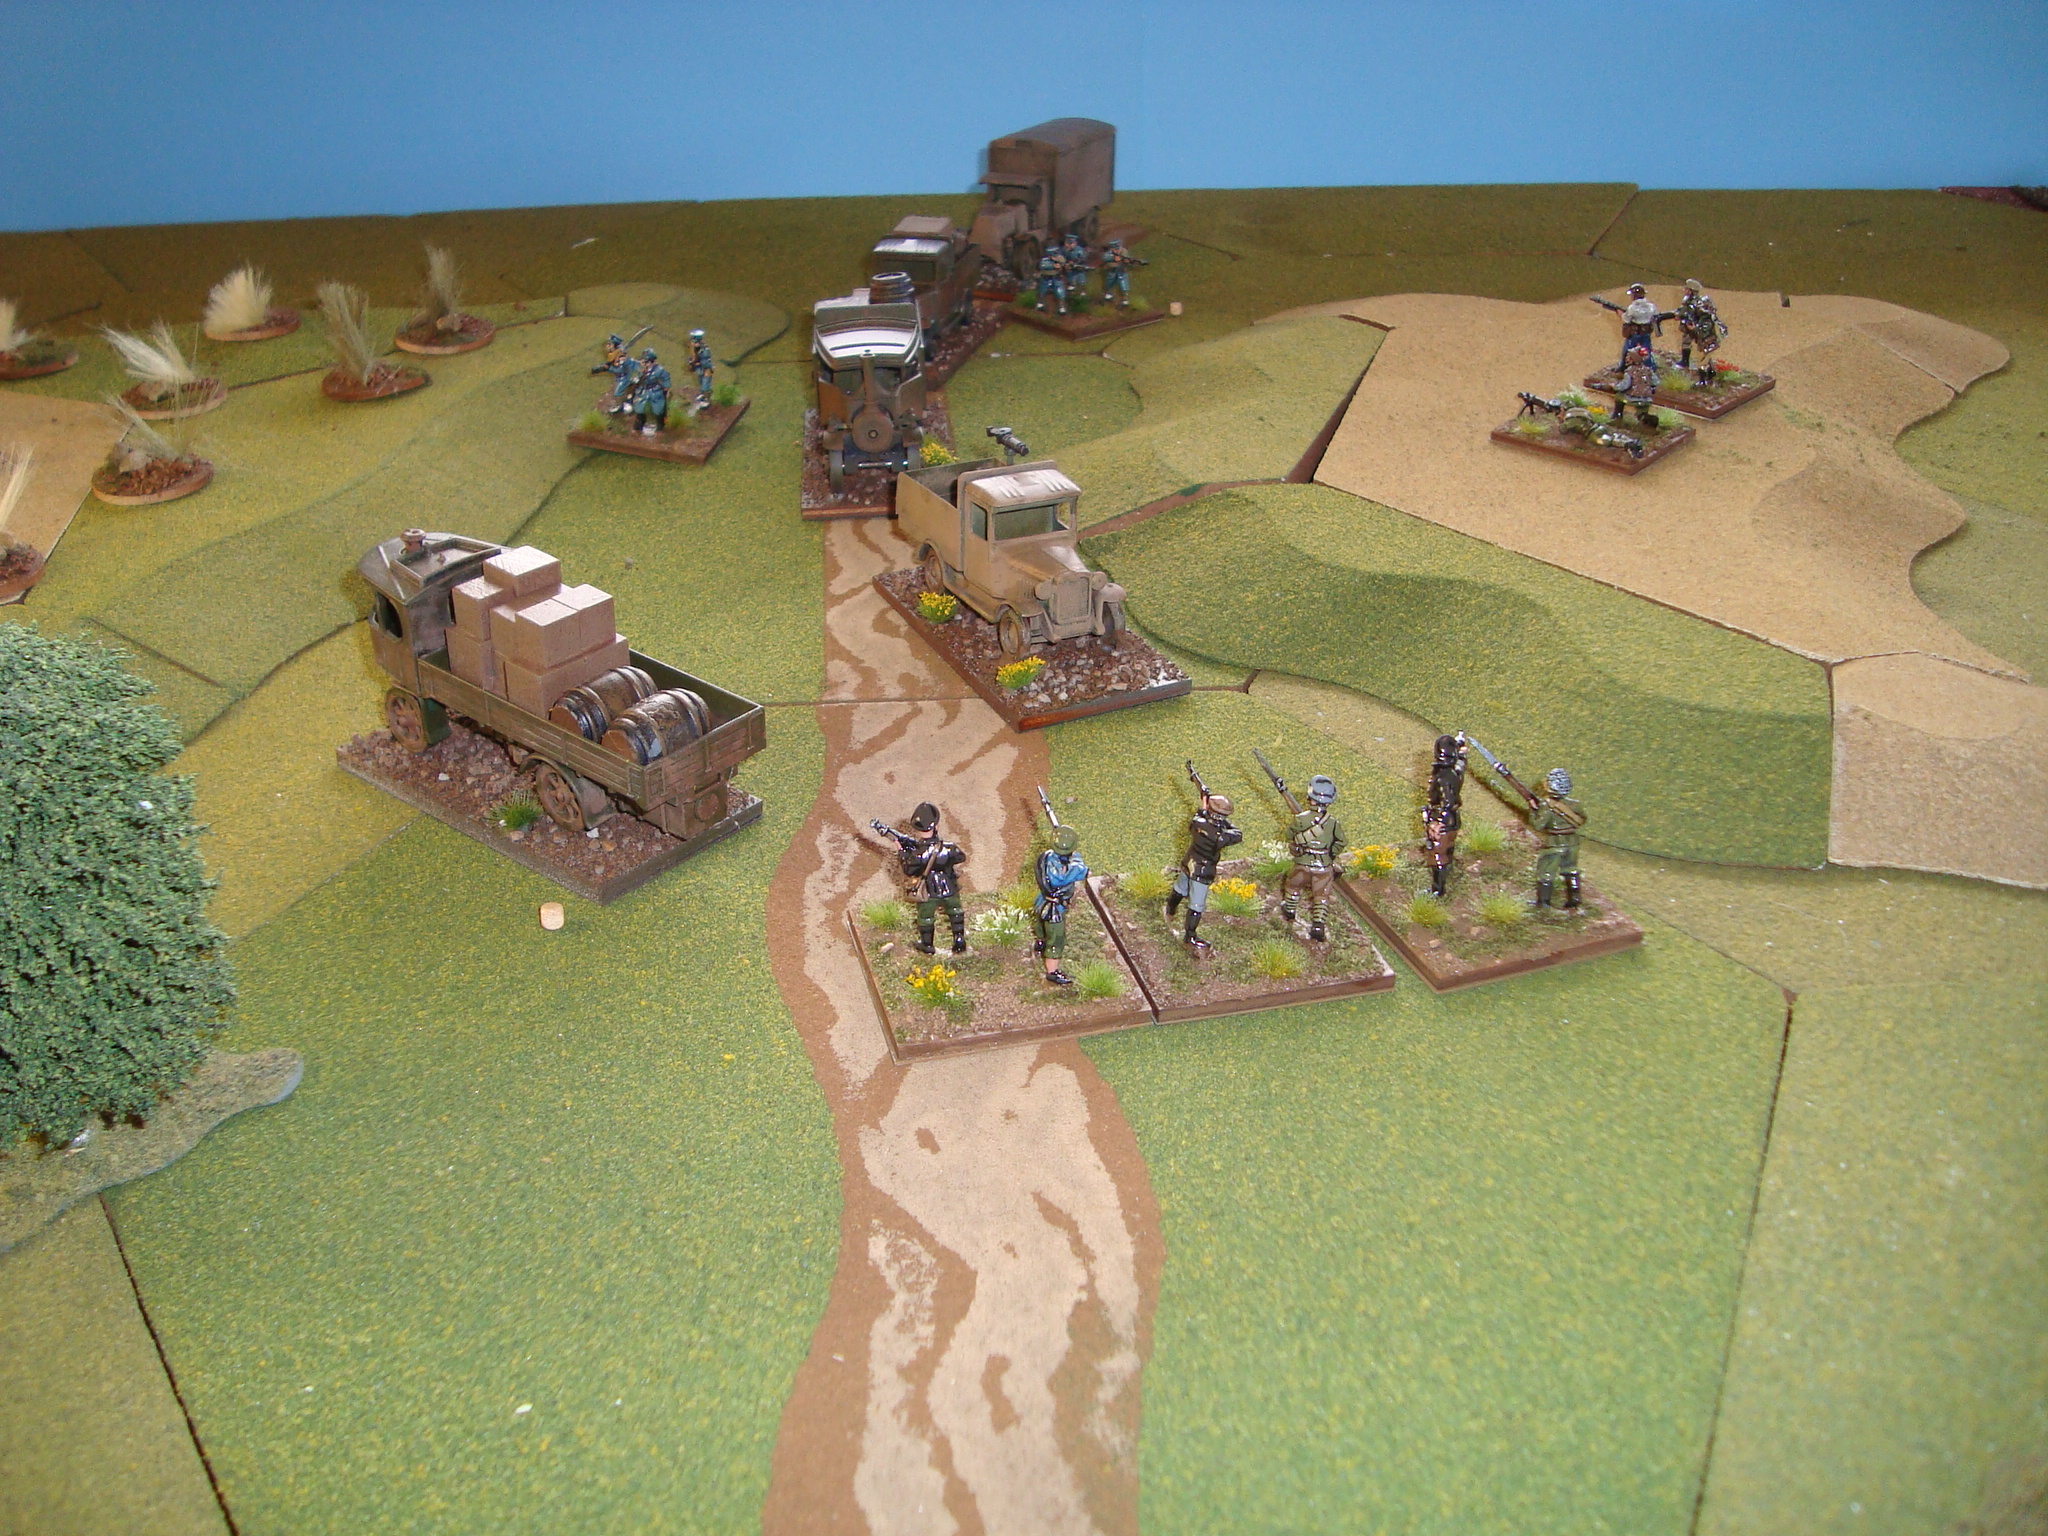
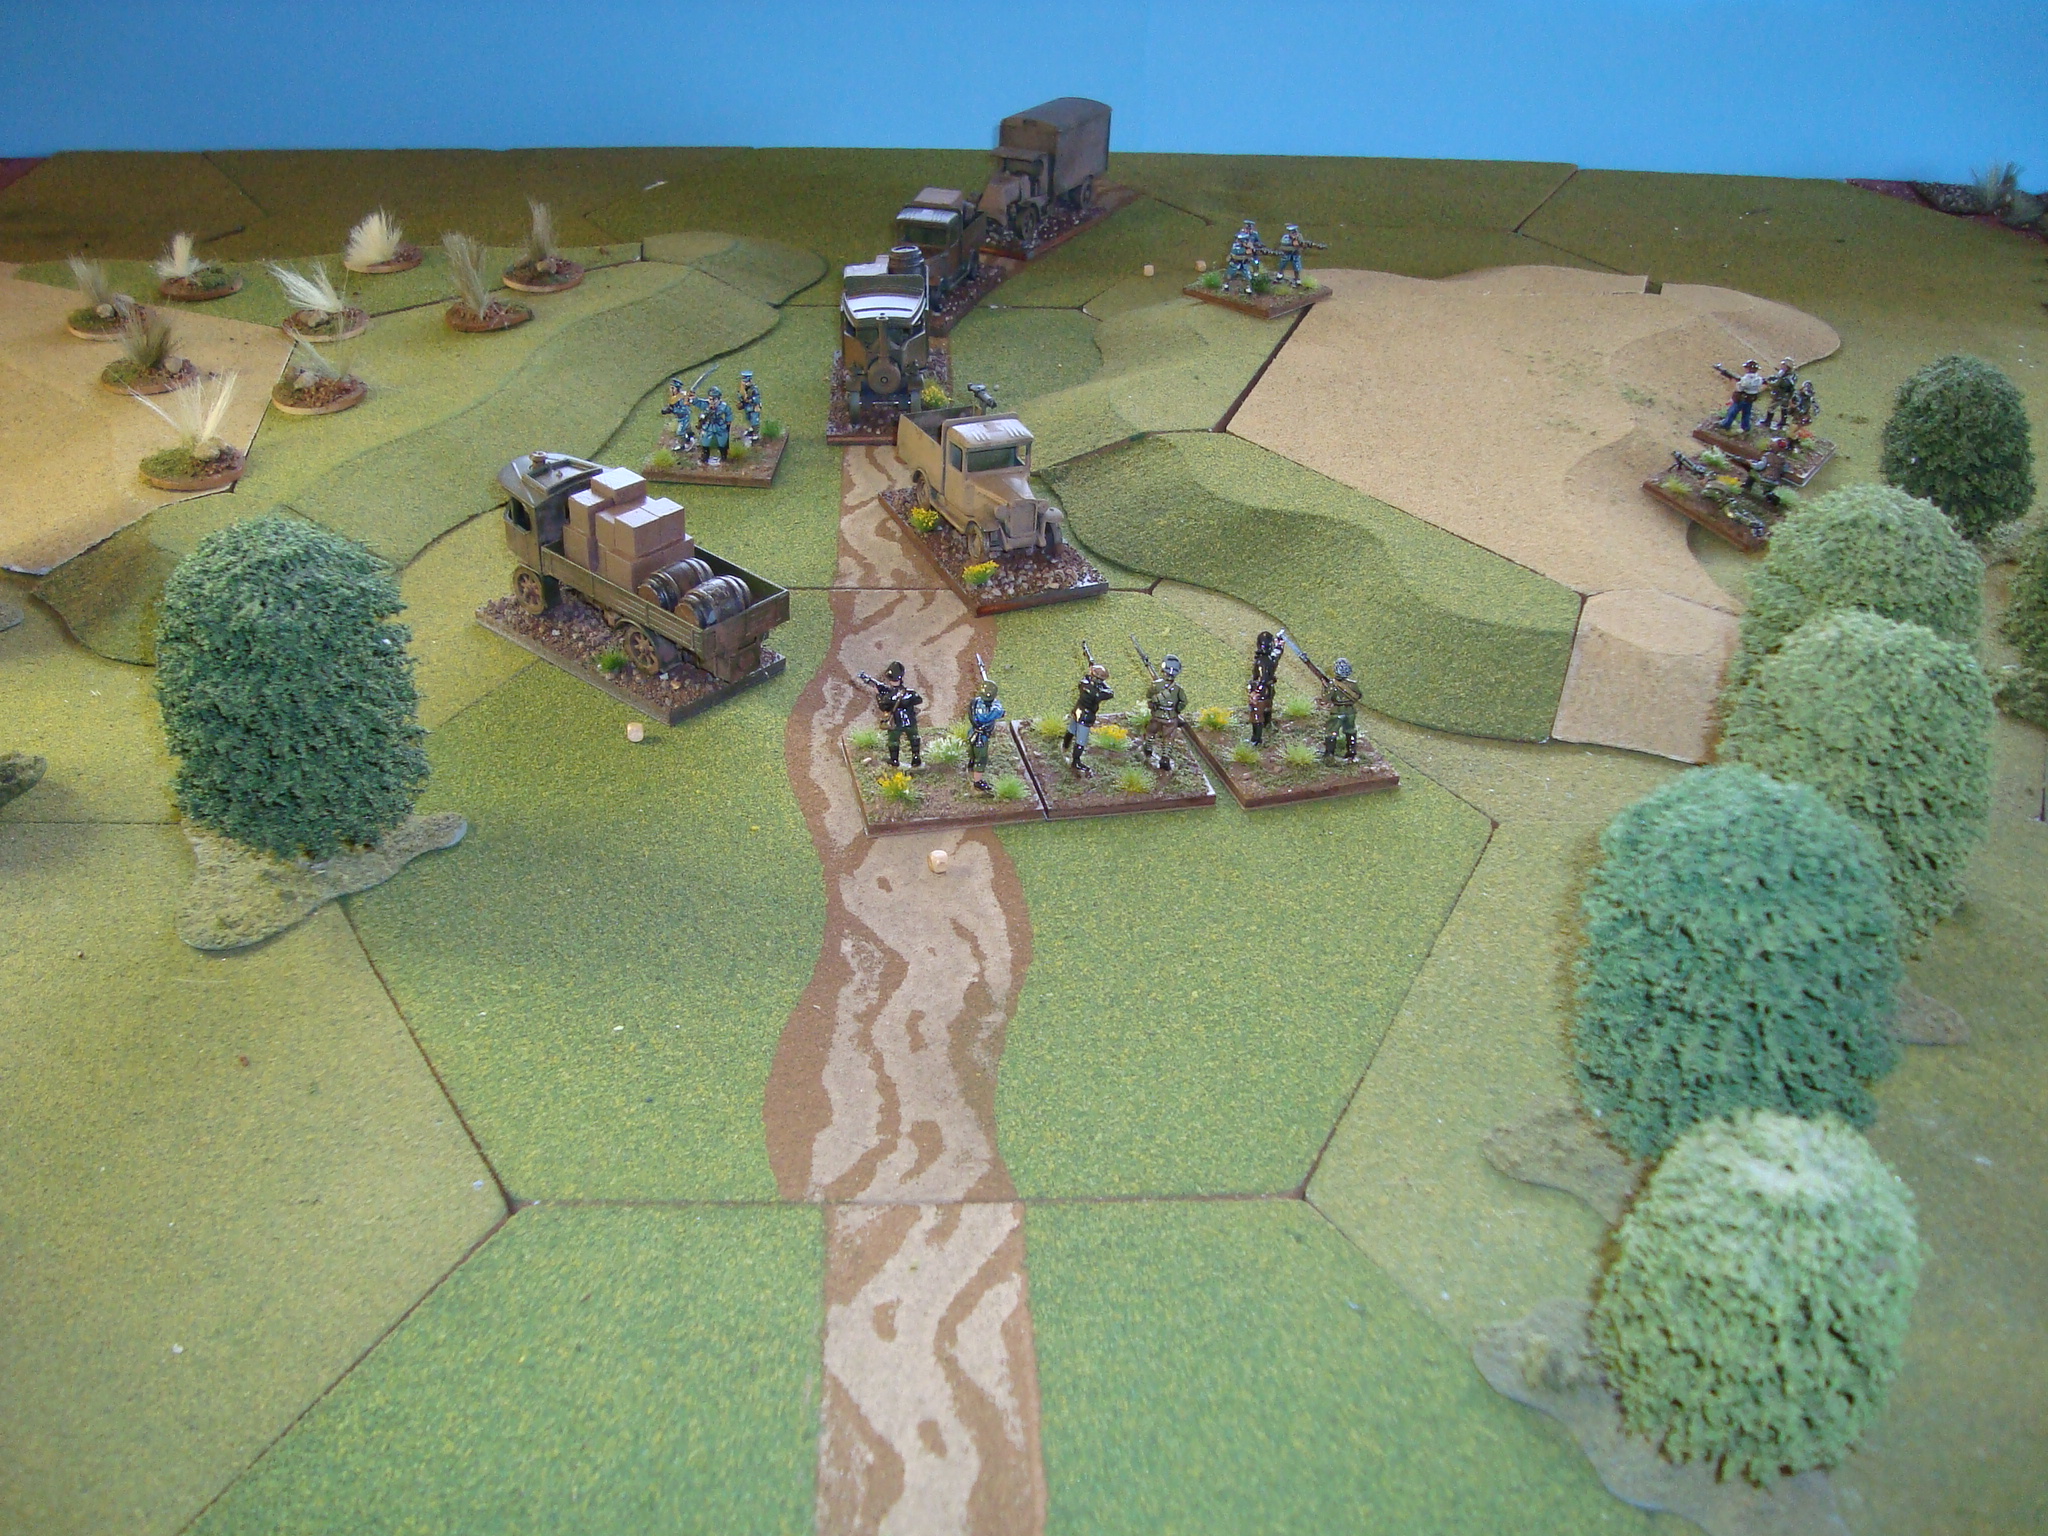
A clueless convoy, moving at maximum speed, with little dispersion and an escort of only two stands of troops.  Feeling sorry for these poor bastards, I threw in a light truck armed with a machine gun.

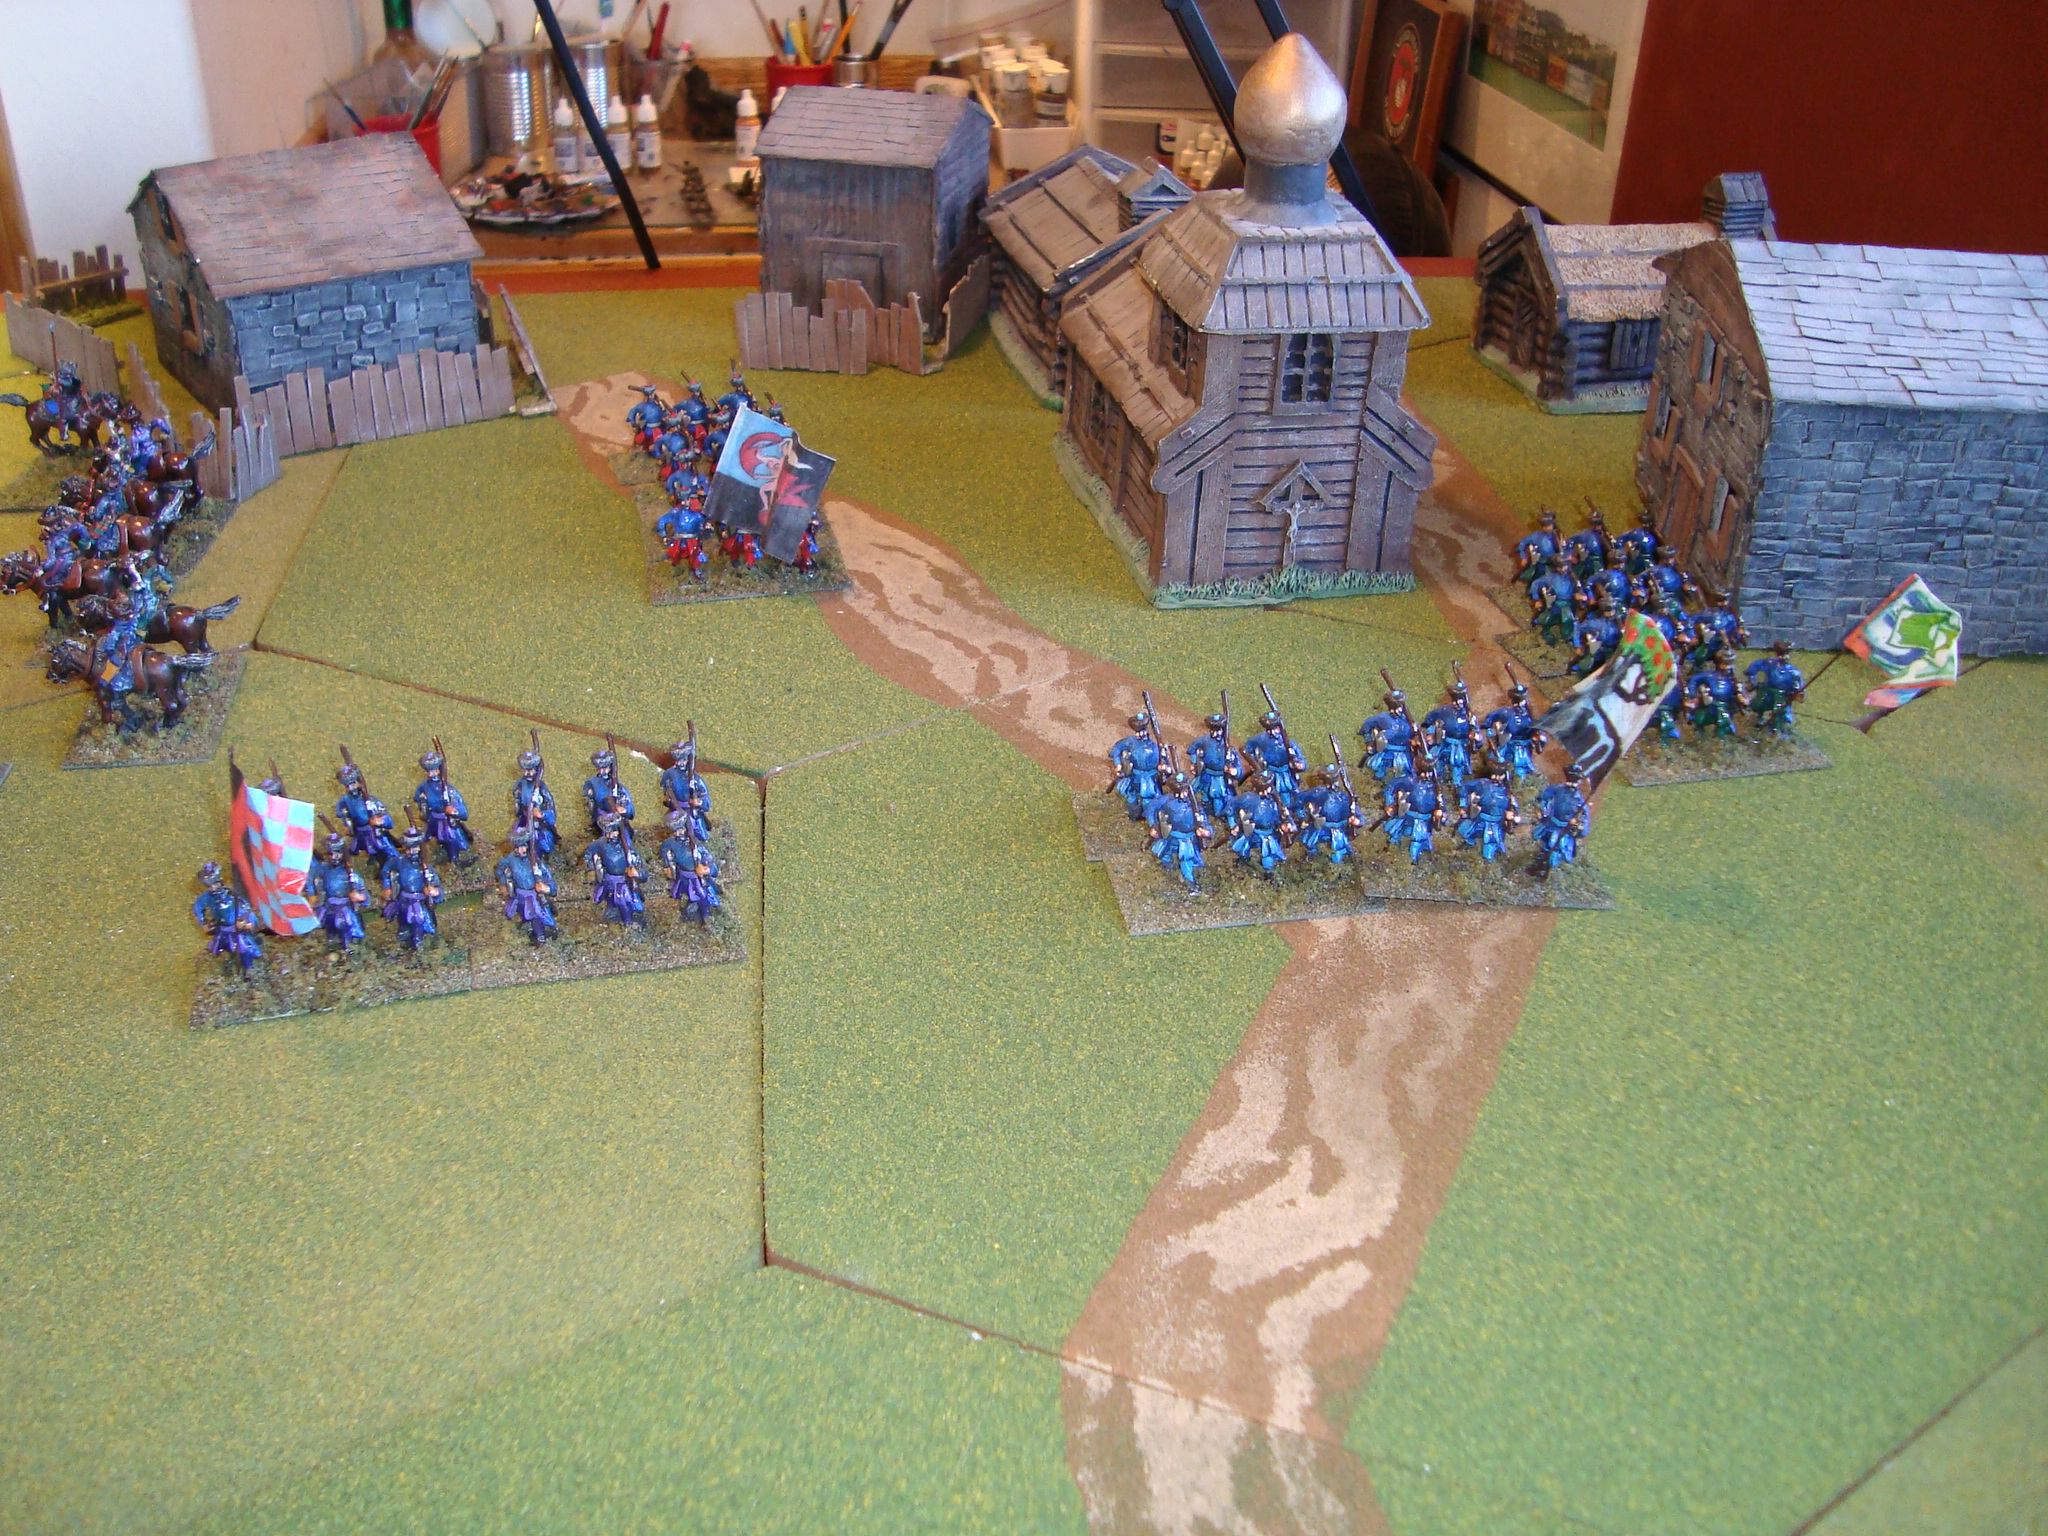
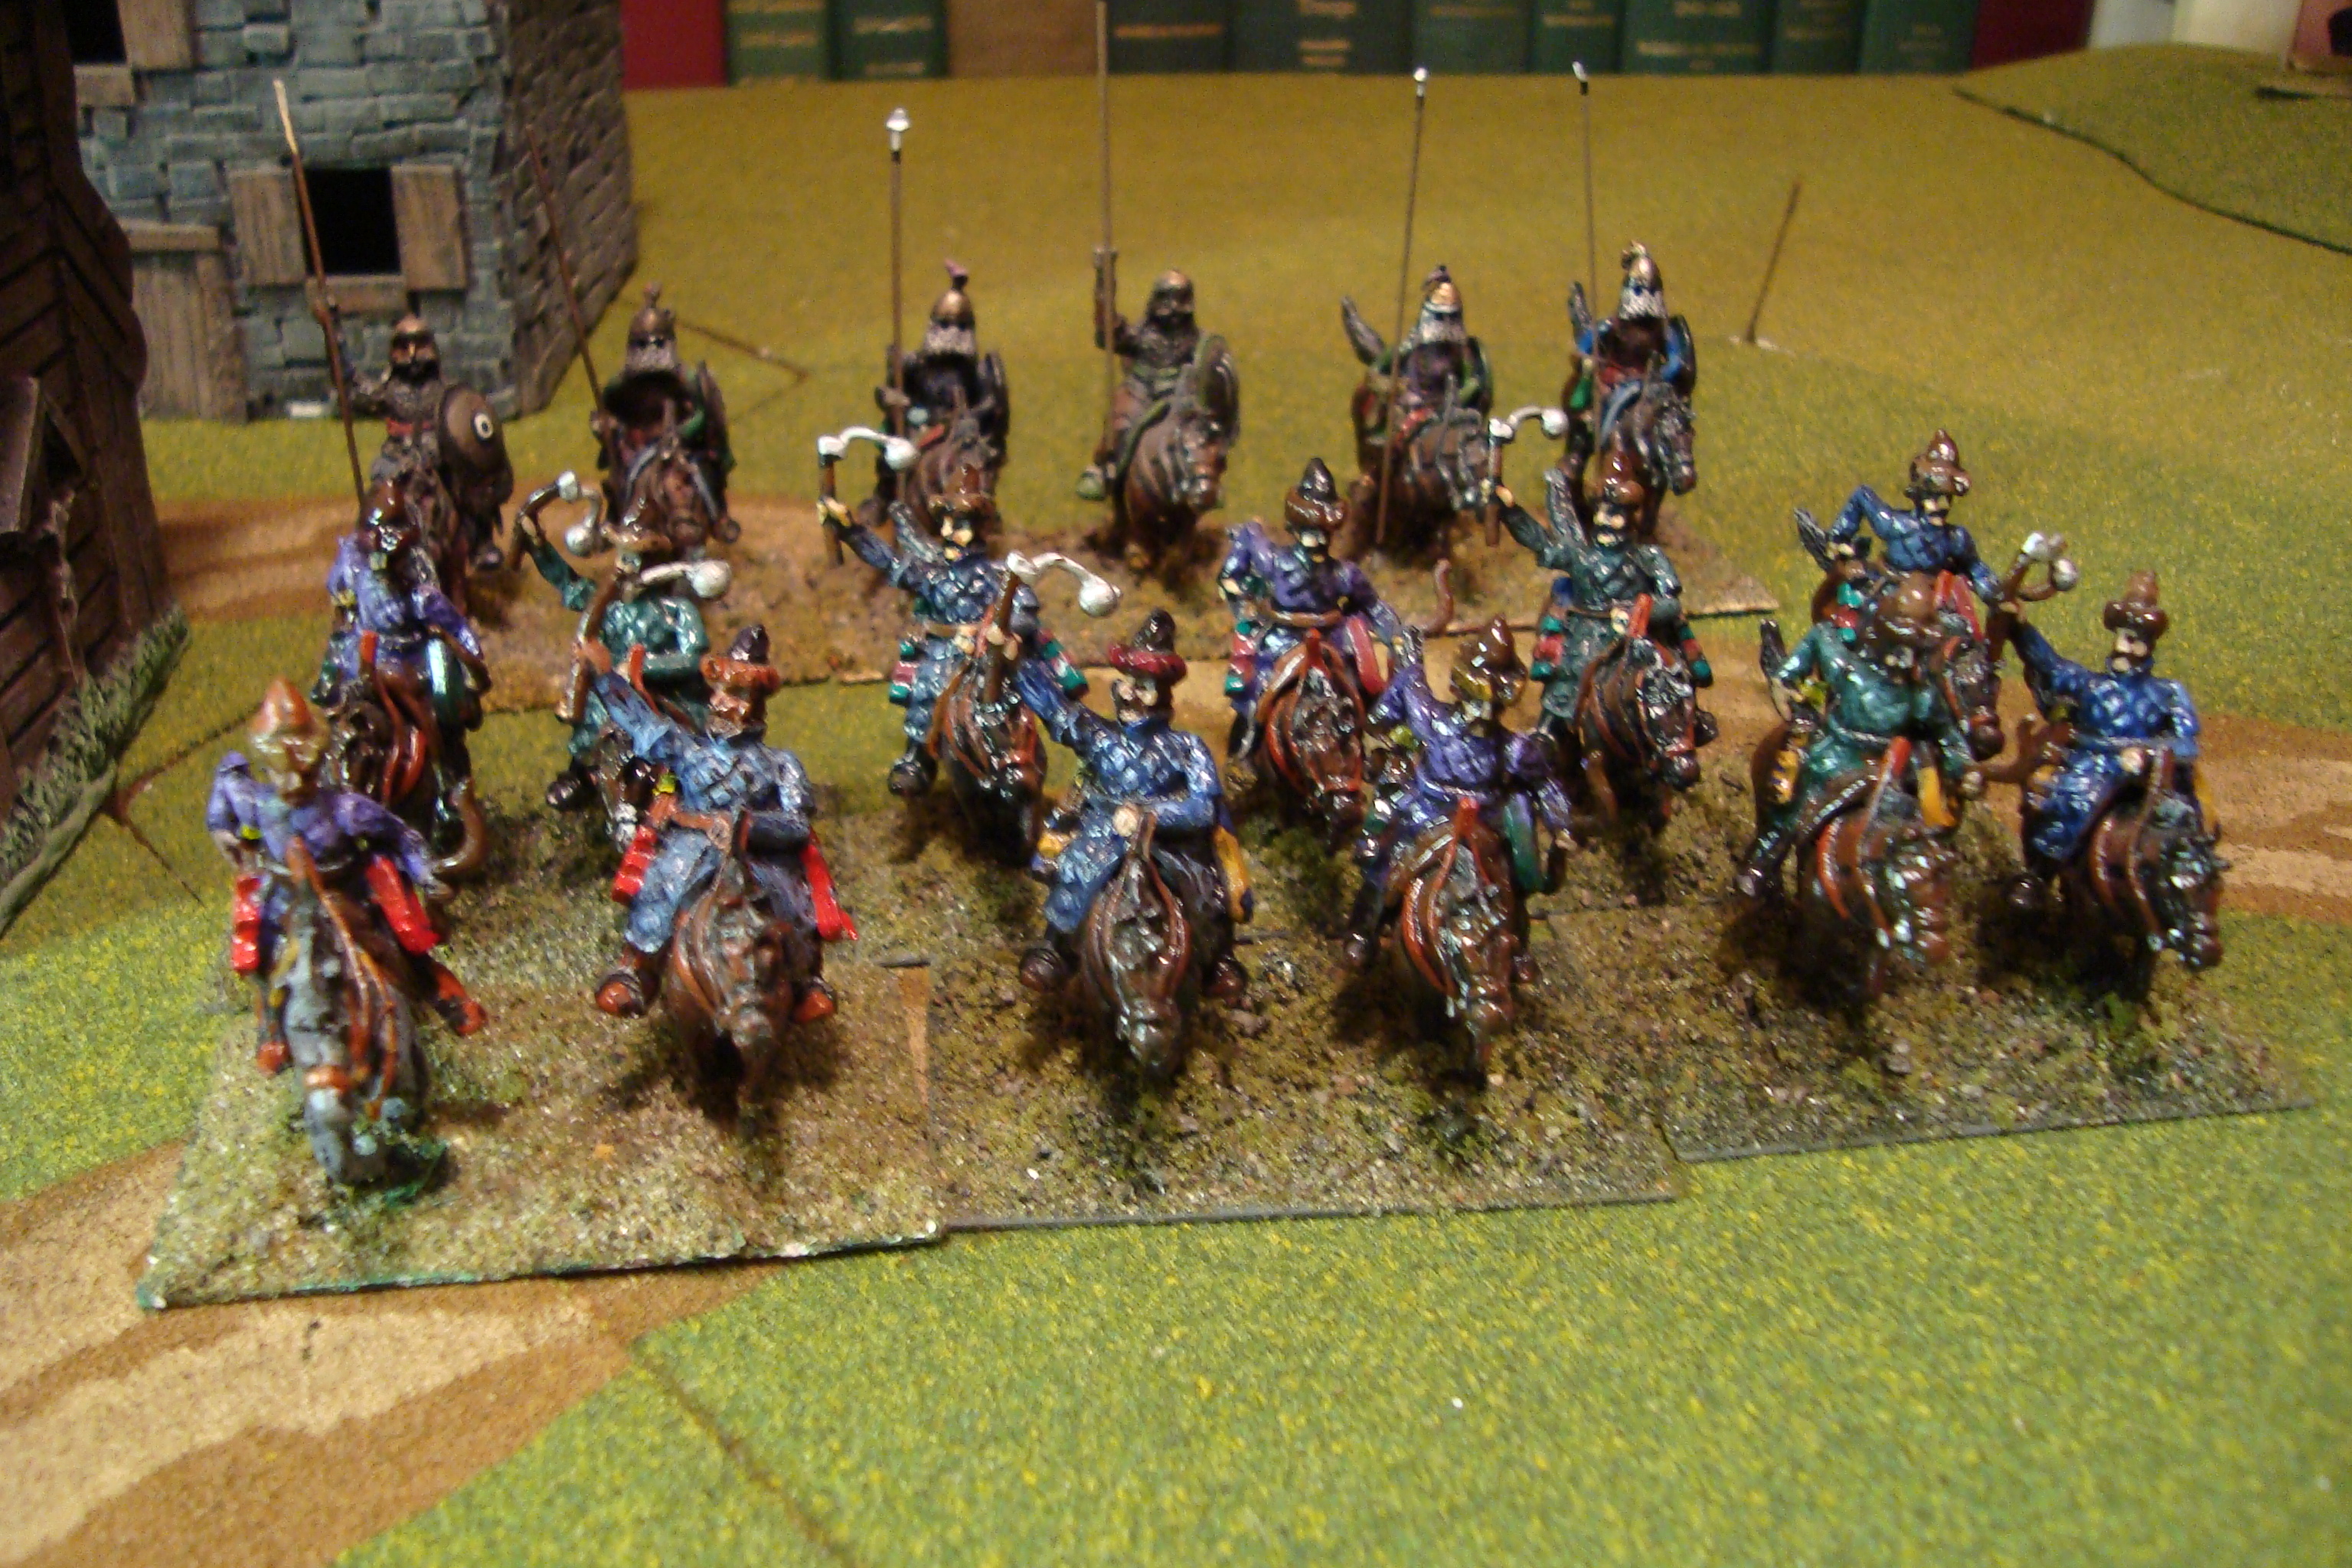
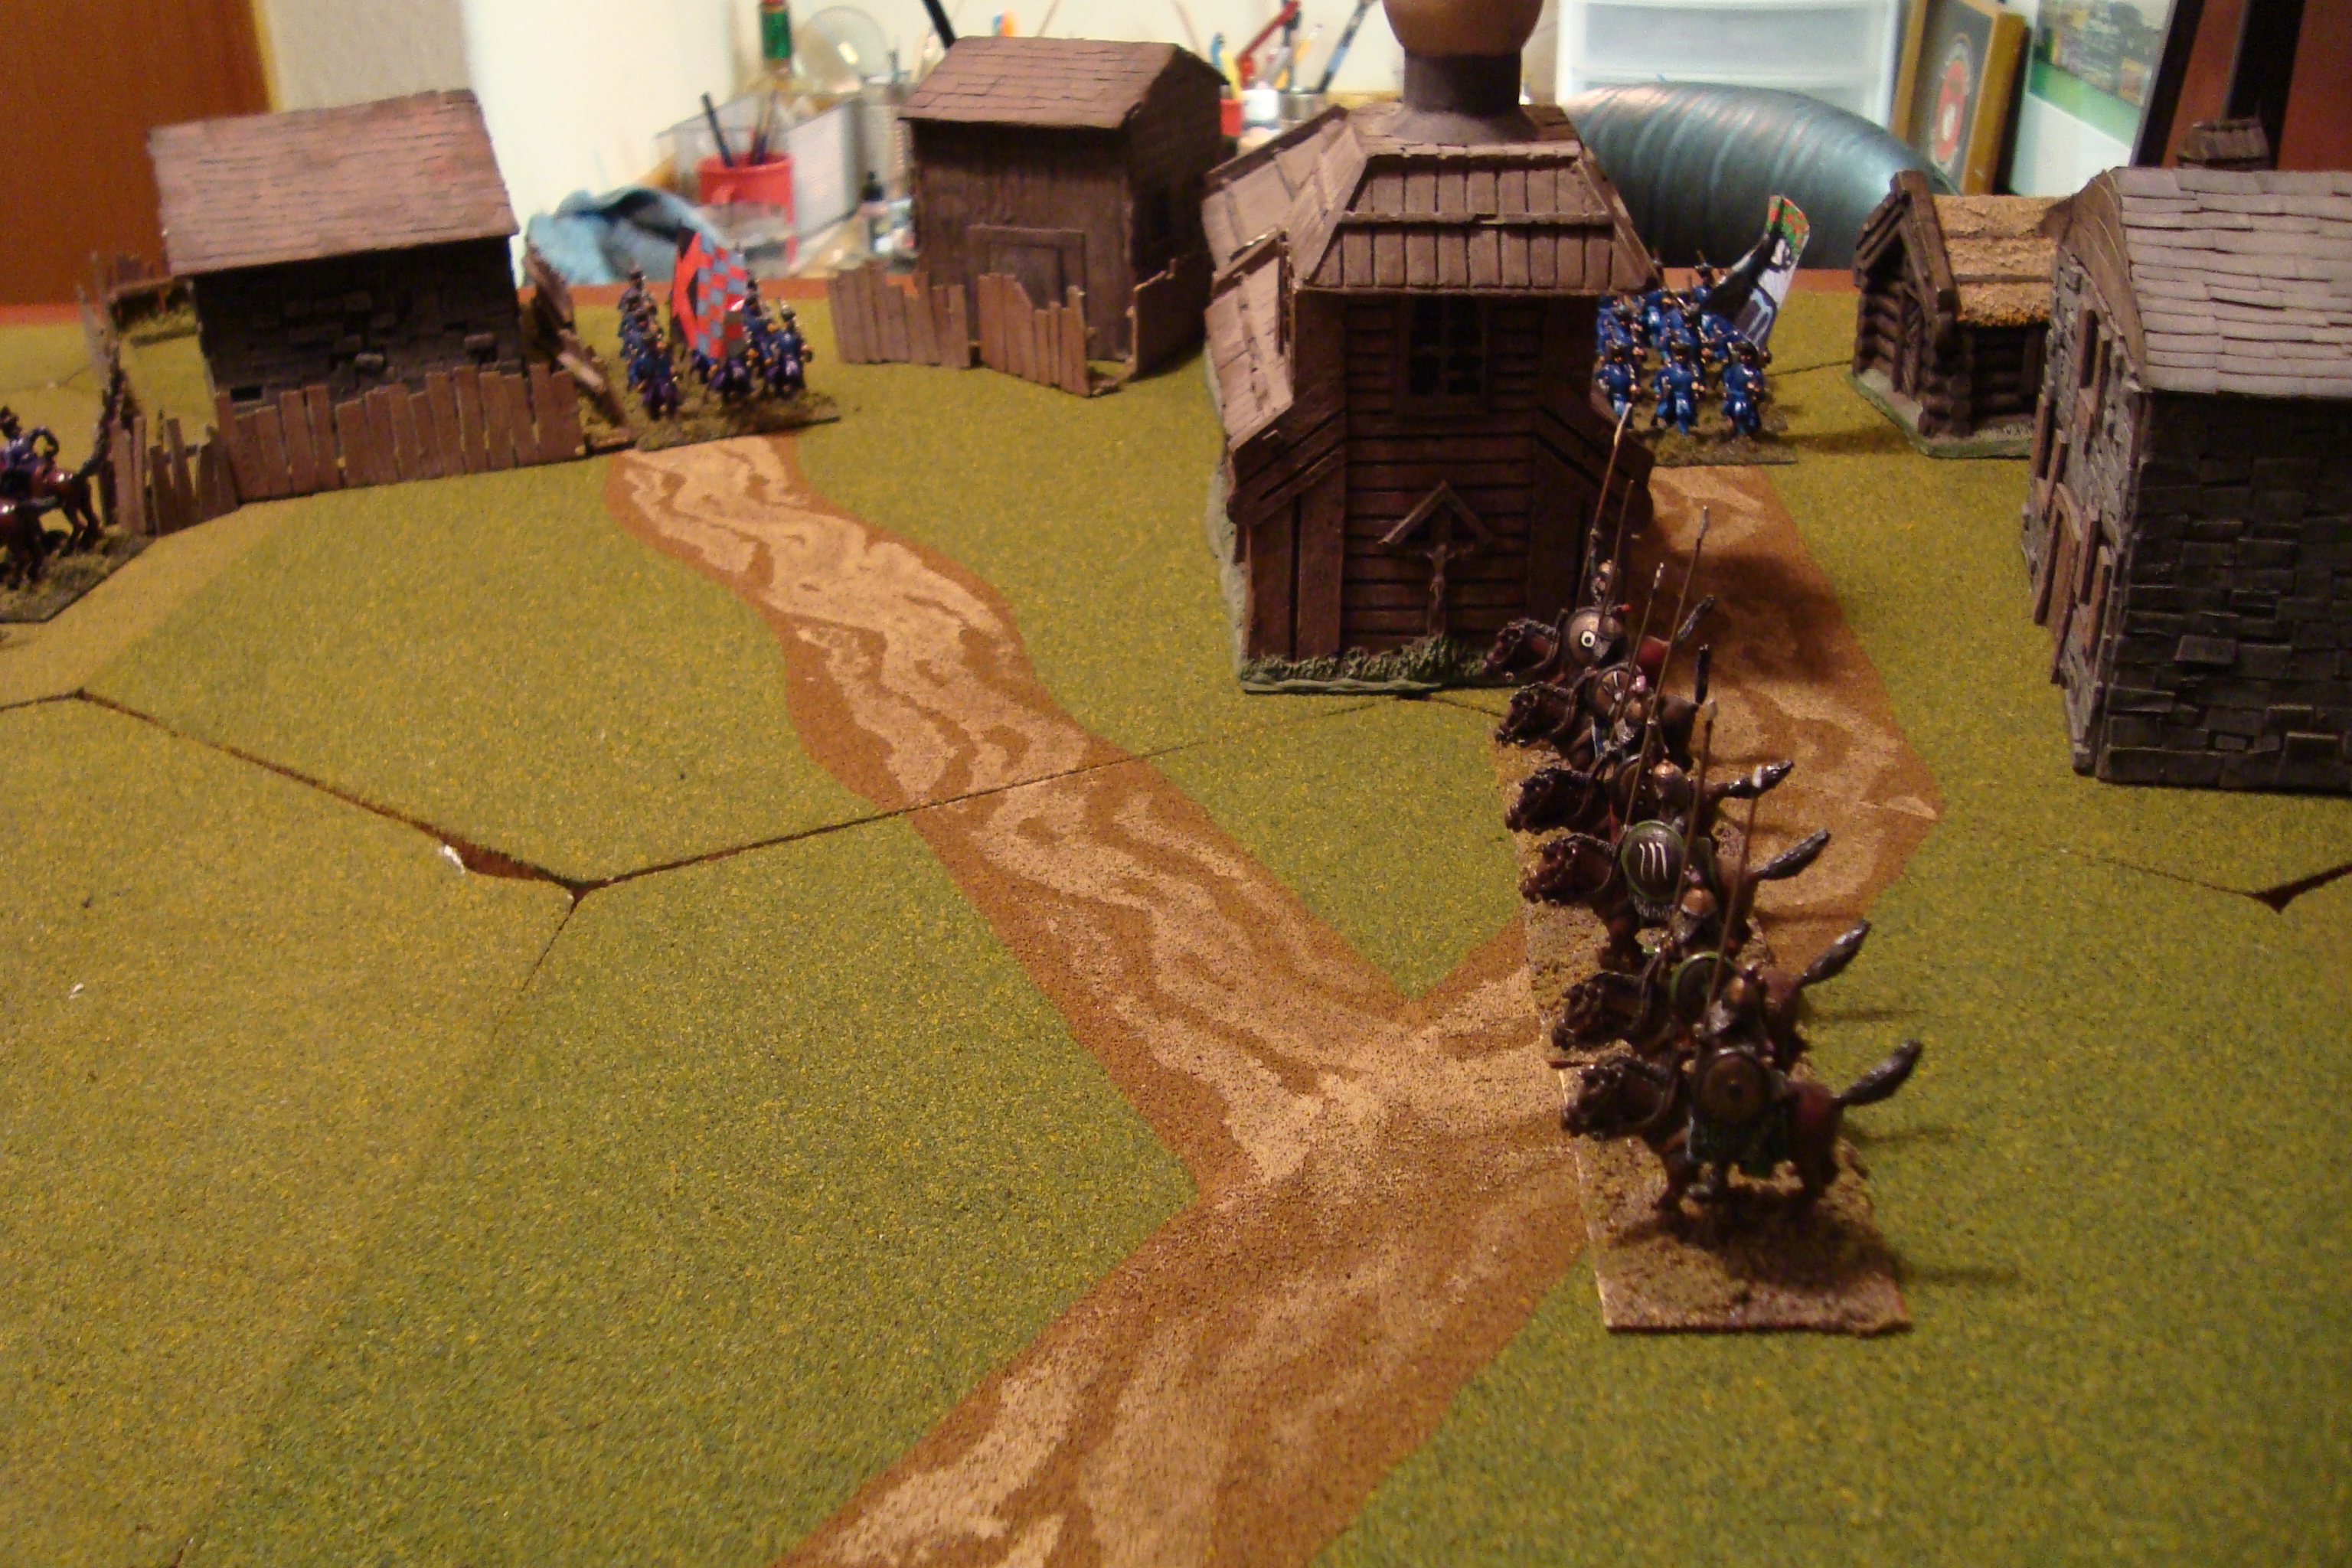
The ambush force consists of two stands of Germans, one machine gun, along with five stands of White Russian partisans.

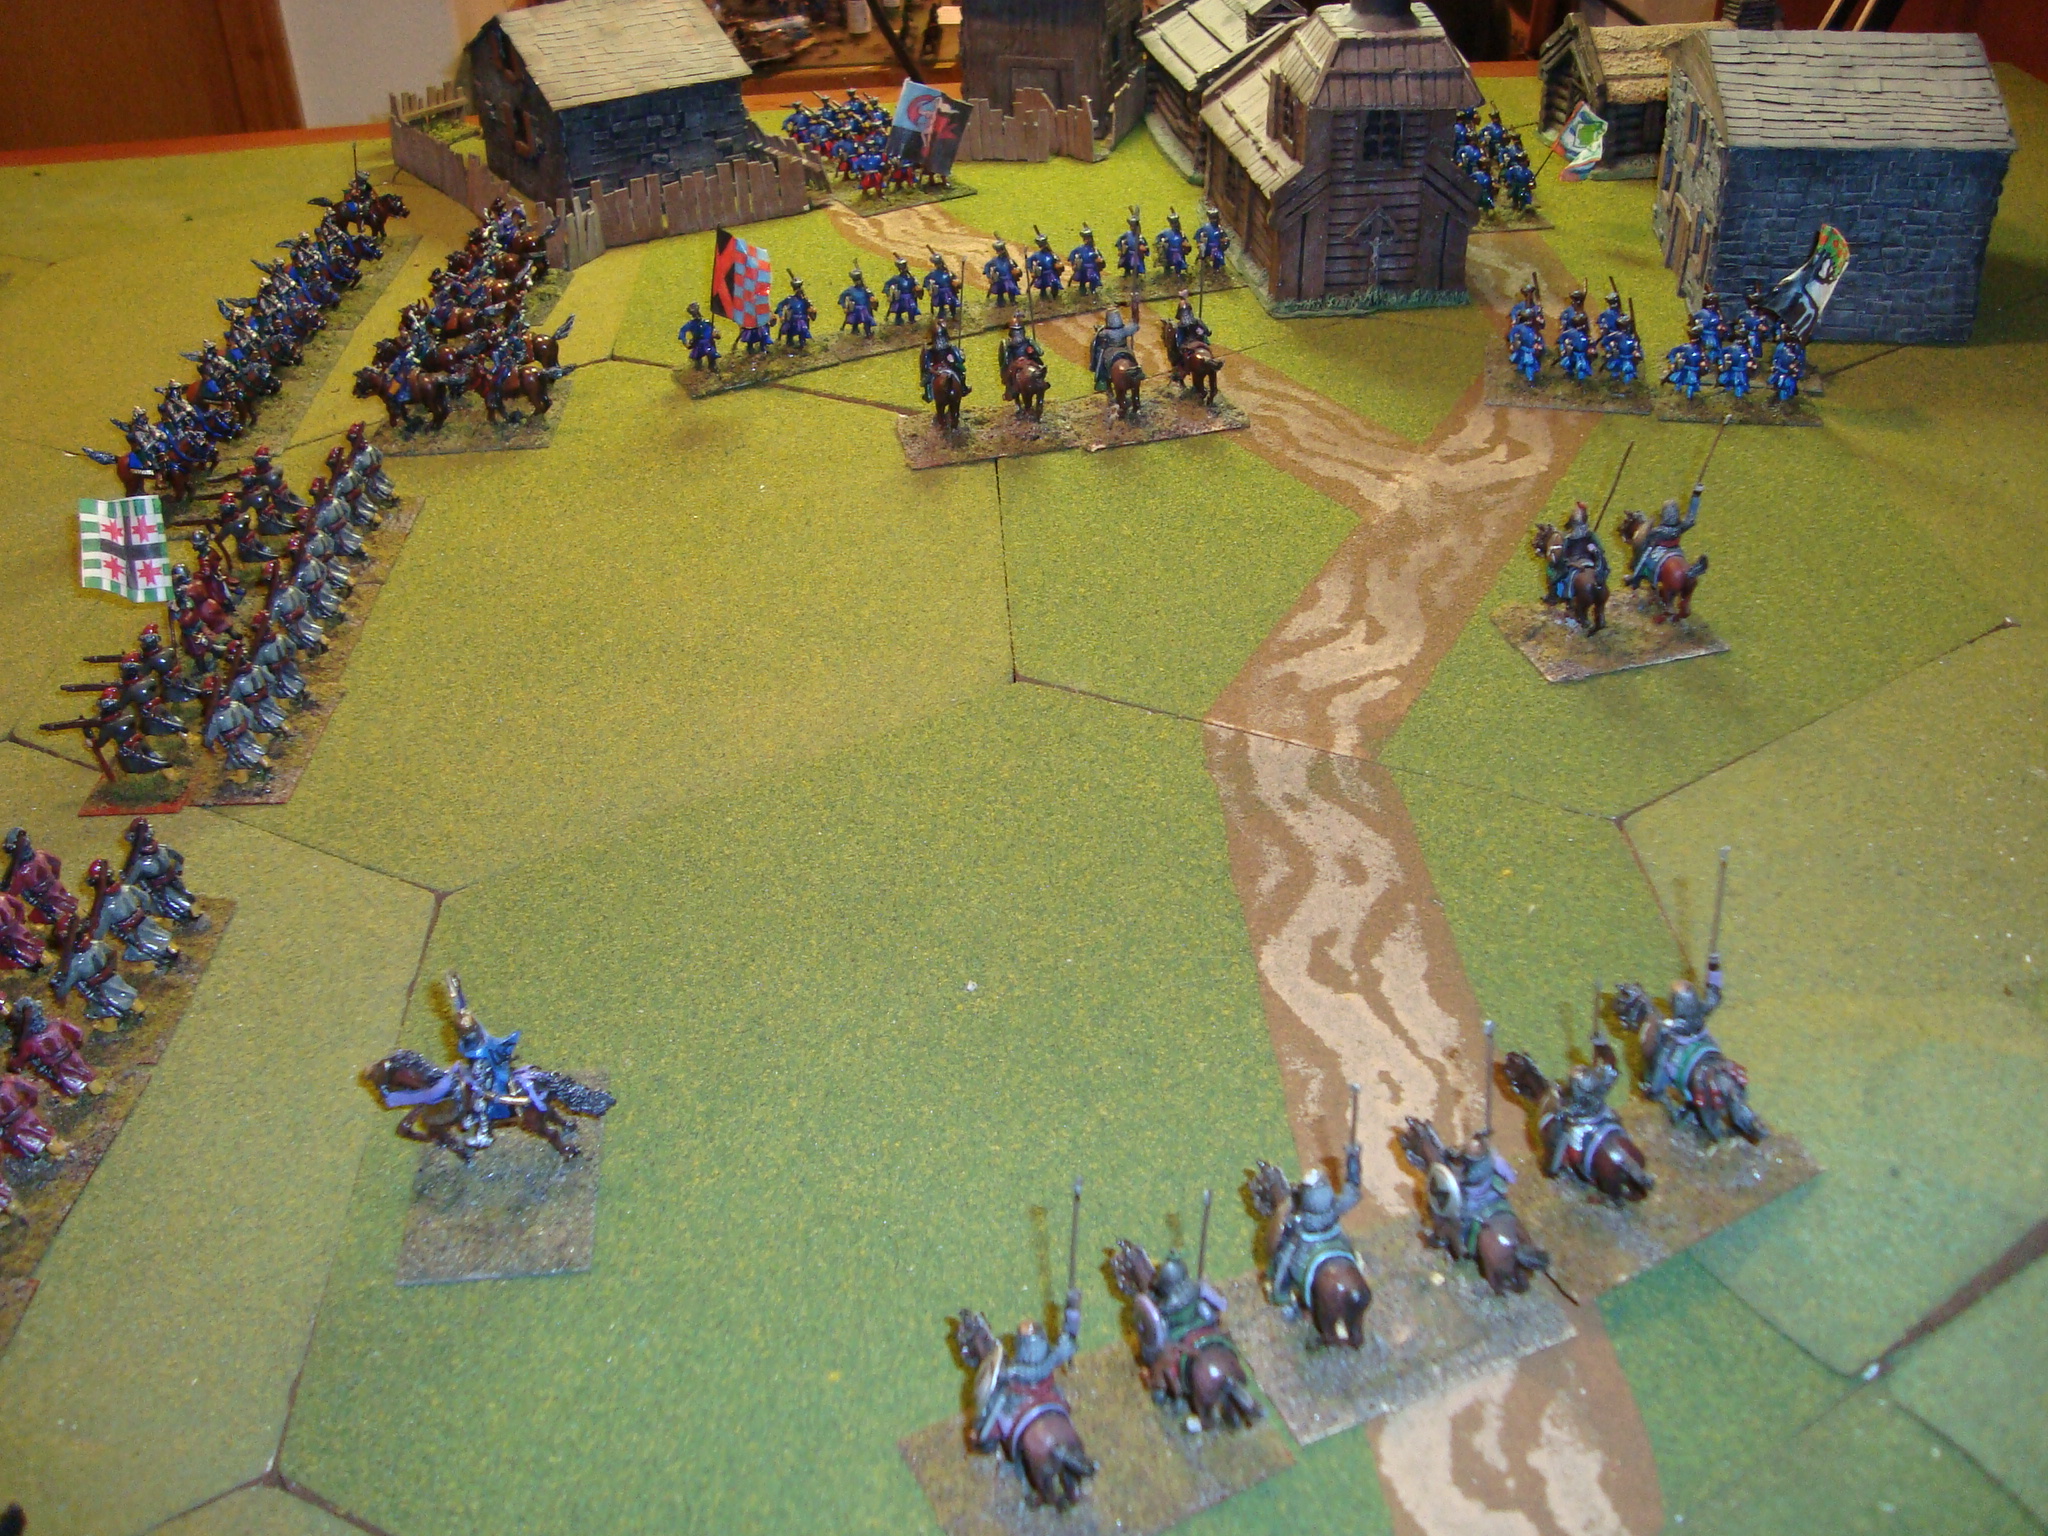
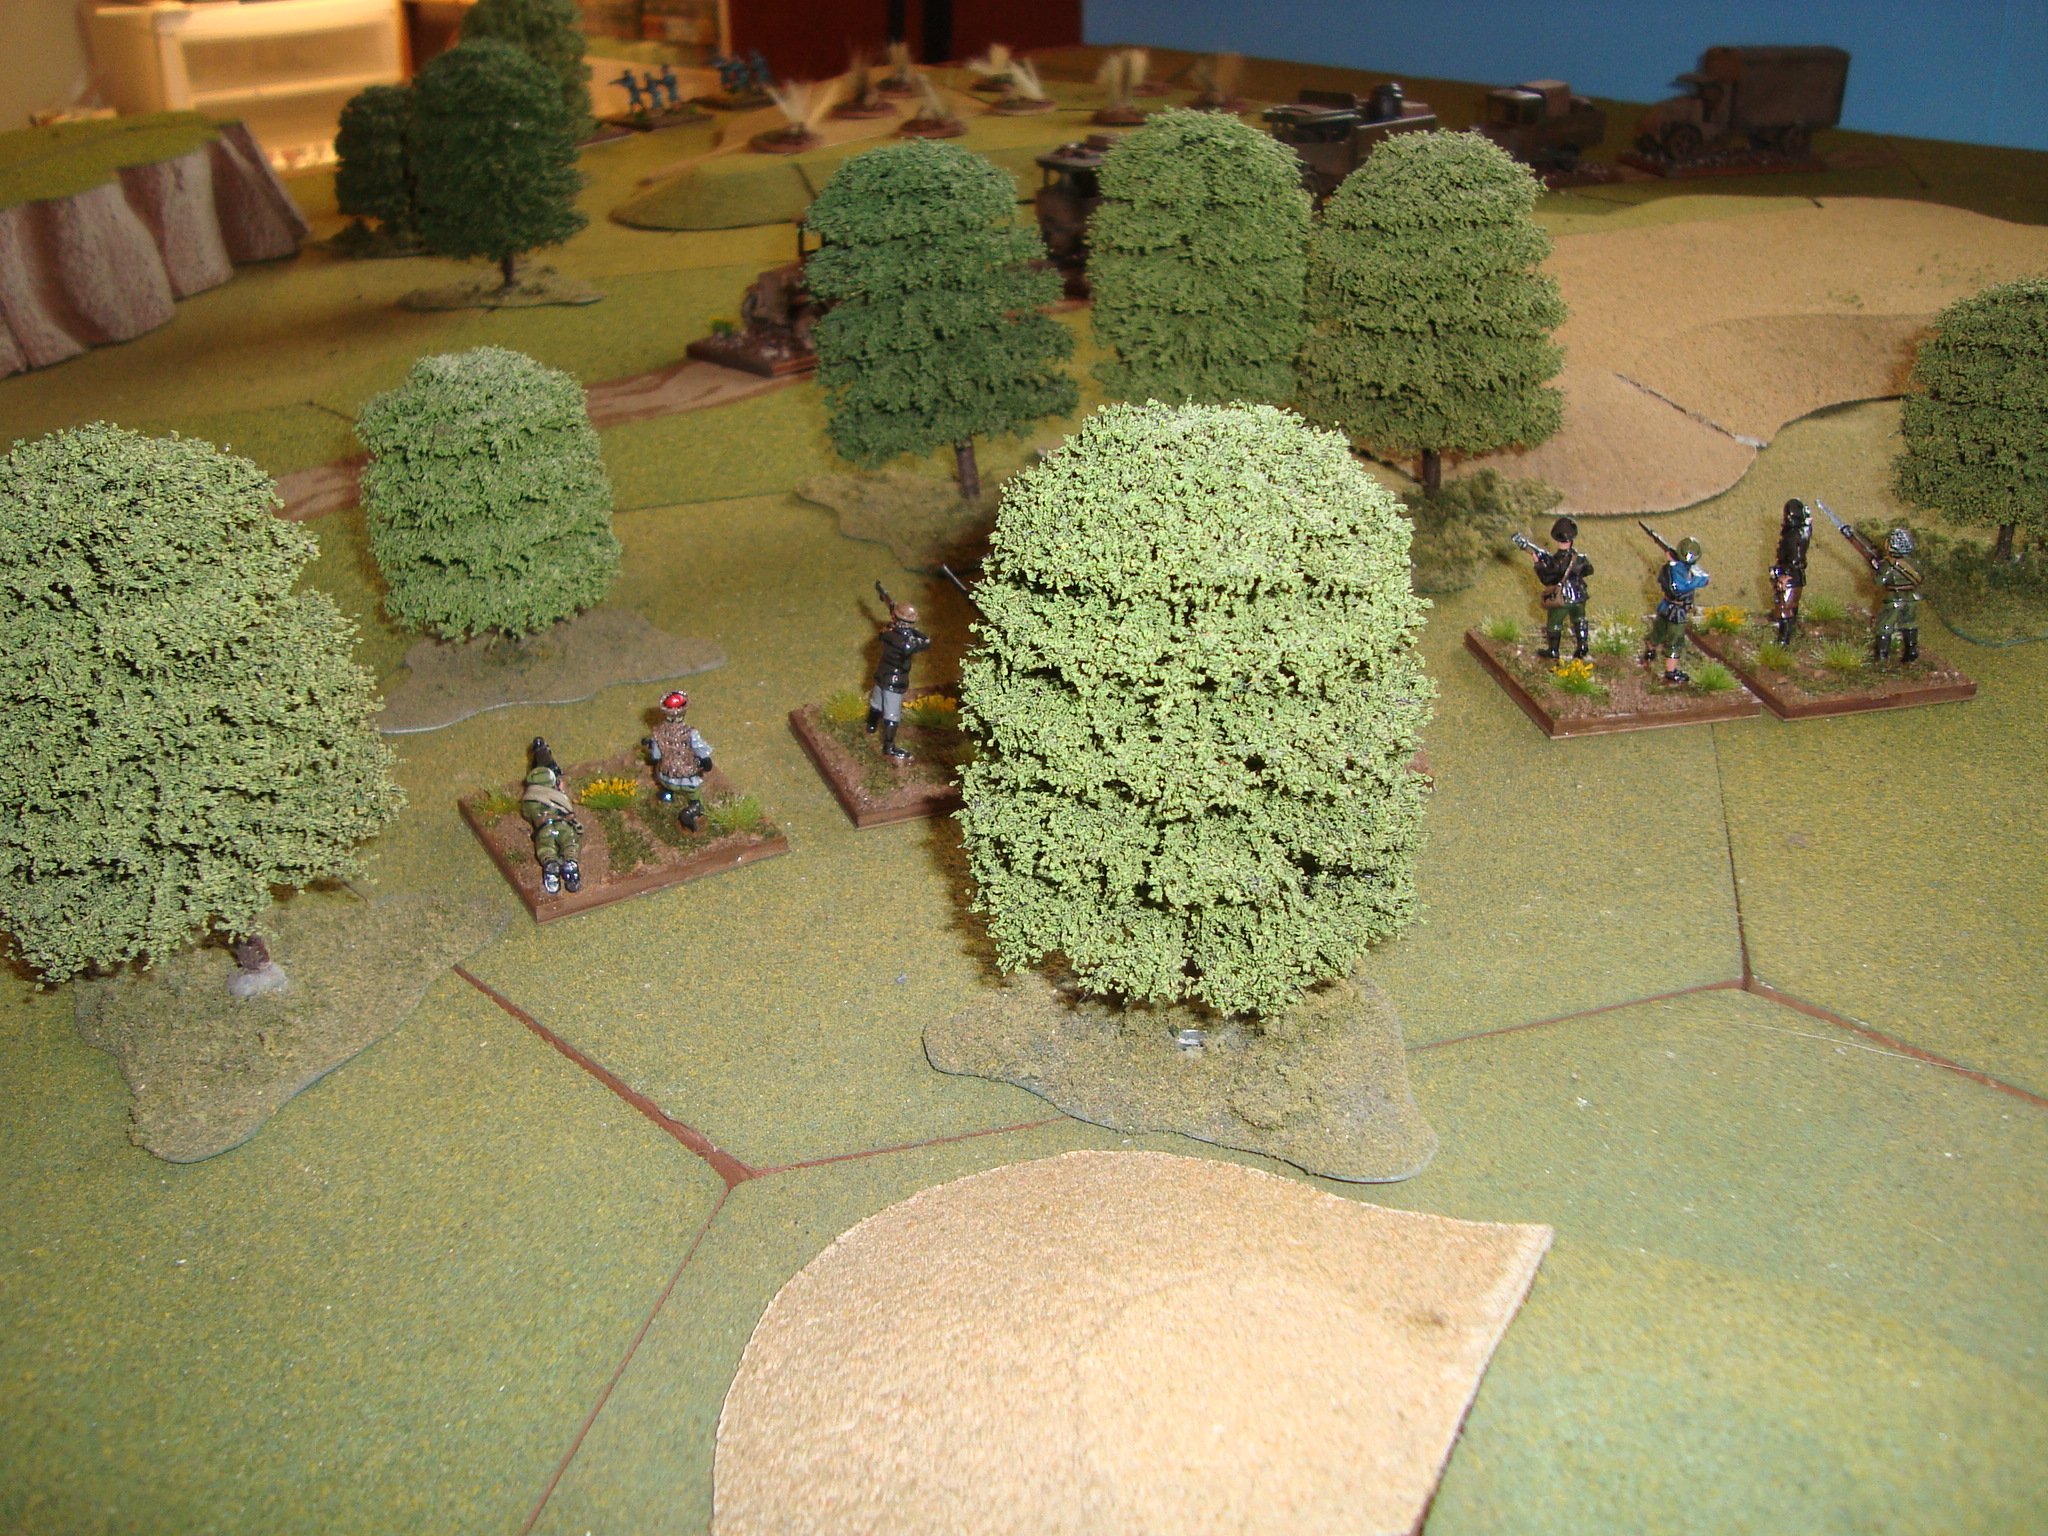
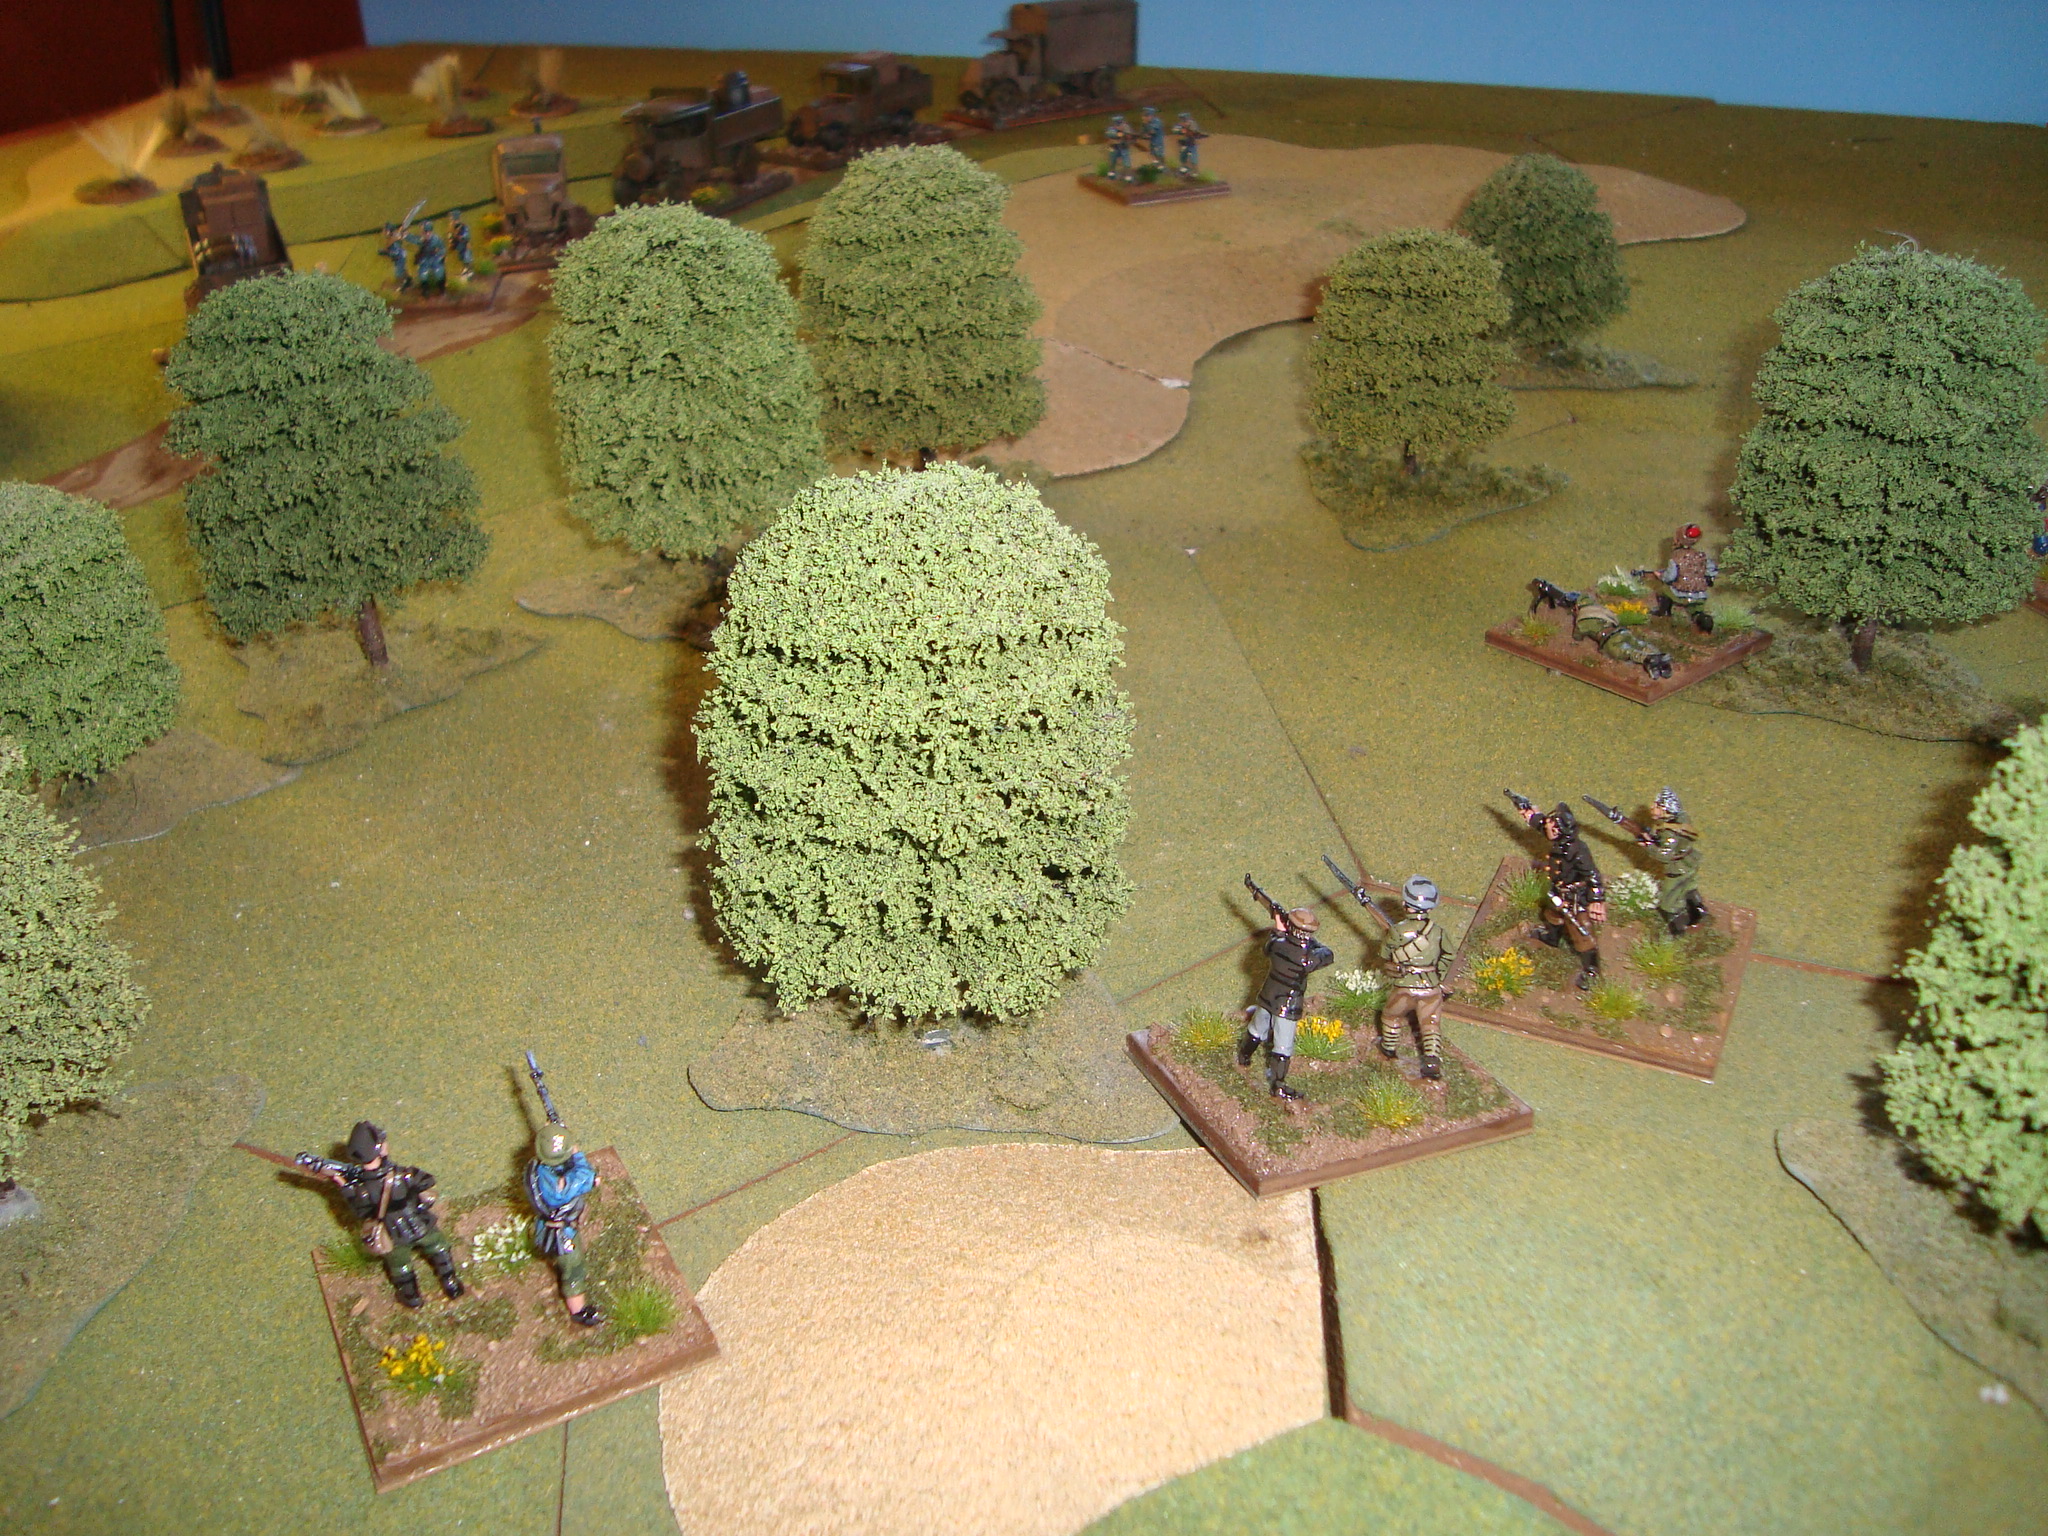
It is a classic “L” shaped ambush.  The Germans are to engage the convoy, bringing it to a halt, and if possible, continue to support the Partisan attack.  The Partisans are to attack the convoy from the wooded flank alongside the road.  Two partisan stands will move to the rear of the convoy occupying a small hill taking up a position to engage either the convoy escort, or a reaction force.  The remaining Partisans will, using fire and maneuver, destroy the convoy and, if possible, retrieve needed supplies.

The Partisans are low on ammunition and cannot engage in a lengthy firefight with the convoy.  If this occurs, they are to withdraw back into the woods, covered by the Germans.  All units will then proceed to a rally point.

I’ll post up the results tomorrow.

Drive On Washington – Finale – GBACW

Long overdue wrap up on the game.

Since the fighting at the Railroad Bridge and northern fords had devolved into ineffective firefights, I played the Truex-Gordon fight for the last three turns.

Gordon was able to flank Truex and force a retreat to cover the Washington Road Turnpike.  The Confederates enveloped individual Federal units and, while taking fire casualties to units in one hex, were able to bring overwhelming odds to bear for close-combats.

Truex’s regiments took a terrible beating.  If I had kept track of Brigade Effectiveness, I’m sure they would have been rendered incapable of offering any resistance.  As it was, without the book keeping, they were rendered incapable of offering any resistance.  Note the similar outcome.  Note I did not have to act like a bloody accountant (Sorry Tim).

On the other hand, the Federals had prevented any Rebel units from exiting the map.

I’d call it a draw.  Good game.

Start Turn 13. Gordon enveloping Truex. Railroad Bridge fight a stalemate.
Turn 13. Confederates close, flank and melee with hard-pressed Union regiments.
Turn 13. Truex disengages and falls back to Turnpike Road
Turn 14. Gordon pursues. Sets up for fire combat to be followed by close combat.
Turn 14. Truex's forces attritted.
Turn 14. Truex’s forces attritted.
Turn 15. Positions at Game's End.
Turn 15. Positions at Game’s End.

Even More Drive on Washington – GBACW

Completed Turns 9 and 10 for Drive on Washington.

The Confederates have finally crossed the “Discovered” ford in strength. One of Gordon’s Regiments attempts to pin Truex’s Union division, while the remainder attempt to flank Truex to the south, opening the way to Washington DC. Maruading Rebel cavalry charges a limbered Union artillery battery but, implausibly, fails and is locked in melee. The belagured artillerymen are saved by a timely charge by one of Truex’s brigades and the Southern cavalry retreats. Truex’s division begins a fighting withdrawl to the southeast in an attempt to thwart Gordon’s envelopment.

At the Railroad Bridge, Ramseur’s division begins a prolonged firefight with Rickett’s Union division. Further north, Rodes attack against Tyler’s Federals fails and Clendon’s outnumbered Union cavalry shatters Grimes’ brigade’s charge across the southernmost ford.

The Southern attacks aimed at the two northern fords and the Railroad Bridge have stalled, and their is little prospect for success.

While Gordon’s division has pushed Truex’s division back towards Washington, they running out of time.

In Drive on Washington, victory points are assigned not only for units destroyed or captured, but also for the number of Confederate units that can exit the map on the two roads leading to Washington DC. The number of factors that exit the map are multiplied by a factor based on how early in the game this occurs. The best chance for a decisive Confederate victory is to exit the map prior to the beginning of Turn 12, so the next two turns are critical.

Turn 9: Gordon Pins Truex and Begins Flanking March
Turn 9: Rodes' Attacks At The Northern Fords Stall
Turn 9: Rodes’ Attacks At The Northern Fords Stall
Turn 10: Truex Begins A Fighting Withdrawl Towards The Washington Pike. Firefight at The Railroad Bridge Continues
Turn 10: Rodes Cannot Make Against Tyler or Clendon
Turn 10: Rodes Cannot Make Headway Against Tyler or Clendon


More Drive On Washington – GBACW

Quick post.  Was hoping to get two turns in but sidetracked by Negronis and Twilight Zone Marathon.

Cranked out Turn 7.  Confederates started moving across the discovered ford, but were stopped cold in their assault attempts across the lower Monocacy.  Even little two strength units can (especially during the defensive fire phase), with a not too improbable roll, slap a Pin result on a powerful stack, freezing them up for a turn.  Makes forcing a bridge a tough – resisted the temptation to use dicey – proposition.  Especially difficult when you lack artillery assets.

Here’s the situation at the end of the turn.

Confederates Crossing The Ford, With Federals Formed In Defense - Attack Across The Railroad Bridge Stalls
Confederates Crossing The Ford, With Federals Formed In Defense – Attack Across The Railroad Bridge Stalls
Northern Confederate Attacks Stopped By Outnumbered Union Troops