Category Archives: Sessions

Romania: The Transylvania Gambit

This treatment is included with Serbia The Defiant and covers Romania’s August 16 entry into World War 1.

Rather than cooperate with Entente forces in Salonika and attack Bulgaria, the Romanians opted to limit operations against Bulgaria and focus on regaining Transylvania.

This threat was quickly matched by  Austro-Hungarian (A-H), German, Bulgarian and even Ottoman forces.

A-H troops offered stiff resistance  in Transylvania, while a composite force of the latter three nations,  under the command of the redoubtable General Von Mackensen, attacked Romania from the south.  Romanian reverses on both fronts forced the already hard-pressed Russians to send reinforcements to bolster their new ally.

Romanian resistance collapsed, with an Armistice signed in April 1917.

The game is set up and ready to go.  I’ll start pushing cardboard this evening.


Destruction of Force Z – Session Report

The game set up, along with the initial dispositions of both forces, is shown in the following photo.  The Japanese flag represents the amphibious landing at Kota Bharu.  Placement of the Japanese convoy, battleship and cruiser squadrons is determined during the Random Events Phase.  Force Z is represented by the British flag in Singapore.   The index card and colored blocks are used to keep track of weather and ship damage.

For the first three turns, Force Z moved east of the Anamba Islands,  then turning north towards the landing.  The Japanese were unable to locate Force Z, which was maintaining radio silence in the overcast weather, until it attacked the Japanese battleships (7 VPs) at night (Turn 4).  I couldn’t find anything specific in the rules, so I decided  Japanese surface units appearing during a turn couldn’t move, also.  Despite hitting the Japanese ships, no damage was inflicted.

After this inconclusive encounter, the British sailed at flank speed towards Kota Bharu to bombard the the landings.  The Japanese were still unable to locate Force Z, and could not prevent the destruction of  their offshore convoy which had appeared off Kota Bharu during the Random Events Phase (Turn 5).

After this success, the British steamed south towards Singapore, breaking radio silence to request RAF air cover (Turn 6).

At this point, the Force Z commander decided take advantage of darkness (Turn 7),  steaming north to again engage the  VP-rich Japanese battleships.  The Japanese cruisers entered the northern part of the map during the Random Events Phase.

Force Z moved into the Japanese square, forcing a surface engagement.  It was here that British luck ran out, as the Japanese search was a success, and no RAF fighter cover appeared to help fight off a massive level bomber and torpedo bomber attack.

The following photo shows how I handled the “tactical” aspect of the game.

Both British ships were in the square, so each can be attacked by bombers.   D6 rolls determine the number of attackers and what ship(s) they attack.  The rolls indicated a mixed force of 12 torpedo and 25 level bombers, all of which  concentrated on the Prince of Wales.  The first attack was by the level bombers.  Each ship has a maximum of 10 d6 anti-aircraft rolls.  These rolls either eliminate attackers, or are indicate to hit modifiers.  Bombers need a modified roll of 10 to score a hit.  A further damage die roll is made for each hit.  The rolls are shown below.  I use the dice, rather than the tally sheet included with the game to record rolls, and then use the result to determine hits.  A die that “hits” is then placed above the “tactical display”, as a reminder of the rolls needed for determine damage.

The torpedo bombers were handled in a separate series of rolls.

The Prince of Wales somehow survived, taking five hits, two less than the number to sink. Five hits reduced its movement rate to one square per turn.  After this mayhem, a surface action occurred.  The Japanese battleships and Prince of Wales were unaffected, but the Repulse took one damage hit.

The Repulse was ordered back to Singapore, while the stricken Prince of Wales could only hope for a failed Japanese search, or the intervention of the RAF.  The ship was located and the RAF again failed to provide air cover.  The level bombers did not find the Prince of Wales, but the torpedo bombers did.   An attack by 27 aircraft sank the ship.

The Repulse continued south during the night (Turn 10), while the Japanese made another landing at Singora.

Repulse was able to return to Singapore before the Japanese Turn 11 Search Phase.  This ended the game.

The Japanese victory point total breakdown was:

  • +8 Points for sinking Prince of Wales
  • +1 Point for one hit on the Repulse
  • +1 Point for each Japanese landing
  •  -2 Points for the sunk convoy

The net is  9 Japanese victory points.  The historical total was 18 points.

Wrap-up in the next post.

Galacia – The Forgotten Cauldron – Scenario Finish

Finished up the other night.  It was a marginal Austro-Hungarian victory, based on casualties only.  No objectives were taken, but  the issue remained in doubt.  While losing on “points”, the Russians certainly had the upper hand when it came to capturing objectives.

In the East, the A-H  2nd Army is in danger of being rolled up along its right flank by the Russian 8th Army advancing towards its objective of Stanislav. The very strong Russian corps is obscured by the -1 strength marker for the top of the four, 4-4 units.

To the west, the A-H 3rd and 4th Armies are locked in combat with the Russian 3rd and 5th Armies.   Here, the Russian units are adjacent to their objective of Lemberg.

To the West, the A-H 4th Army is standing fast to the North of Fortress Przemyl, but its neighboring 1st Army is under extreme pressure, with little in the way of a Russian 3rd Army sweep towards its objective of Krakow.

A good game.  I already have “Serbia The Defiant” on the table and will start play this weekend.

Nordic Saga – Part II

An even later post to complete the account started in an already late post.

The game followed the standard Europa sequence, with the Axis phase first during the September I turn. Tim made some adjustments to his defenses, especially in the vicinity of Narvik. Regardless, the Allied landings went smoothly, with German air accounting for only one transport lost as well as one landing craft. Unfortunately, the lost transport contained the Headquarters for the 78th Division. In Europa, without a supporting headquarters, a regimental/brigade sized unit fights at one-half strength. The engineer unit was able to land at the port of Andennes, but would not be able to start work on the airfield next turn.  By turn’s end, this was the situation.

The September II turn went badly for the Allies. The weather turned, with stormy seas and mud creating rains. In this weather, beach landings are prohibited, ground movement is slowed, and engineering tasks take twice the time. This effected the Allied airfield construction and efforts to land reinforcements and supplies. Worse, the Germans were able to take advantage of the withdrawal of several Allied naval units from Narvik and overrun the leaderless and unsupported 78th Division.  No photographic record remains of this debacle.

The weather remained muddy, but with stormy seas continuing  The German units continued to pressure the Allies, but did not attack due to low odds.  The Allies were able to evacuate the remaining Narvik survivors, despite Axis bombing attacks.  The British were able to attack and destroy a German Penal Battalion at Bardufoss, but that was the limit of Allied successes.  The situation looked very grim for the Allies at the end of turn.

Things got worse with the weather roll at the beginning of the Oct II turn:  Snow.  Sea conditions became marginally better, with rough conditions.  Allied air units landed at the new Andennes airfield, but ground forces were unable to make any real progress against the German defenses.

The Nov I weather roll for snow and stormy seas effectively ended the game, as the Allies were now unable to resupply their forces over beaches and movement was severely restricted.

This was a painful experience.  The Europa naval rules are tortuous, especially when coastal defenses, danger zones and minefields are involved.  The game becomes a slog, and because of this, no longer is a “game”, but a simulation.

The  simulation makes it clear obvious why Operation Jupiter never happened.  The dependence on good weather beginning in October is enough to make the entire proposition marginal at best.  Add into this demands for naval resources that require the withdrawal of units that provide significant naval gunfire support, as well as critical landing craft for troop buildup and resupply, add to the “options of difficulties”.

Churchill wanted to do it and Hitler thought he would do it.  Reason prevailed on the Allied side, but significant resources were still poured into Norway’s defenses.  Was this irrational, or did Hitler’s fixation prove to be a deterrent?

I hope Tim will post up with his thoughts.  But here, briefly, is what we discussed right after I threw in the towel.

I have circled the northern part of the map to represent the positions of Soviet troops.  They are too few, the German positions to well fortified, to do anything more than tie down assets that could be used against the landings to the south.

The Narvik landings could have taken place to the west, with the forces crossing the narrow straits.  This would slower, but might allow a greater buildup of troops using minor ports.  Again, with time of the essence, I chose a more direct approach.

Me, I’m just glad the game, and these posts, are done.  OOFTA!

Quite The Beating – Part 2


Oh my!  Things really start falling apart during the German 4th Turn.  A Hitler Directive has forced a German stop order along the Northern Don, but the gap east of the Black Sea can’t be plugged.  Note that the Black Sea is now the Dead Sea (upper left corner), filled with Soviet casualties.

The best I can do is try to firm up the shoulder, and hope the units along the southern Don, adjacent to the Black Sea can hold.

No luck.  Tim’s too good to mess this opportunity up, and the Soviet defenses are rolled up from the east.  Meanwhile, his infantry units advance in the center.

Not much I can do at this point.   By the end of Turn 5,  my reinforcements are too far east to have any impact.

By the end of the German 6th turn, the Soviet defenses have collapsed, and the Caucasus is wide open for exploitation.

We called the game at this point.  Quite The Beating!!!

But…..a rematch has been scheduled for the Spring.

Quite The Beating – Part 1

Tim drove over to “The Dry Side” for another game of Drive on Stalingrad.  Our first try was over 2 years ago.  This time, he had the Germans and I the Soviets.  Things did not go well for the Soviets.  Here’s a link to a quick overview of the game at BGG.

The Soviets must cover their designated initial front with units or their zones of control (ZOCs).  For the most part, the units are drawn at random, with strengths revealed only at first combat. As you can see, things are a little thin on the ground.  North is to the readers right.

During Turn 1, Tim started clearing out Soviets in the north, while waiting to begin his attacks in the South.  The Soviets received reinforcements.  Again, most of these have unknown combat strength.  They must be placed in either cities or at rail hexes along the north map edge.  Soviet rail capacity is 10 units, with infantry and headquarters counting as one, with armor counting as three.  Soviet headquarters provide supply within a hex radius printed on the counter (2-5).  Unsupplied units move/attack/defend at half strength.

By the end of his Turn 2, Tim has advanced toward the Don River in the north, and is beginning to attack in the south.  Units can leave Zones of Control only by combat.  The exception is when the Soviet player declares a strategic withdrawal.  This costs victory points.  I am willing to pay the points to get the majority of my units moving back to the east and south.  However, delaying units can be effective and some are left behind to defend at half strength.

For my part, there is a general withdrawal with some units remaining behind to delay.  I also begin constituting a reserve in the vicinity of Stalingrad.  This reserve is comprised of several units which hopefully can mount an effective counterattack.

Tim continues his advance during Turn 3, but his infantry divisions are still being delayed by Soviet resistance.  He does a very good job of using his ability to overrun units not only in the movement phase, but also in a subsequent mechanized movement phase.

While the Soviets  build a “shoulder” to the northeast of the German’s southern advance, and move additional armored units toward the Black Sea from Stalingrad, there is a dangerous gap just east of the Black Sea.  This will be my undoing…….

Nordic Saga – Part 1

Another late post.   This time it’s about the Operation Jupiter game played with Tim several weeks ago.

The lead-up to this game was a comedy of errors even by our broad standards.  The scenario is in The Europa  Magazine (TMO)  #41, entitled Arctic Thunderbolt, simulating  a late 1942 invasion of Norway.  The magazine contains special rules, orders of battle, and a map for the scenario.  We decided to play this game during a phone conversation back in October.

This is where the fun started, because, the scenario was re-done in the boxed game Storm Over Scandinavia (SOS).  I studied the scenario as presented in the game.  Tim used the scenario in  TEM.

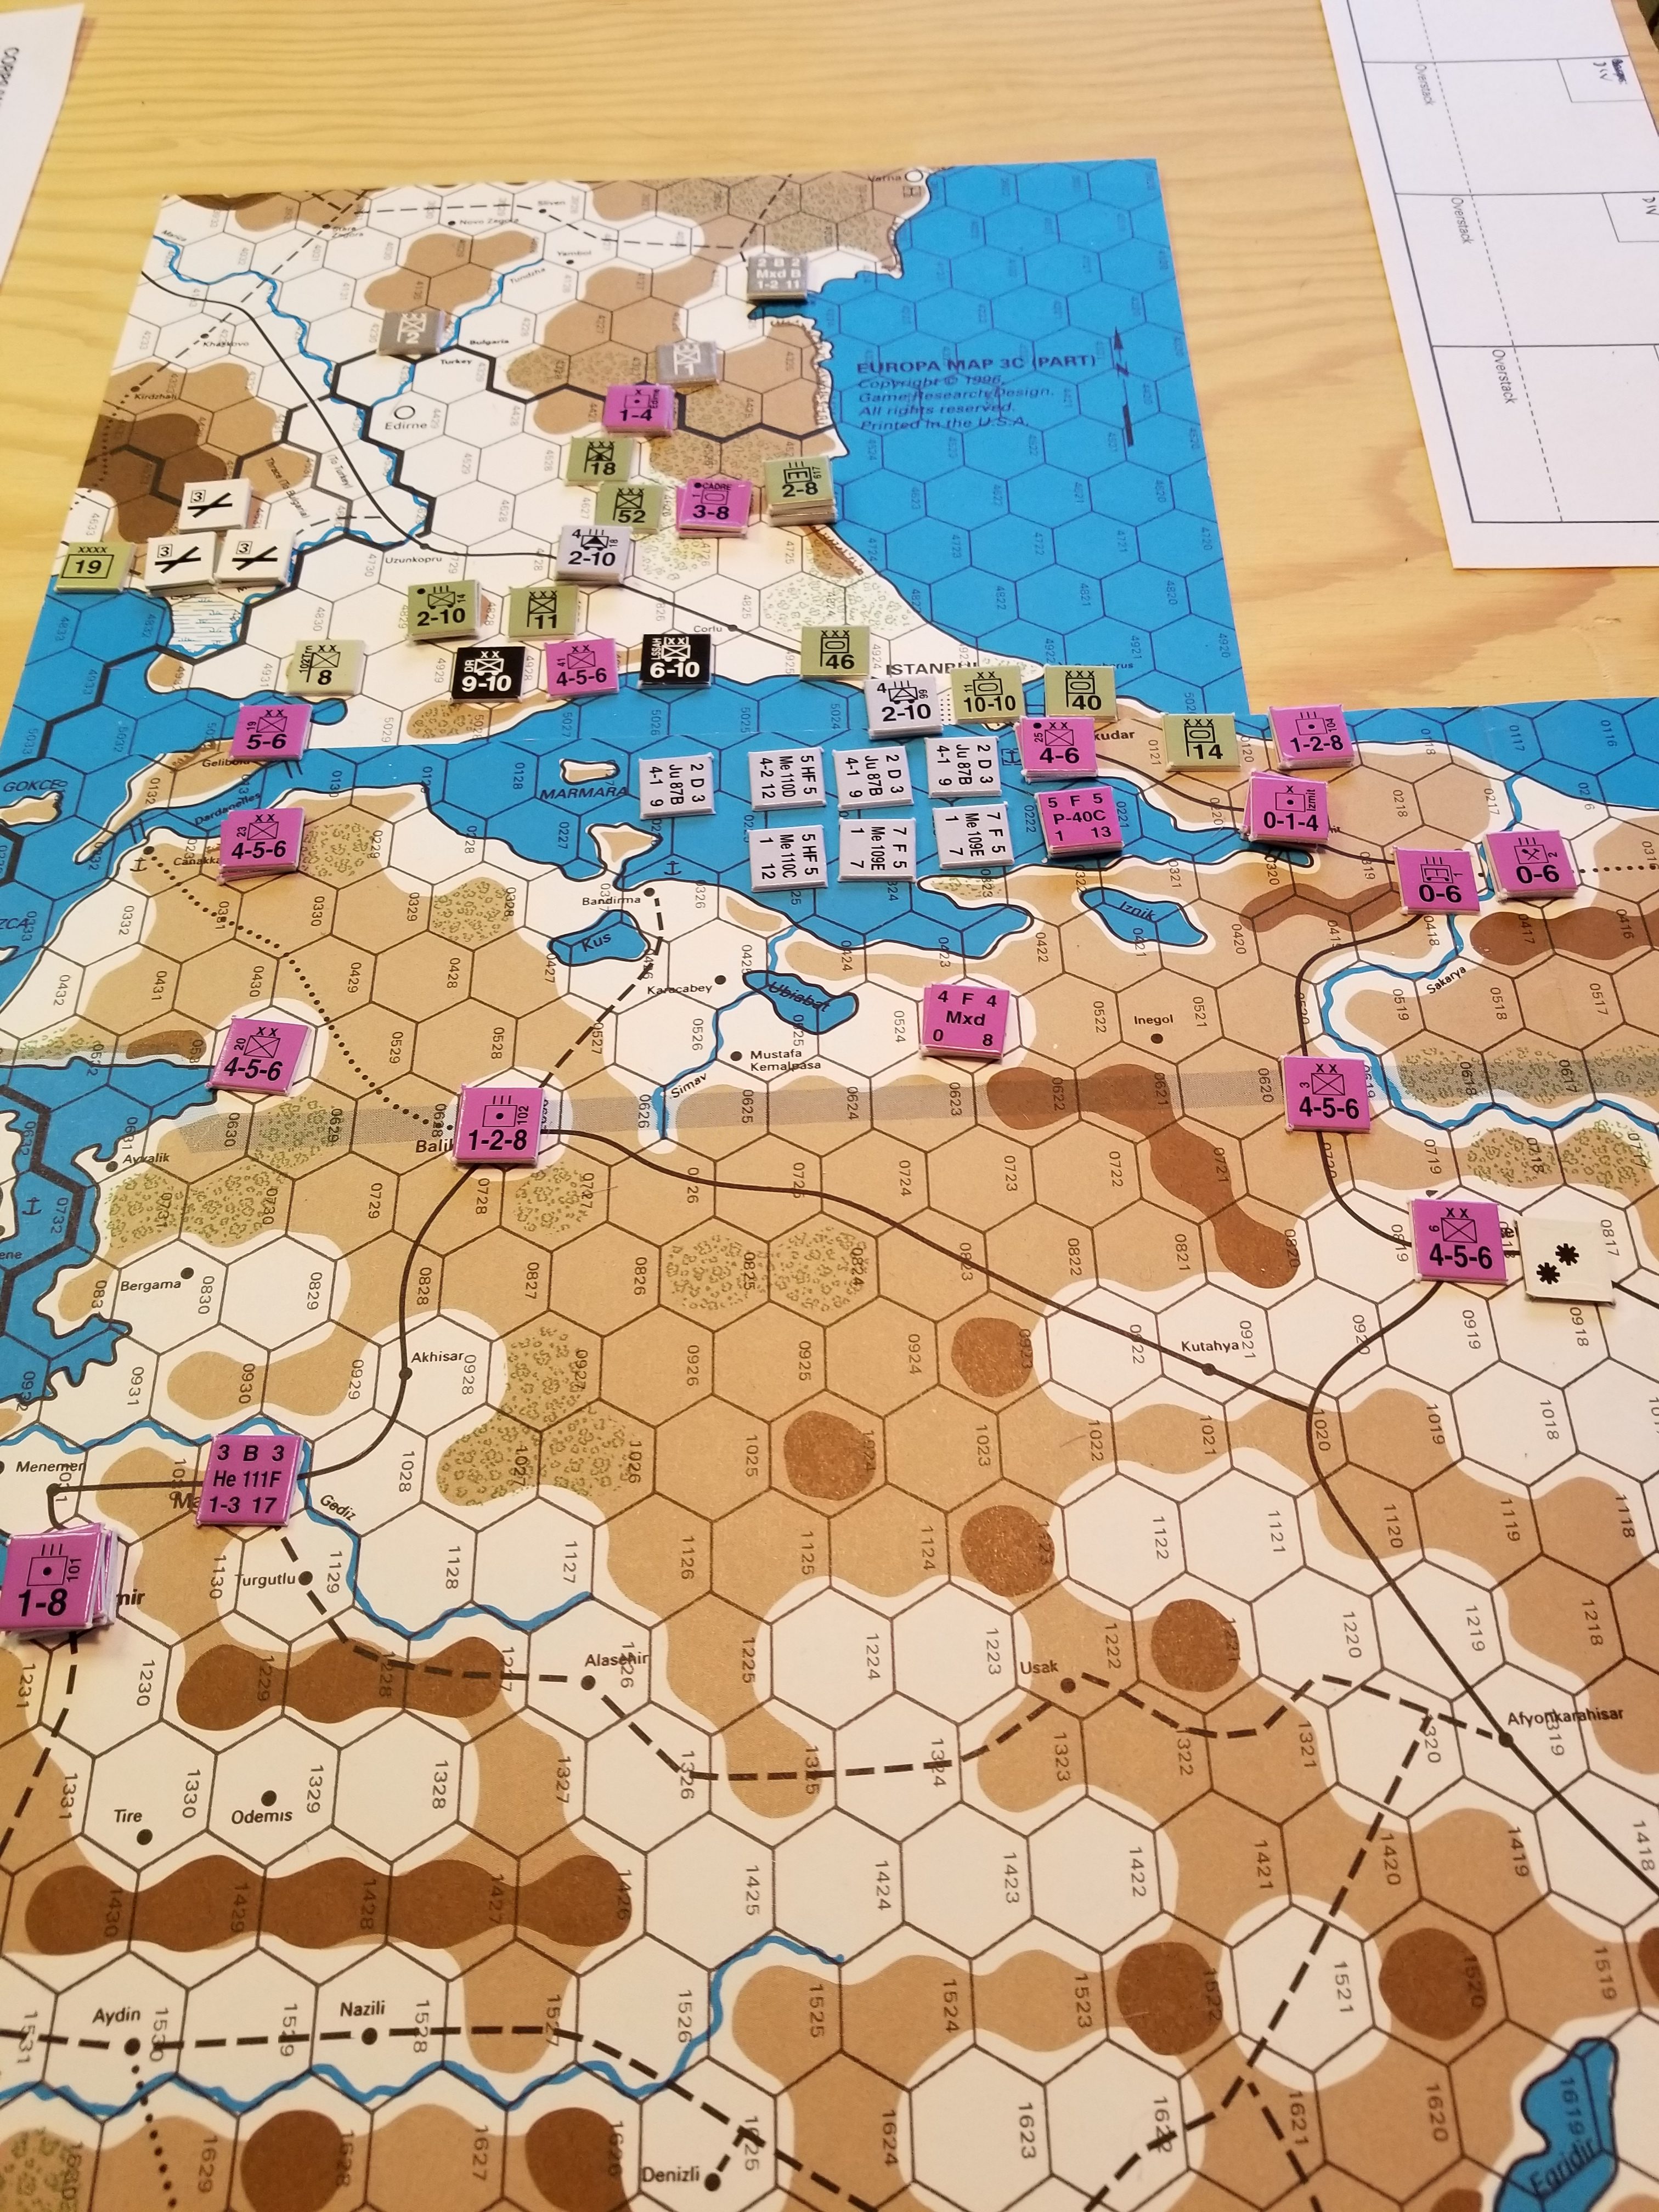
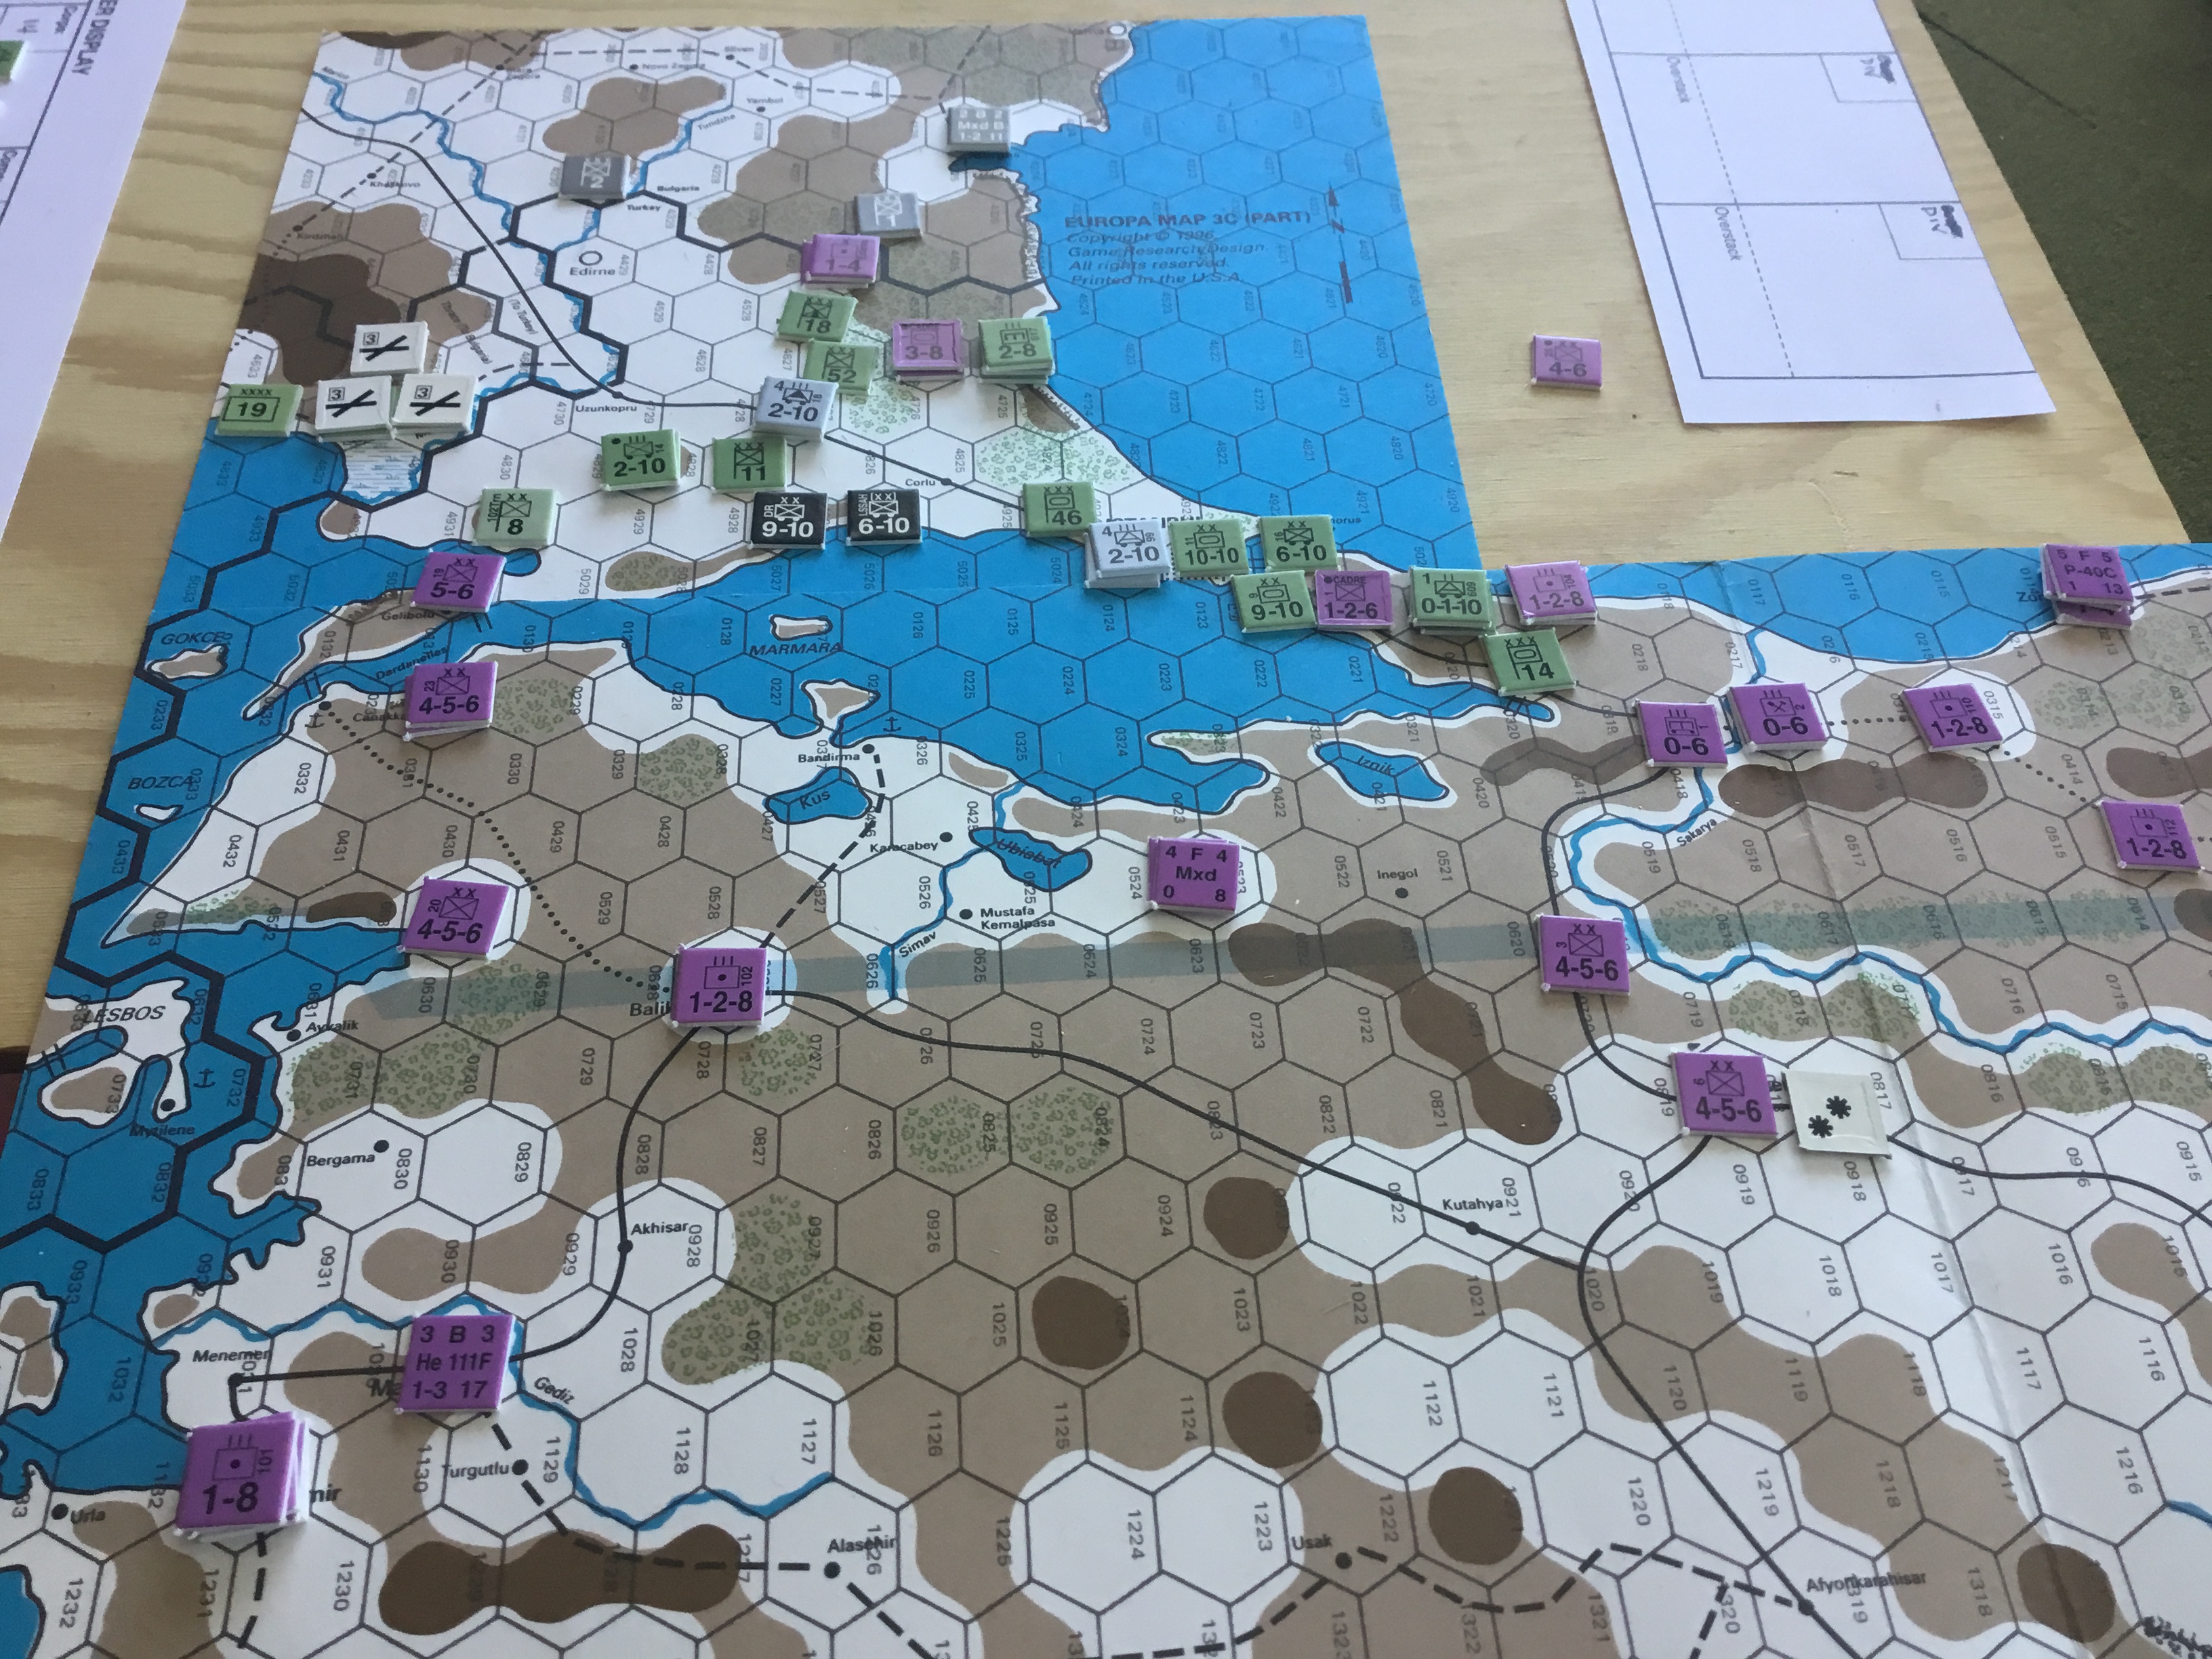
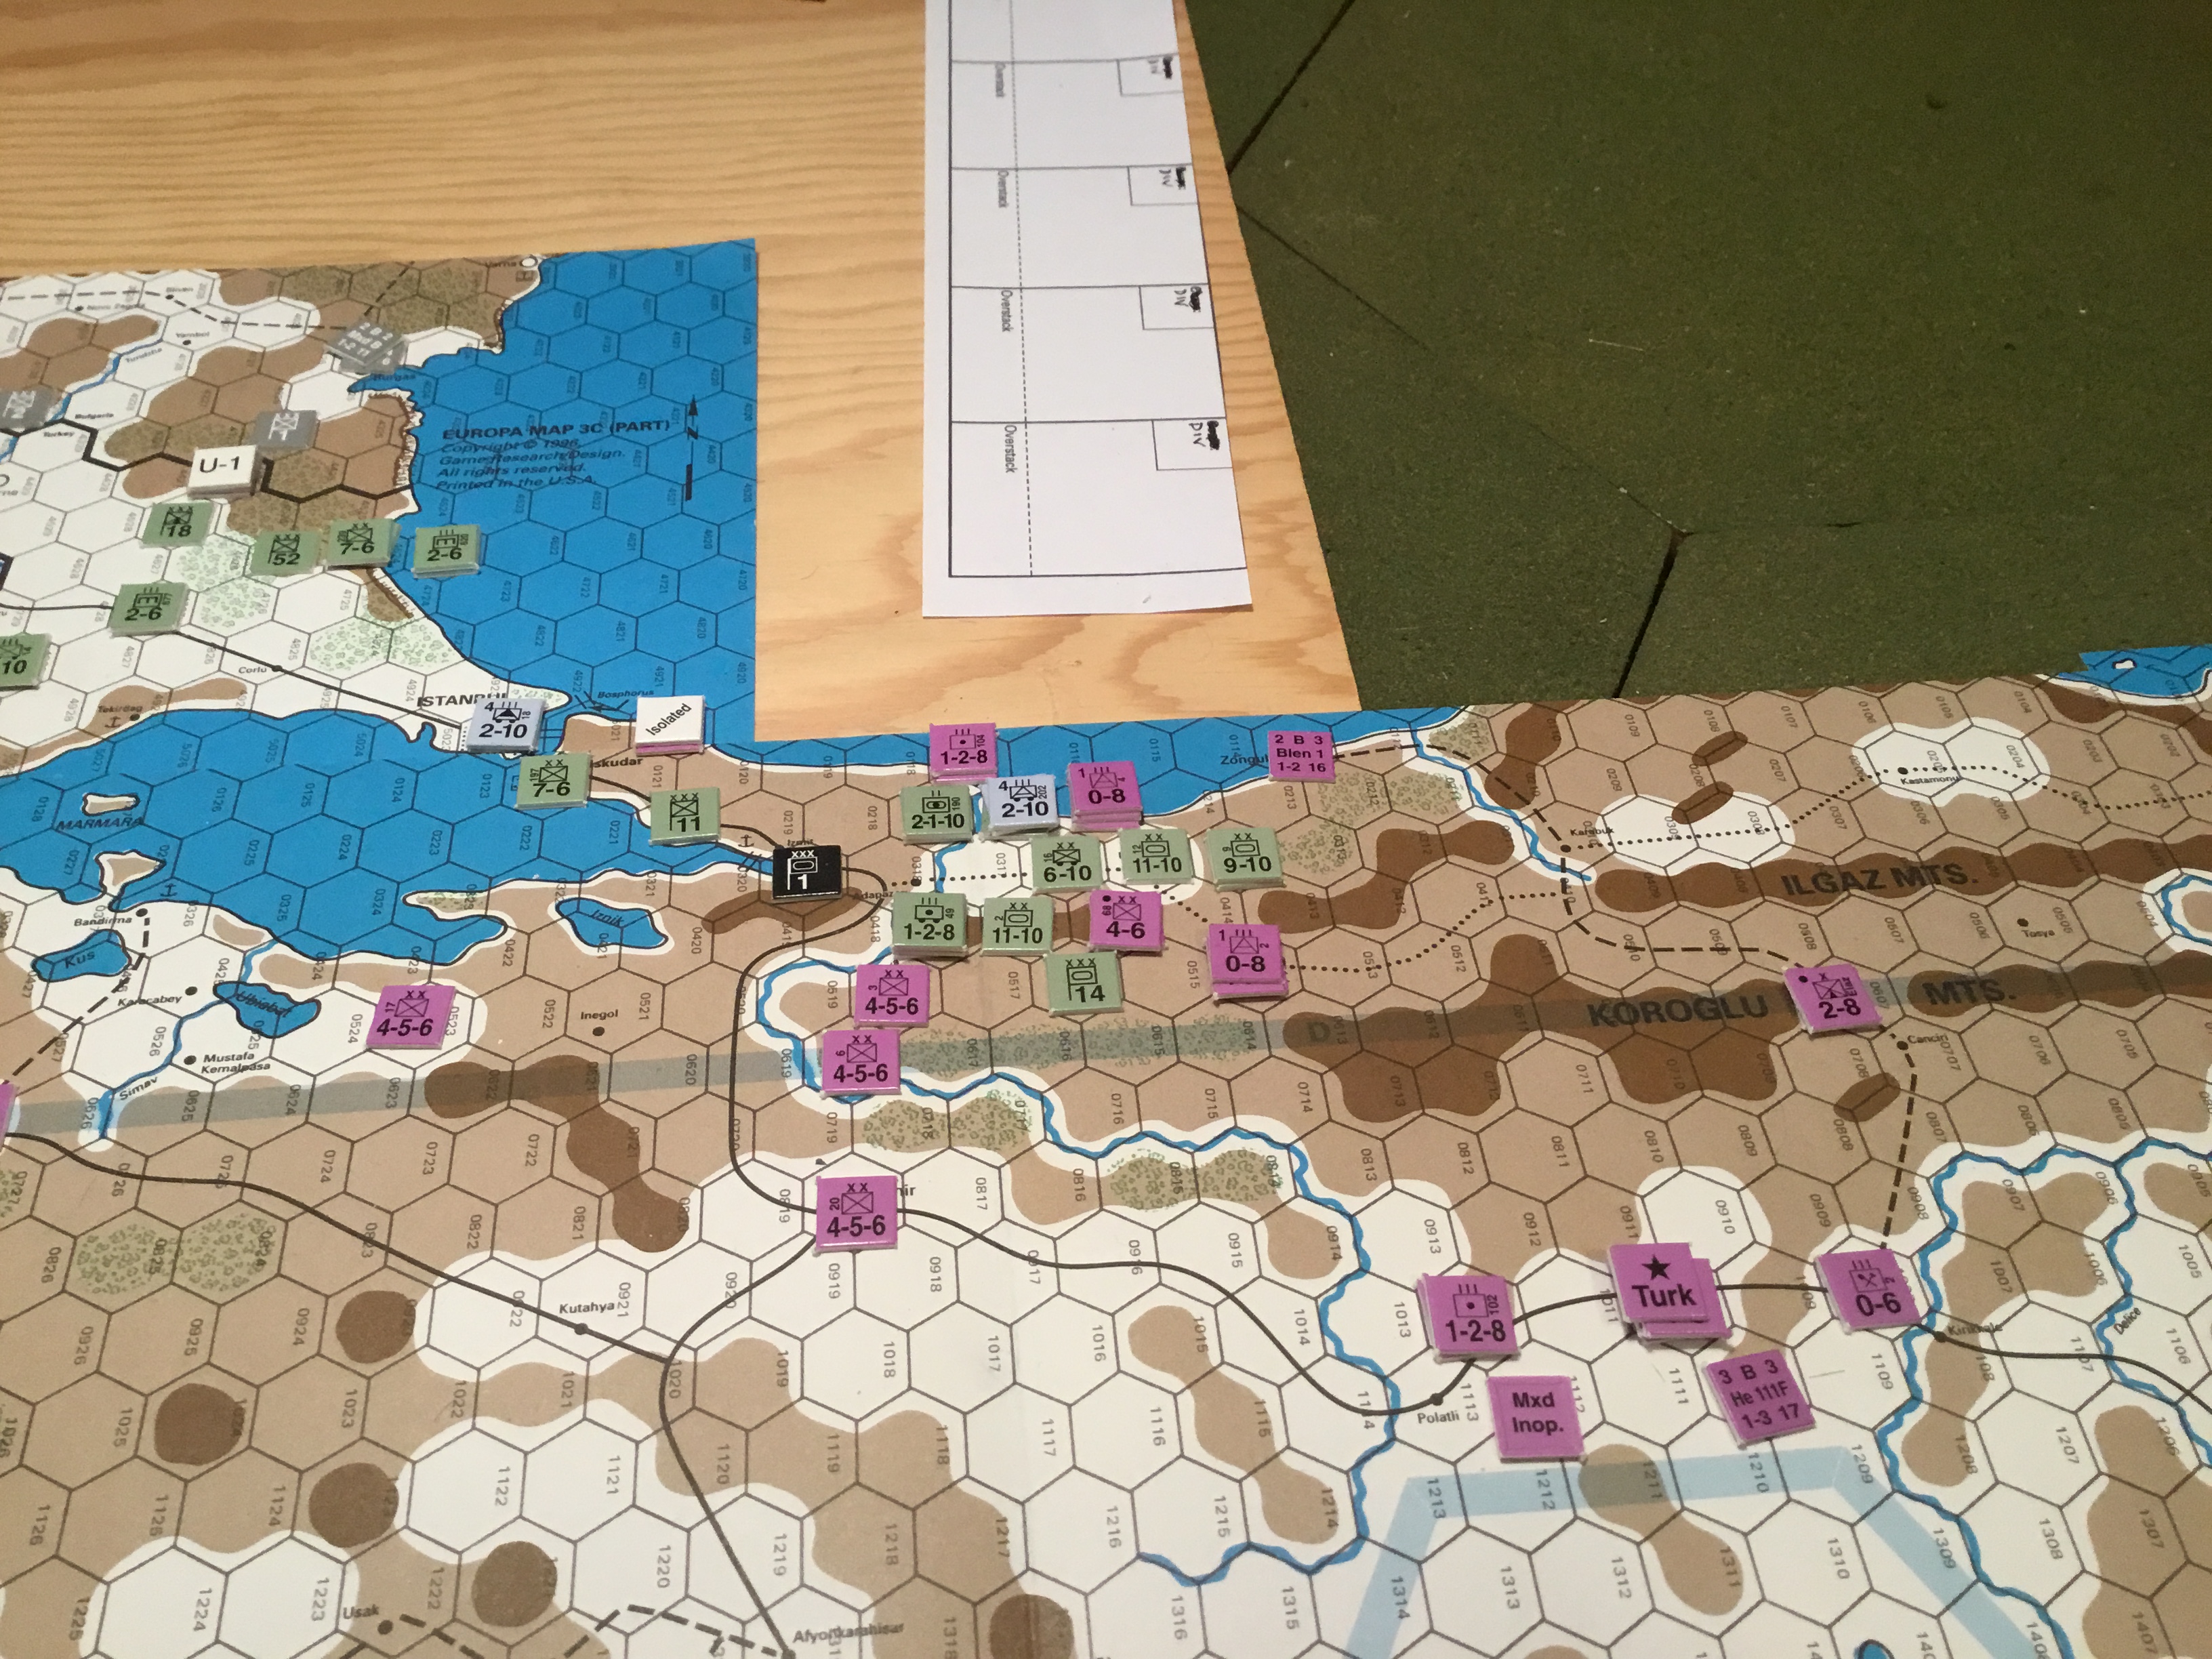
We set up the SOS maps and started to play.  But….nothing matched up.  The OBs, locations on the map, special rules were all different.  The game was out of phase, and we were losing our minds.  The only thing to do was stop, settle on using the TMO rules, maps, etc, and start again in December.

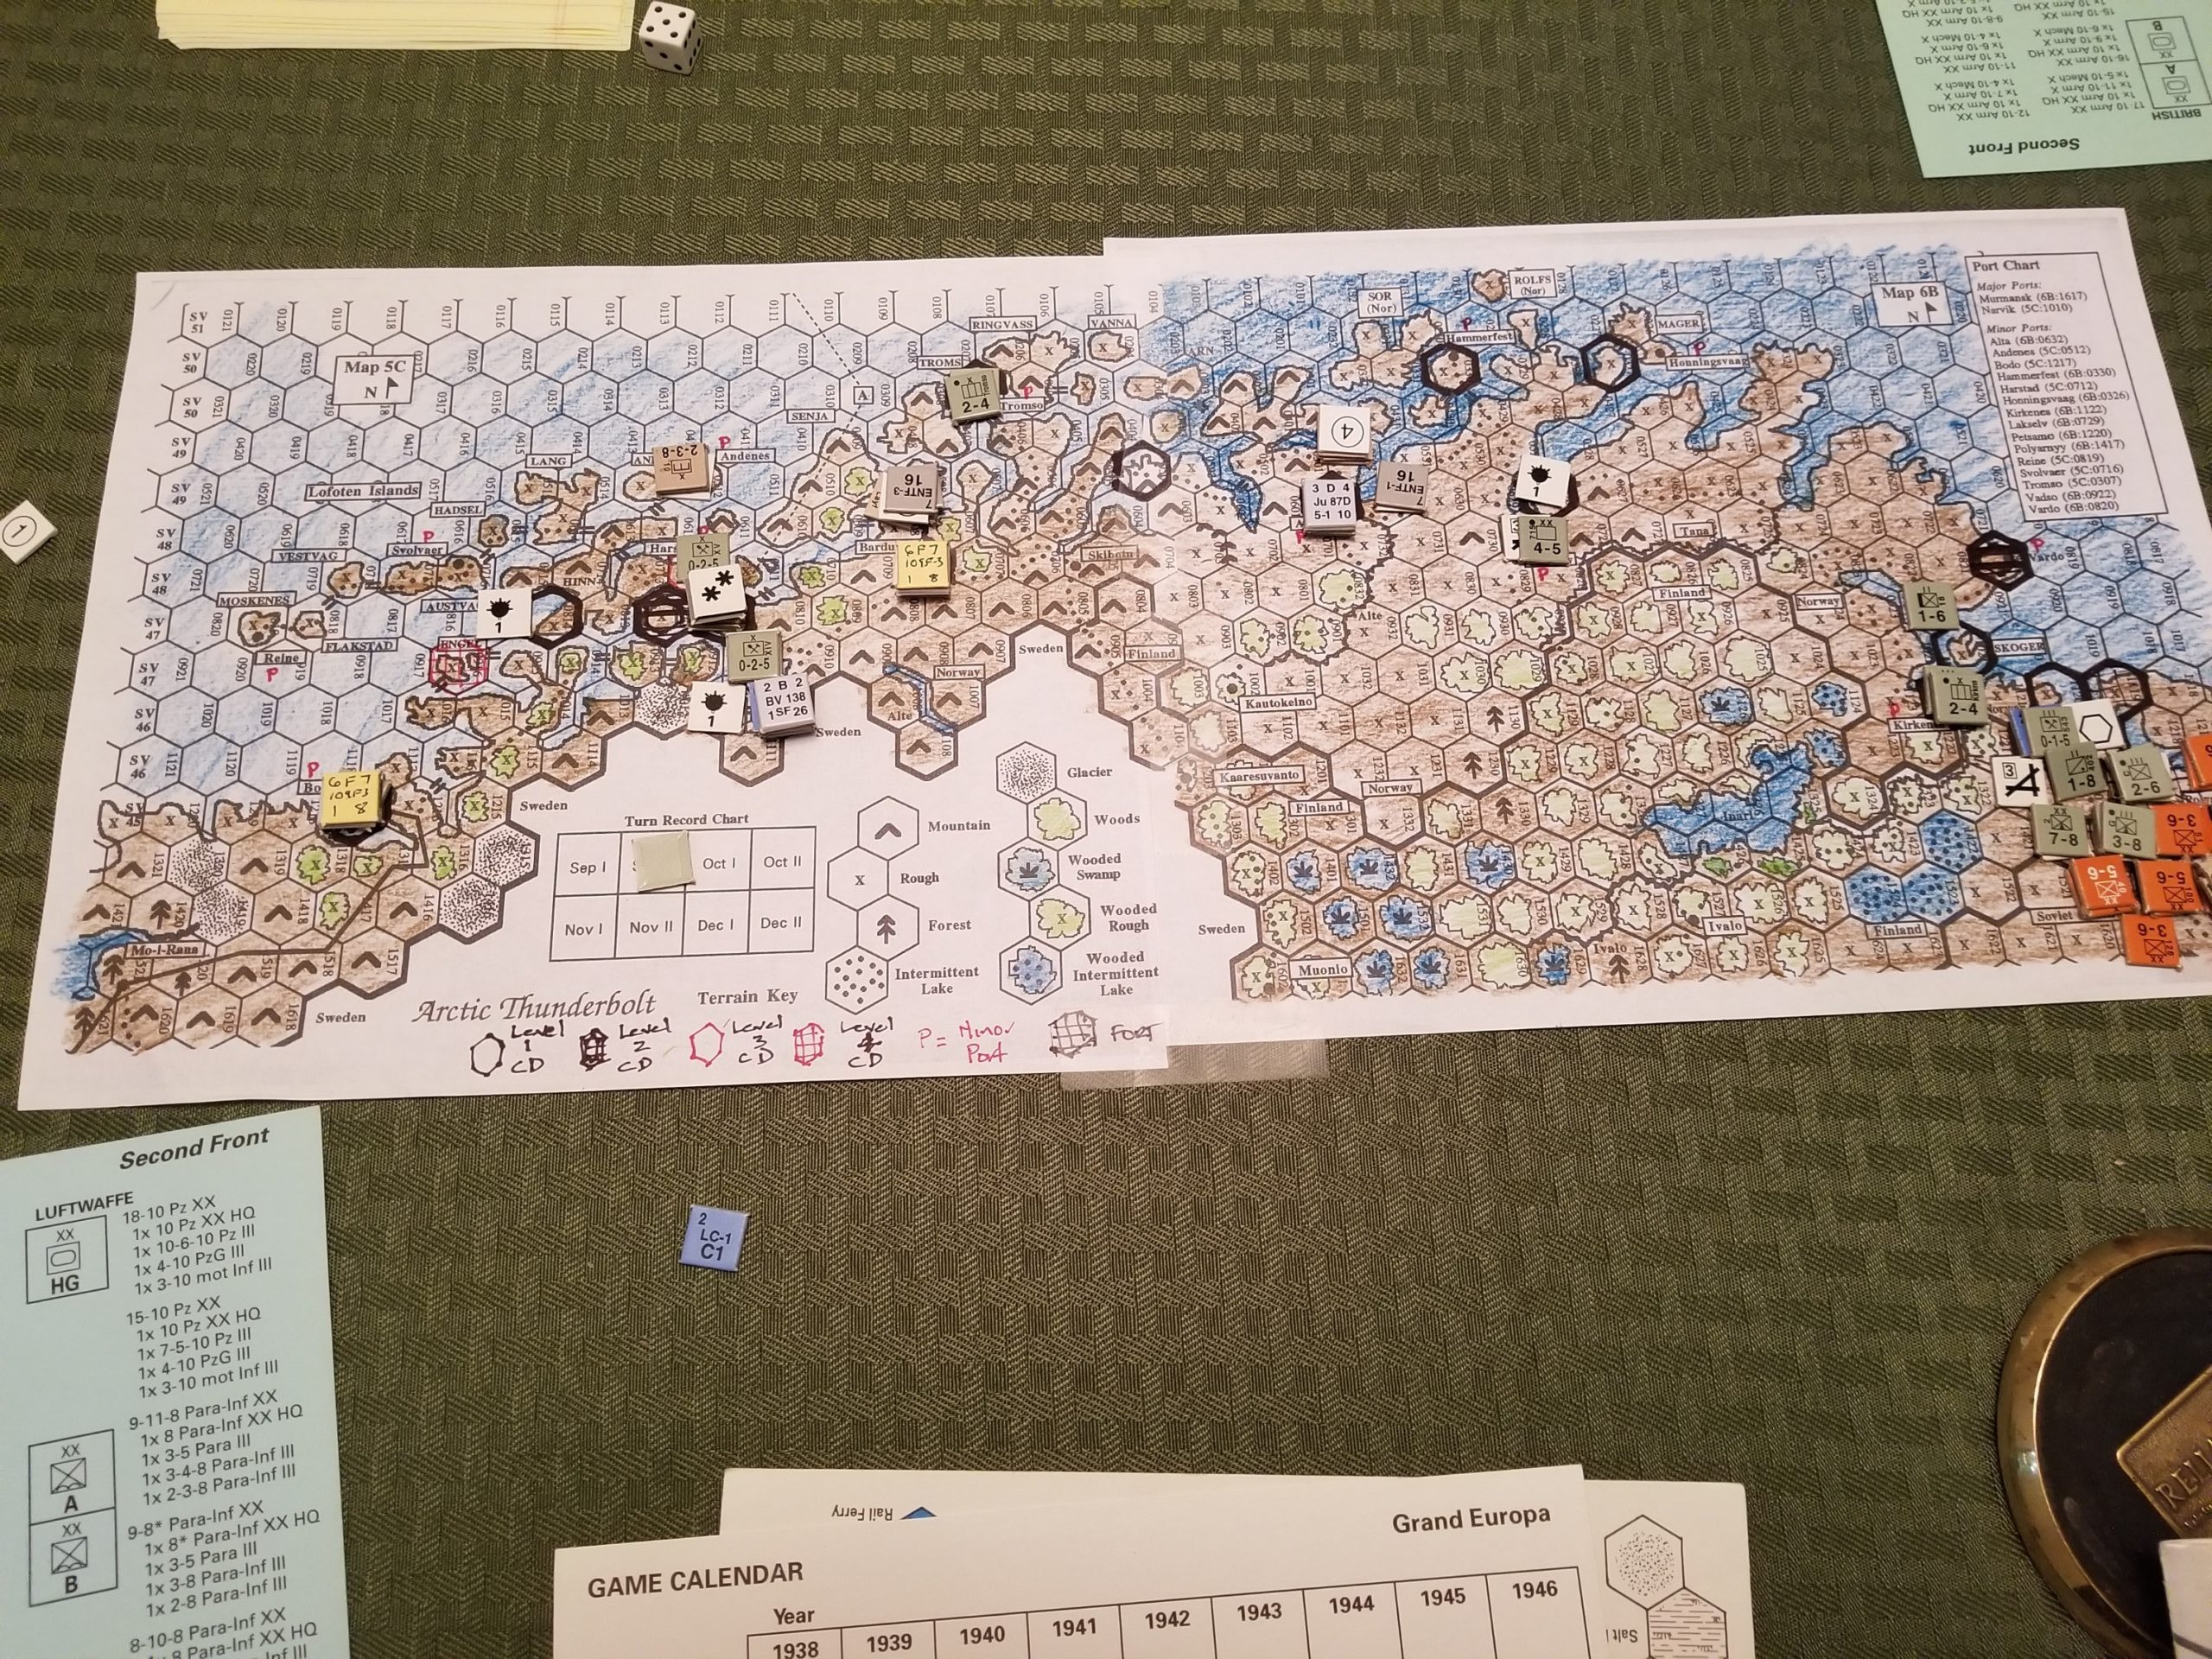
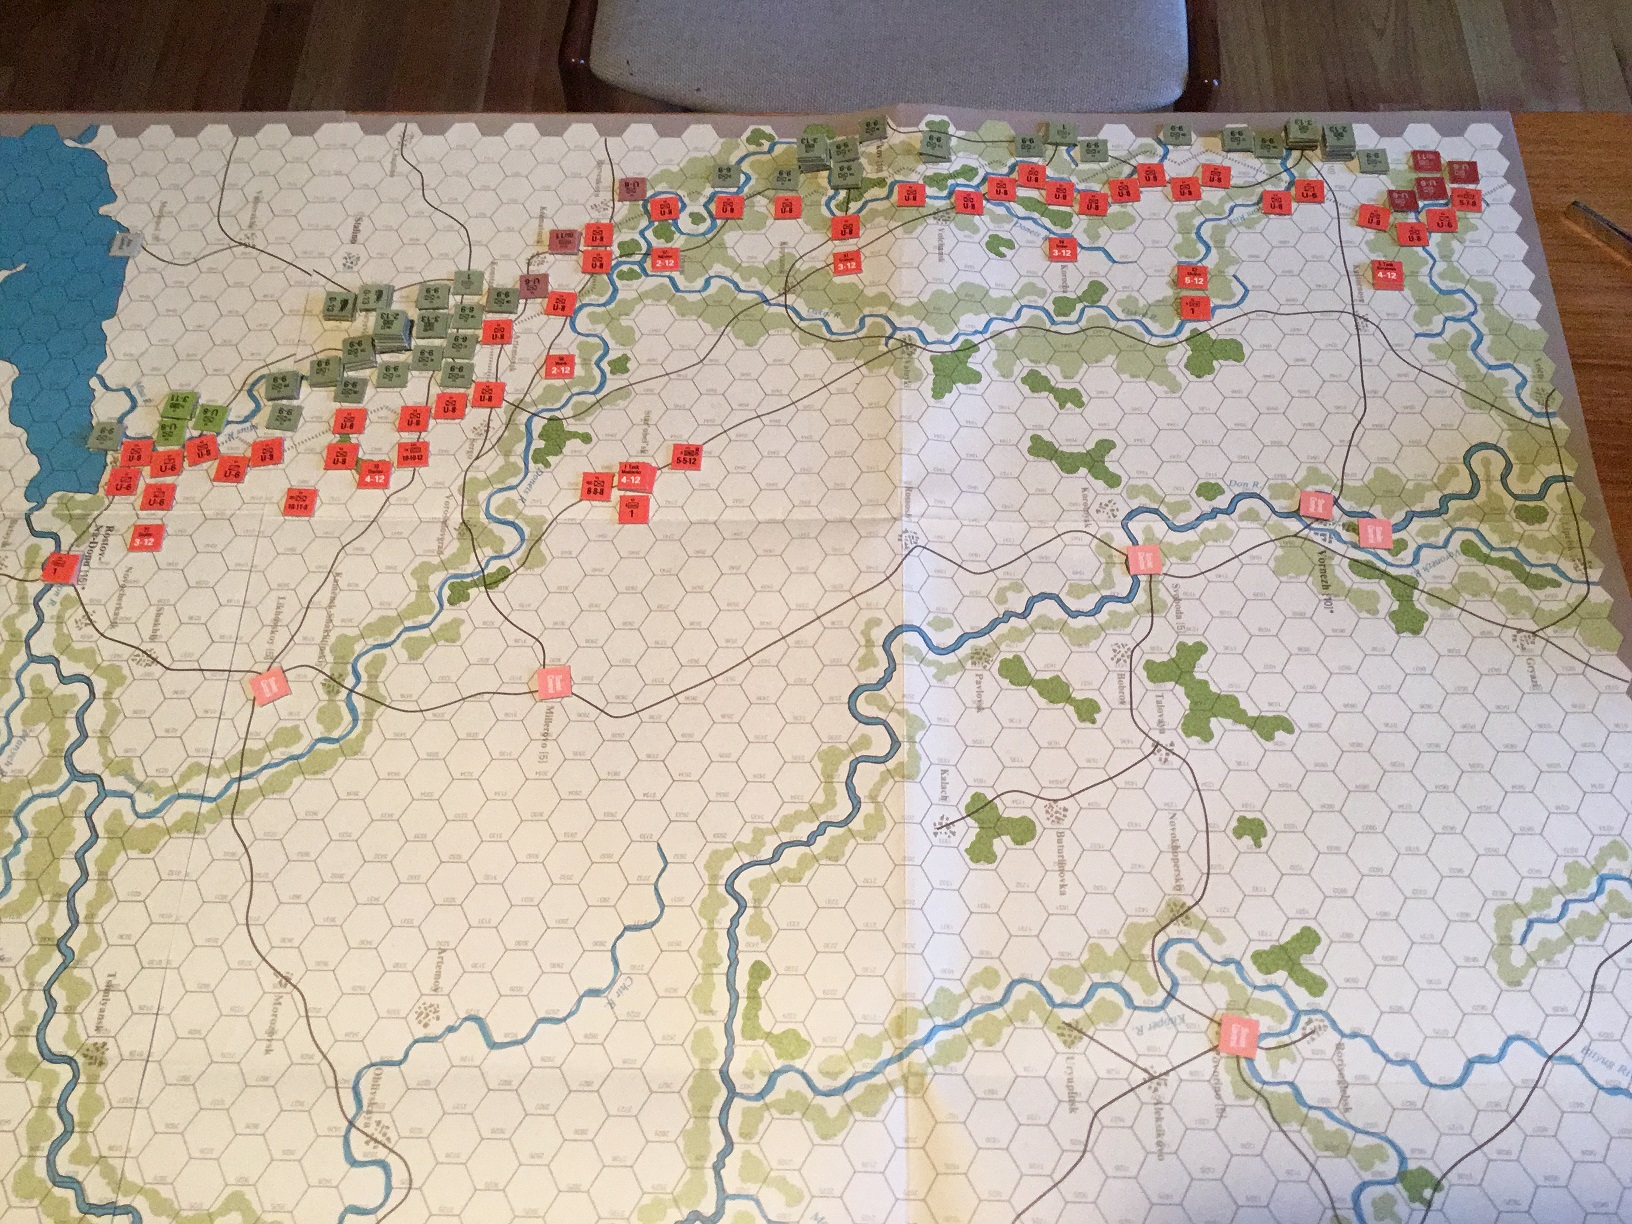
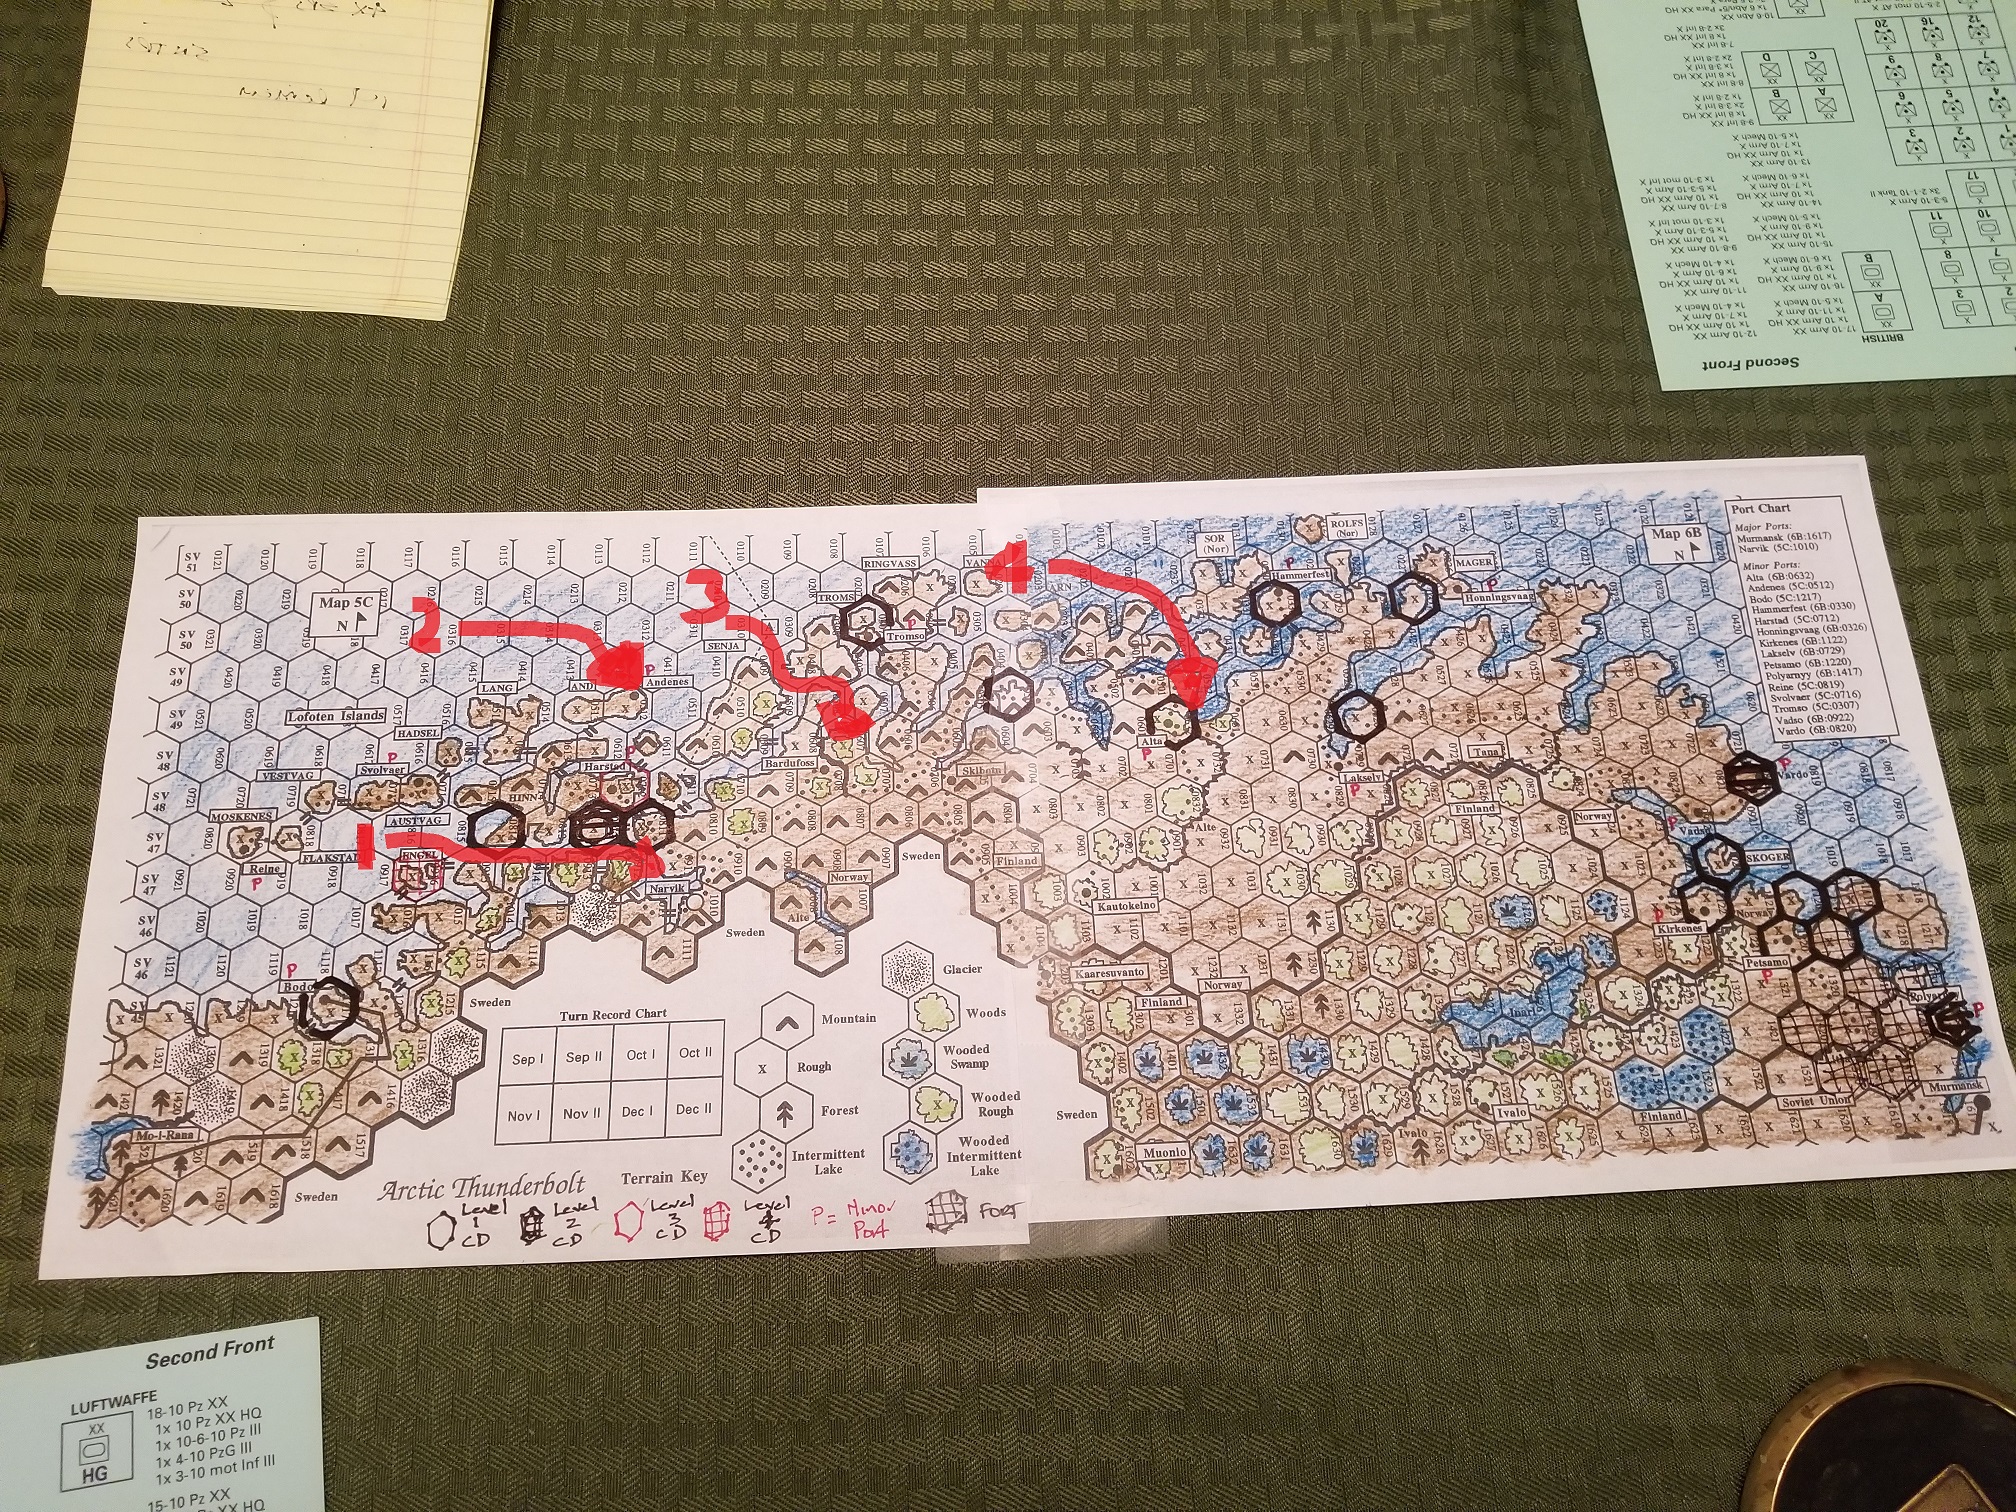
As the Allied commander, I spent the next few weeks in a funk, grappling not only with the involved Europa naval rules, but also the challenges of the invasion.  Things were just too depressing struggling with these “options of difficulties” and staring at a soul less black-and-white magazine, so I copied and garishly colored the map.

This was a very tough mission.  Suitable landing sites were limited, weather could disrupt the landings at any time, and the invasion fleet(s) would have to run a gauntlet of German aircraft.  To top things off, the Allies had a very aggressive schedule for the withdrawal of naval assets after the initial turn.

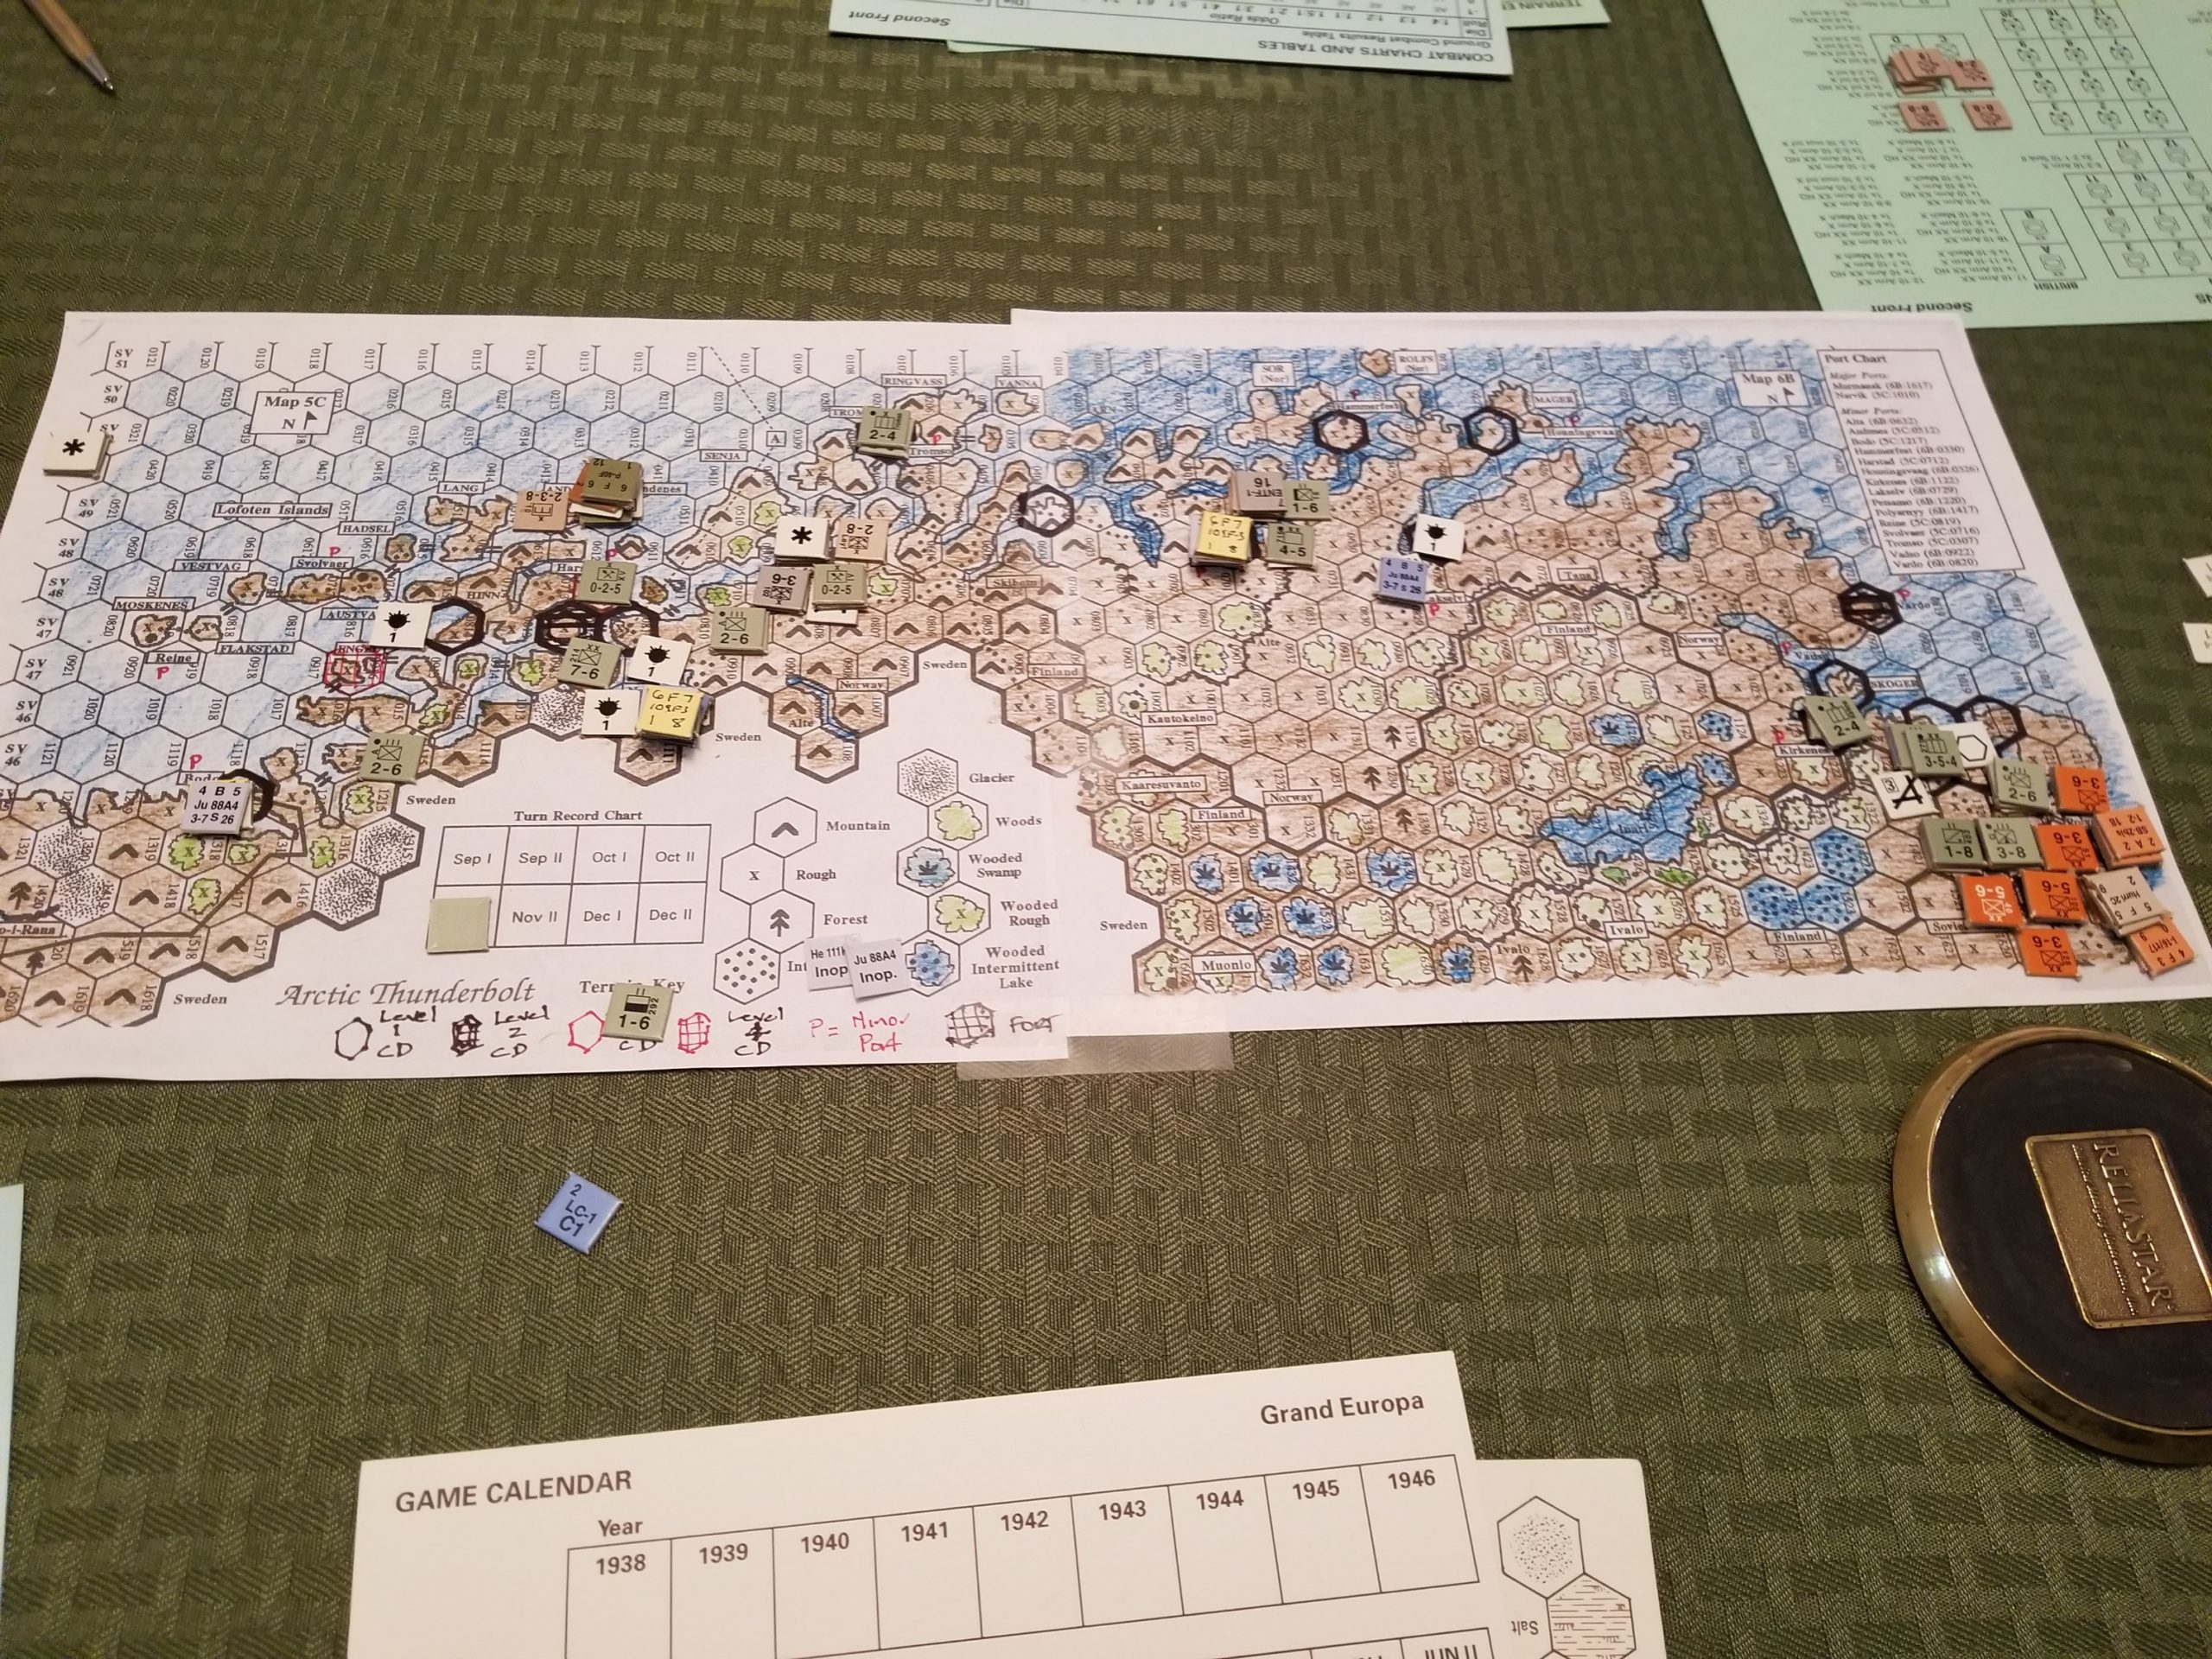
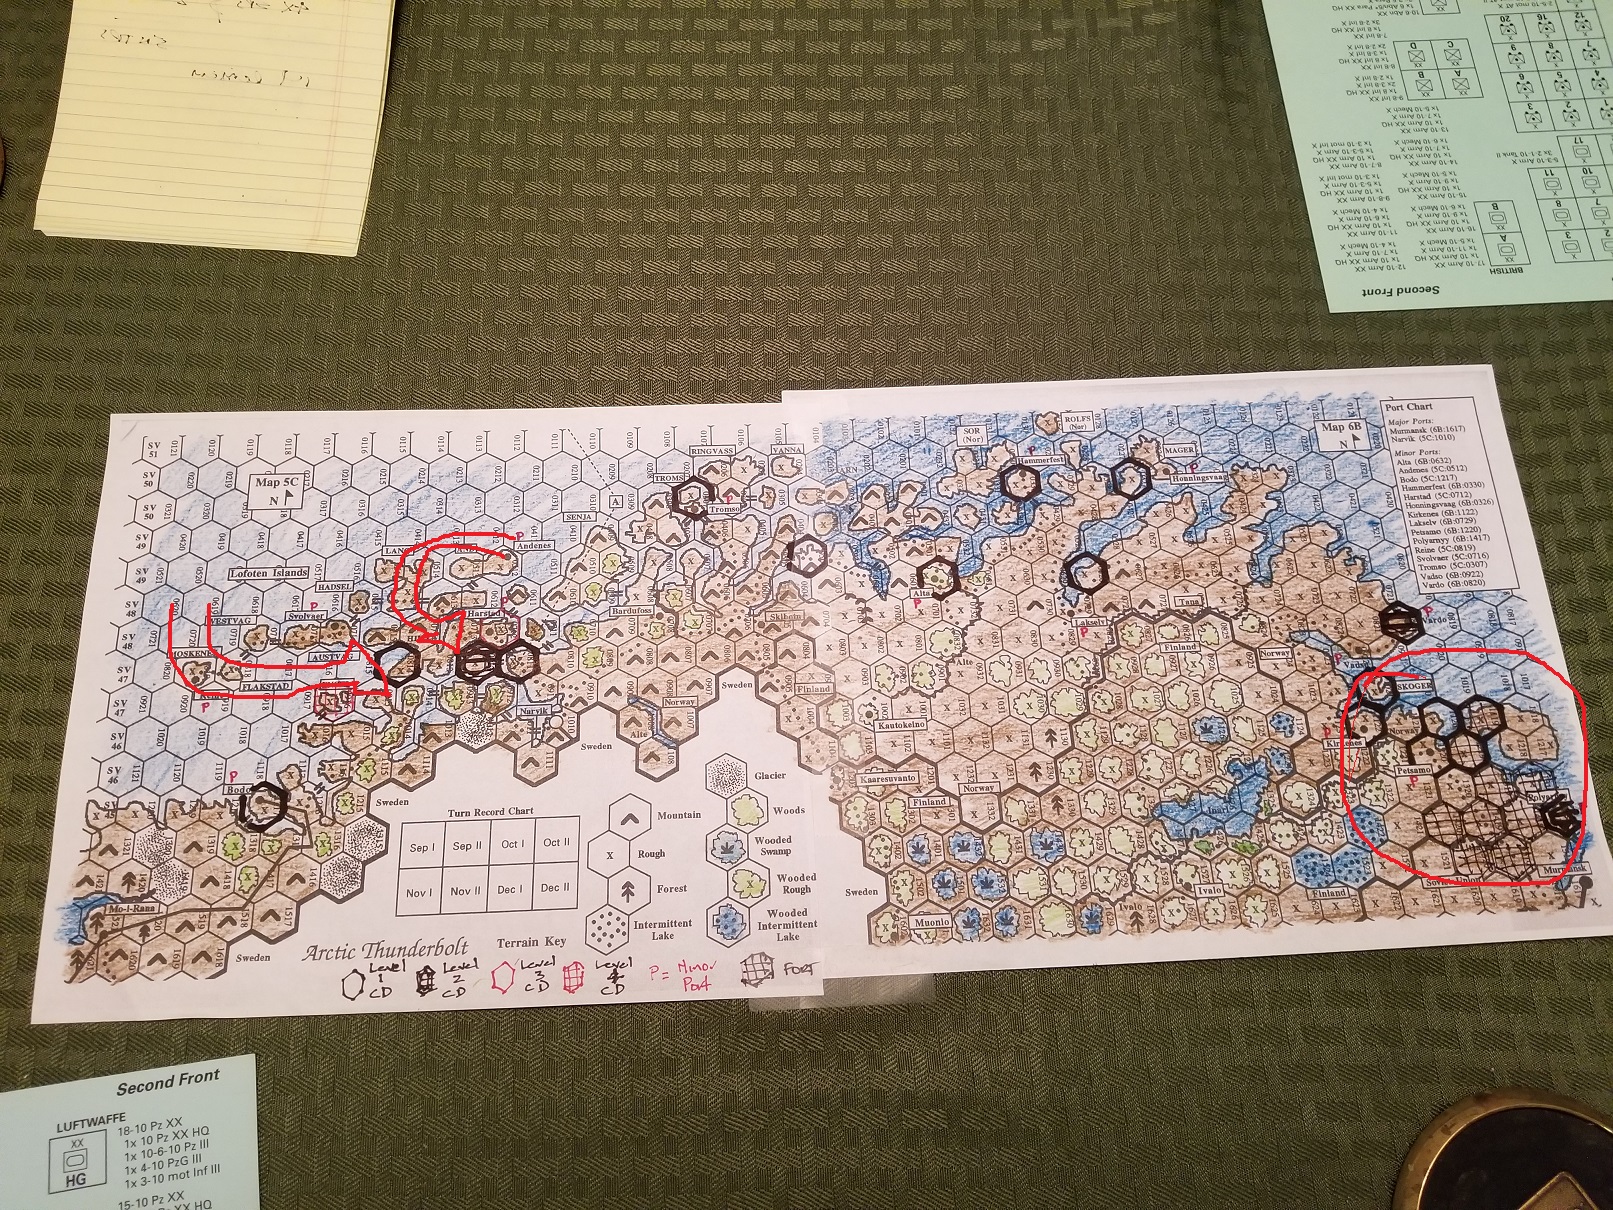
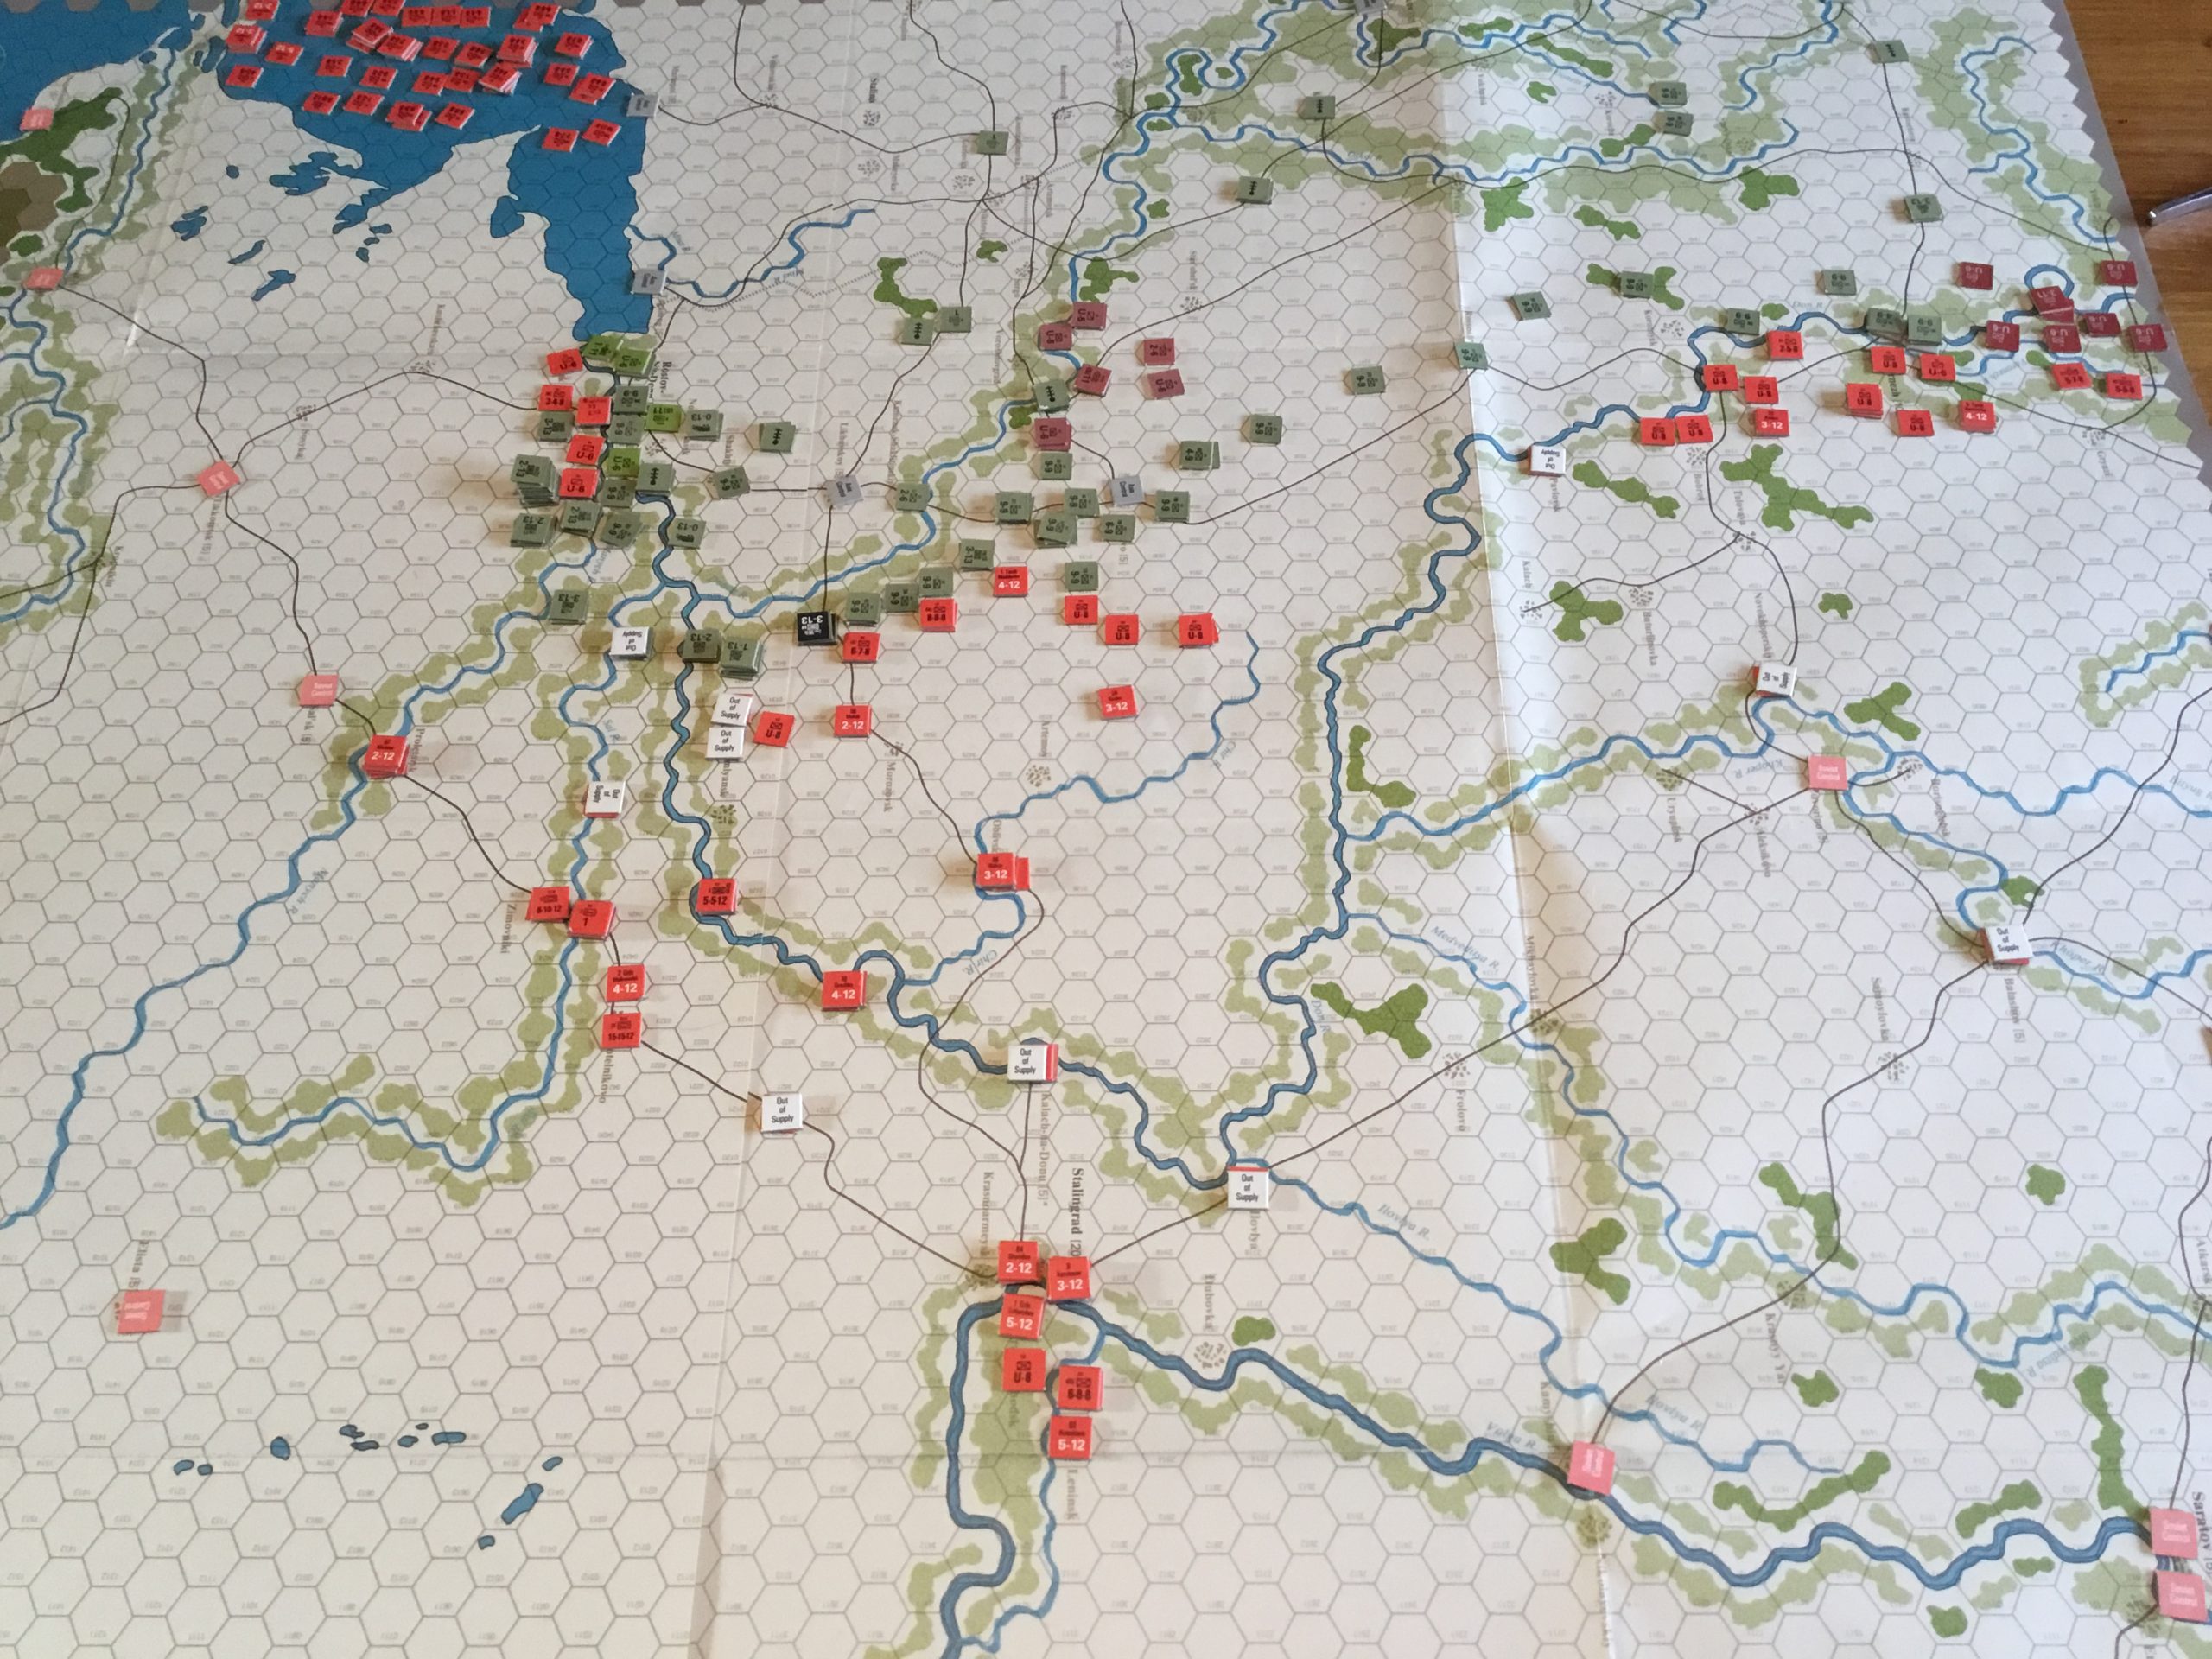
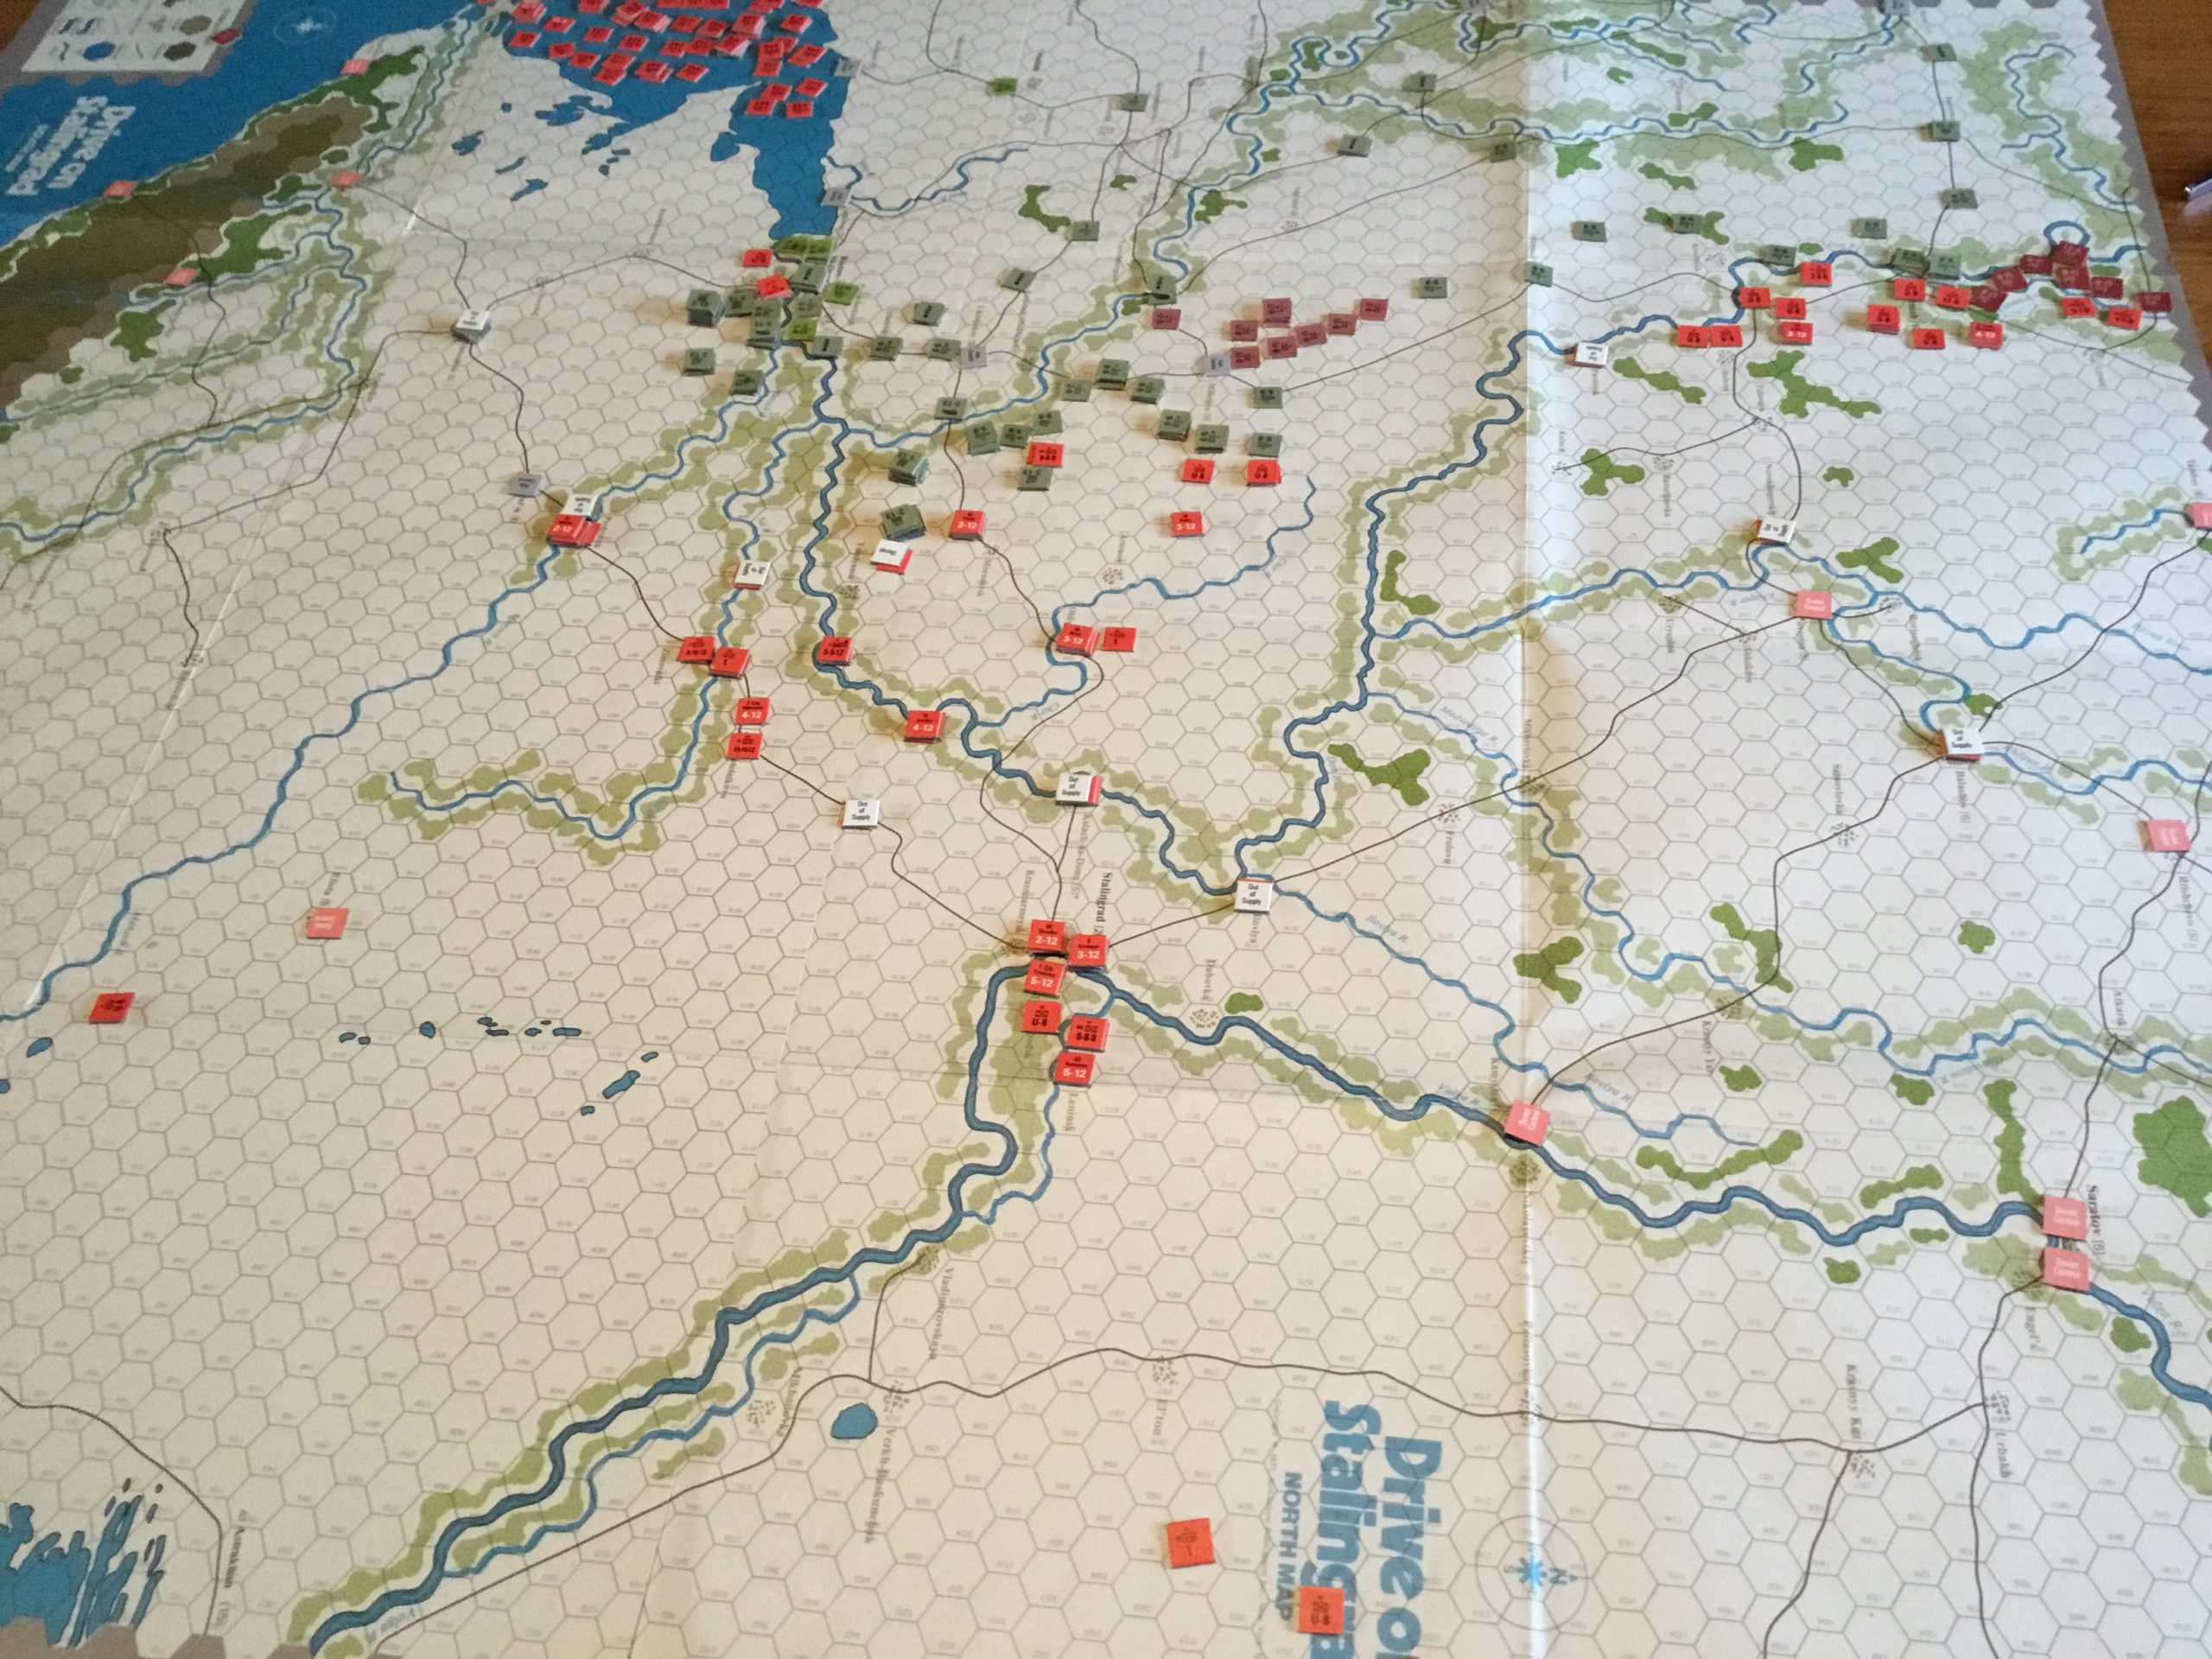
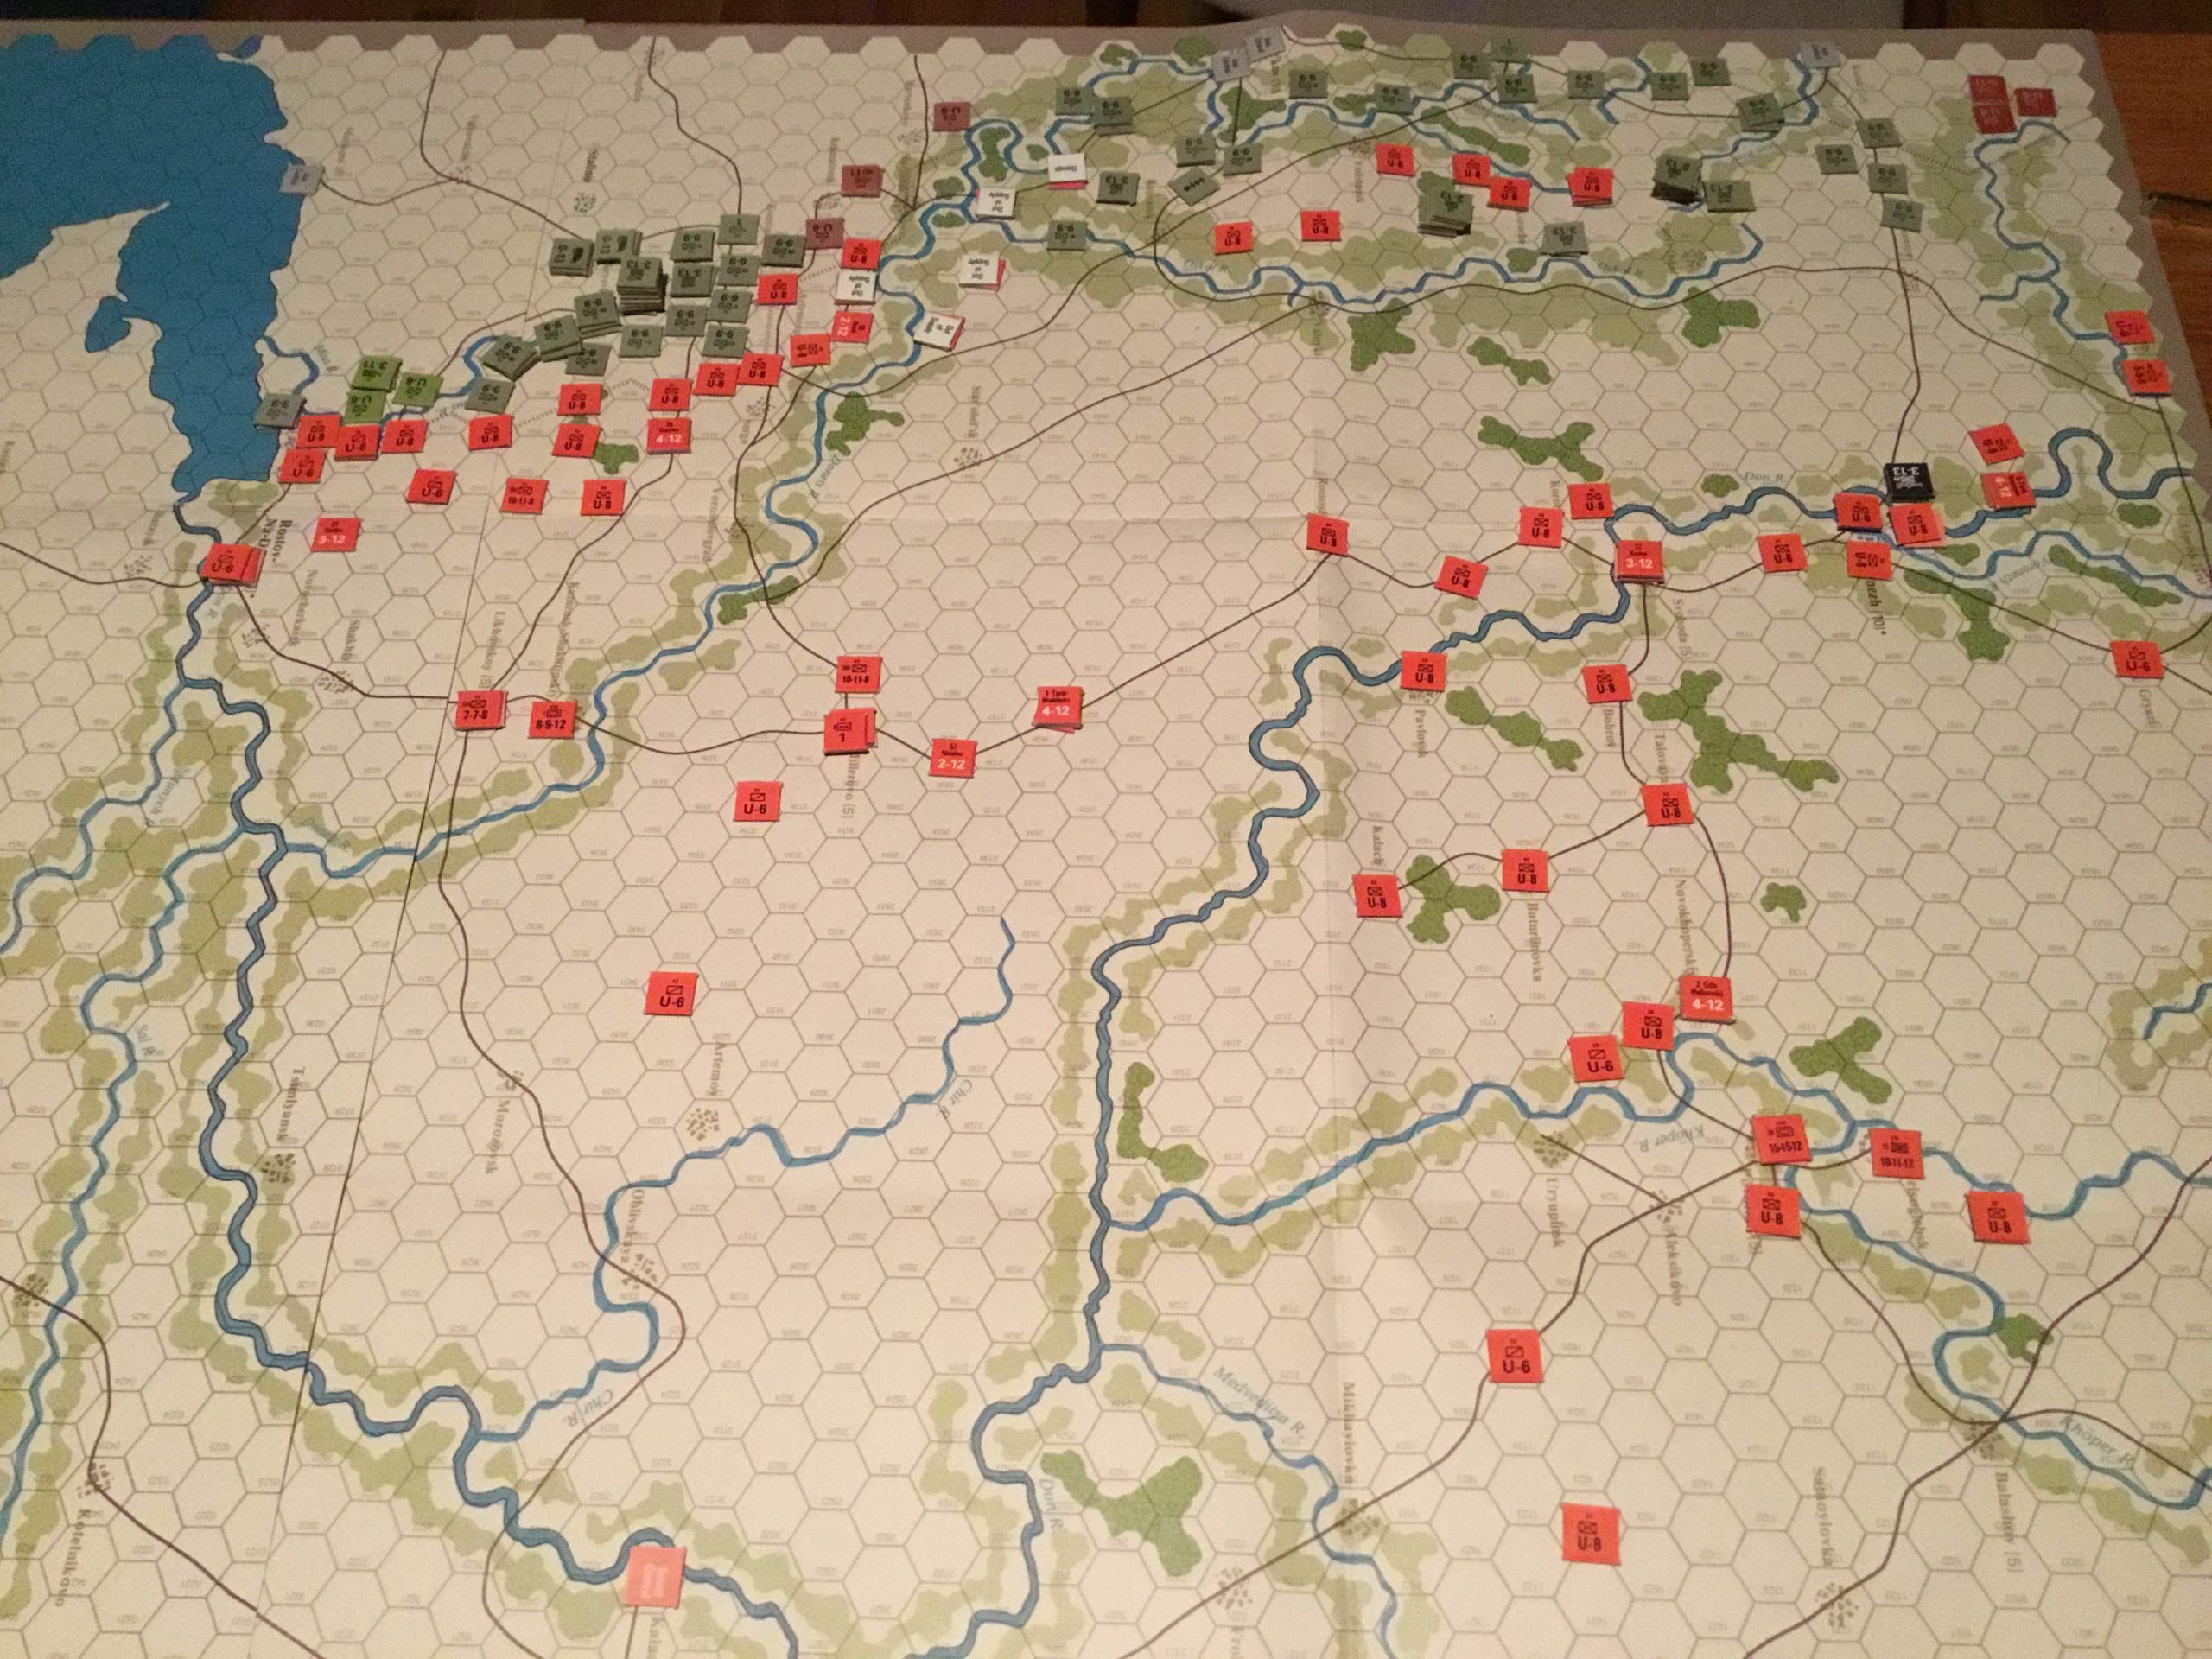
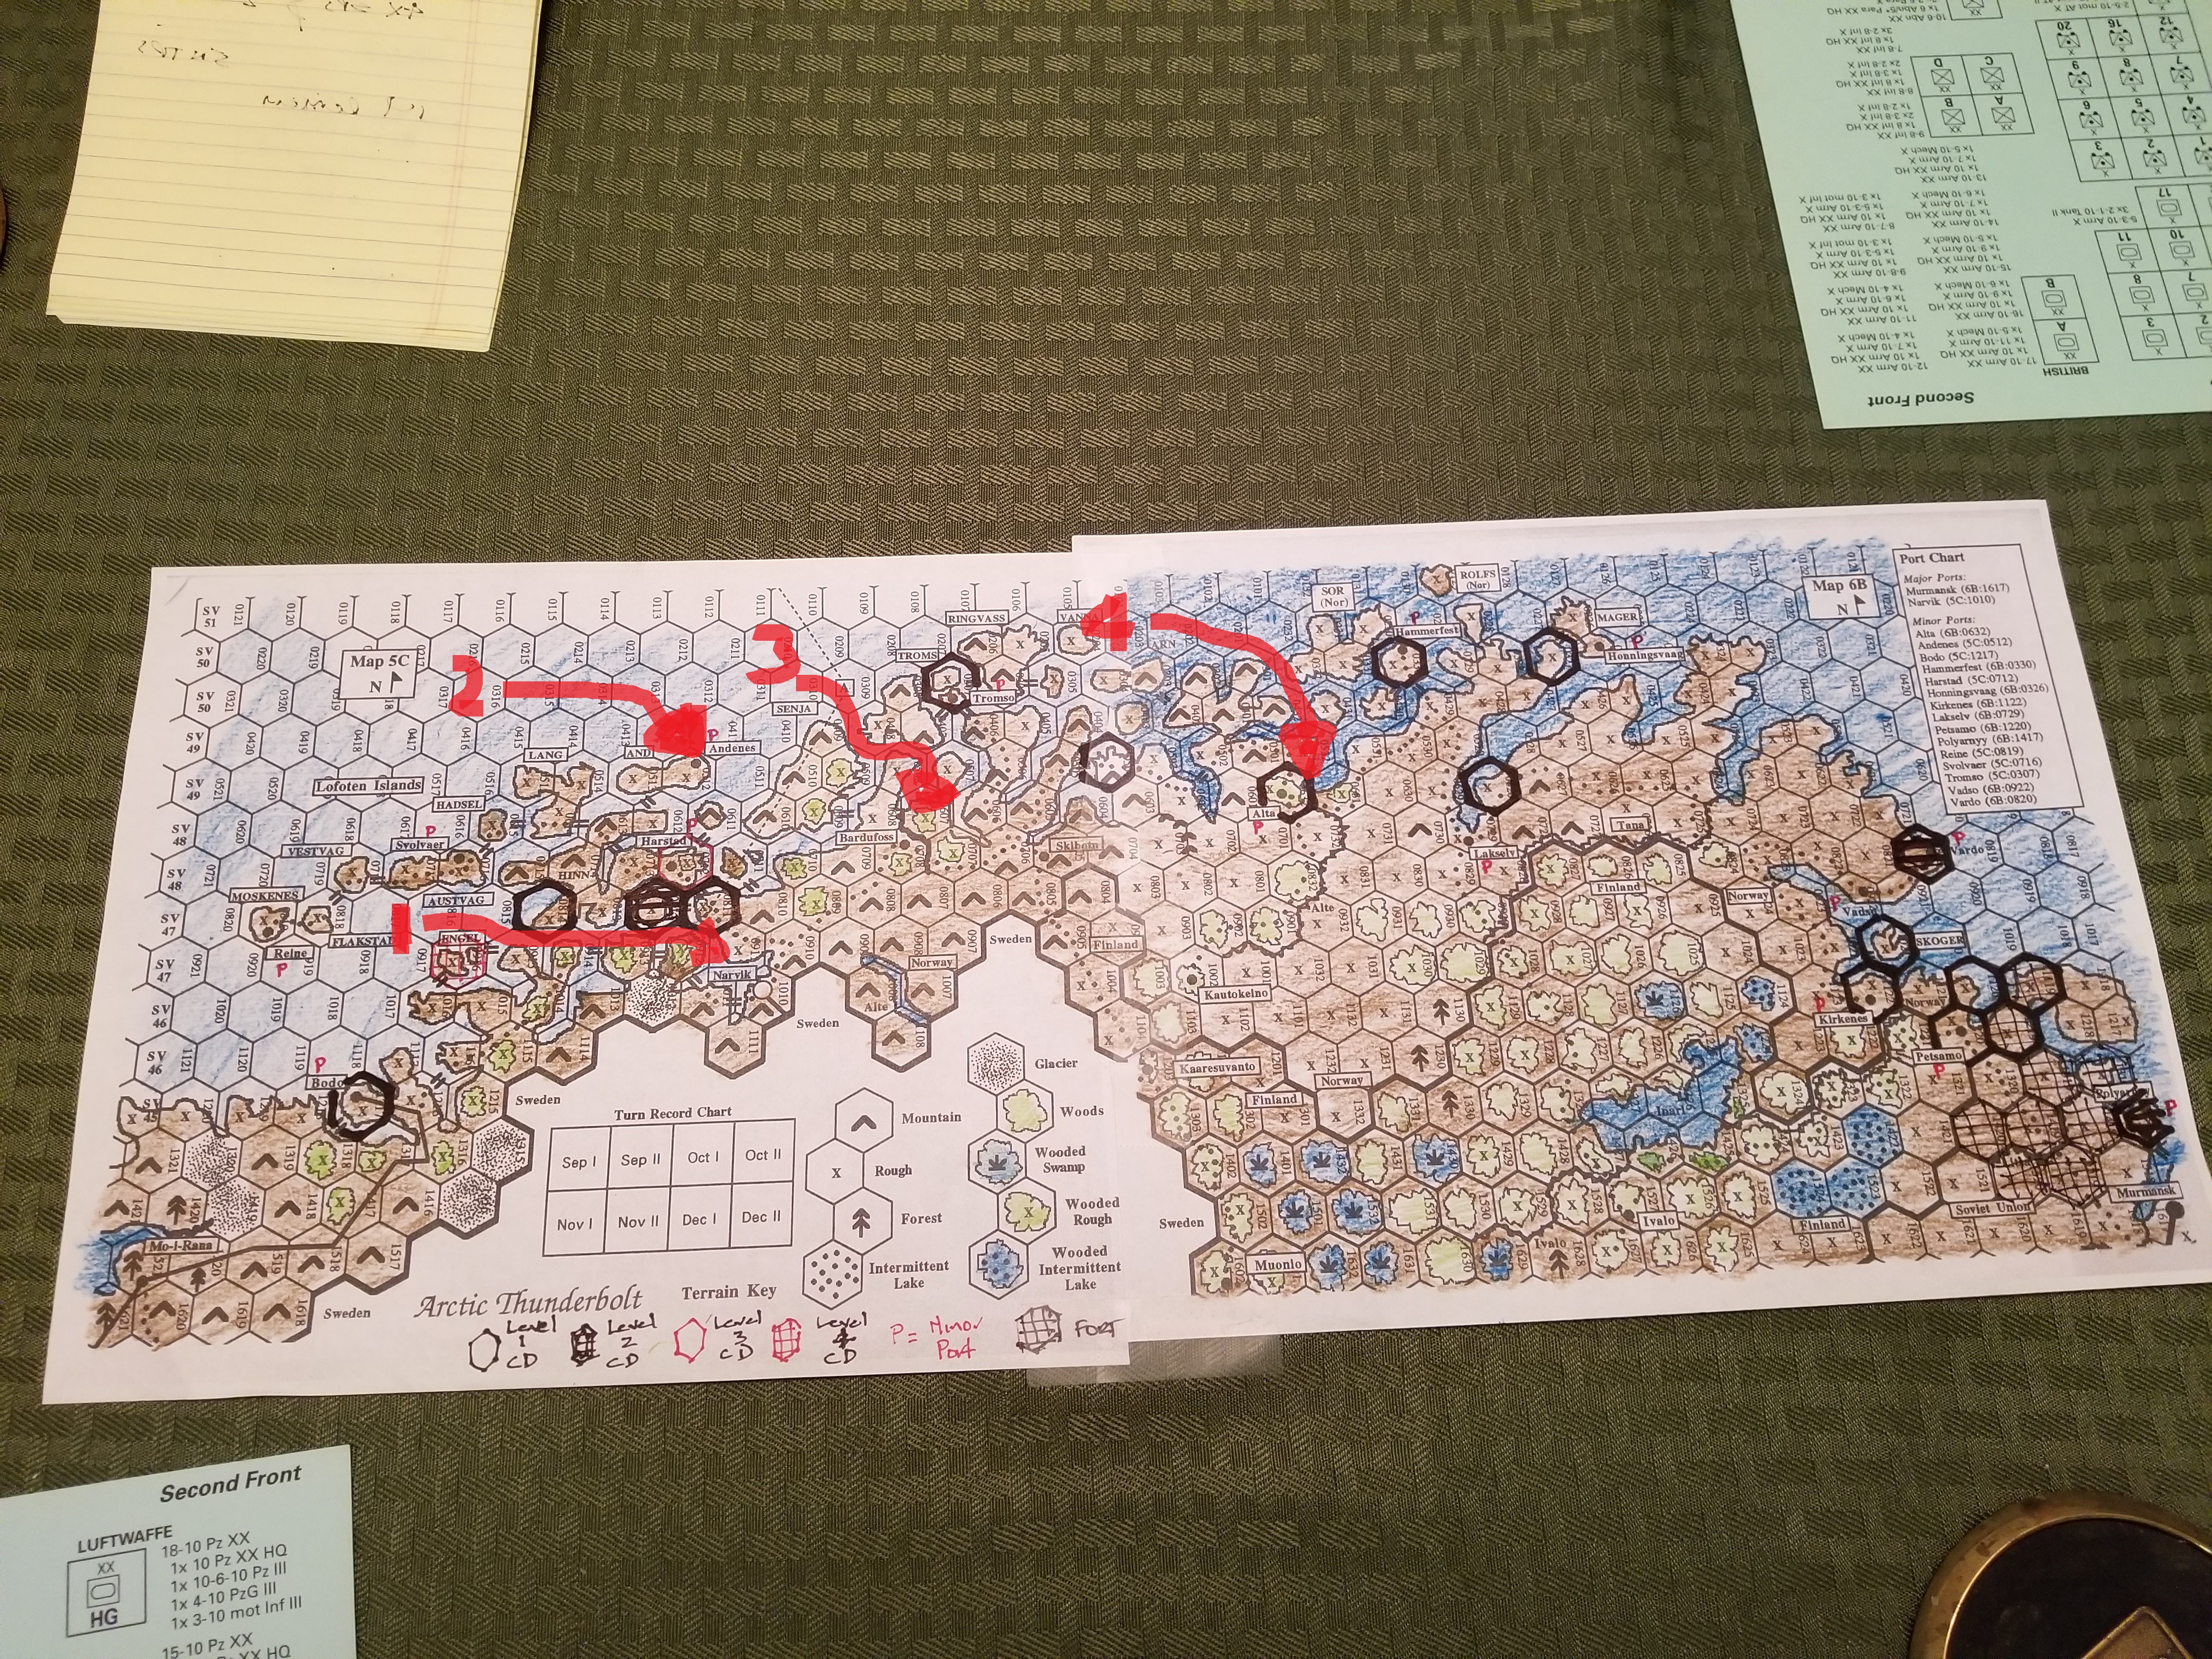
We played a couple of days before Christmas, squeezing in a session  between a visit to other friends in Portland and football viewing.  The SOS maps proved so cumbersome we used my little map.  Even with my invasion plans completed, we managed just a single turn.  Lots of naval movement, naval patrol , danger zone and mine field roles.  After this session, I re-did the little map, which is shown below.

map

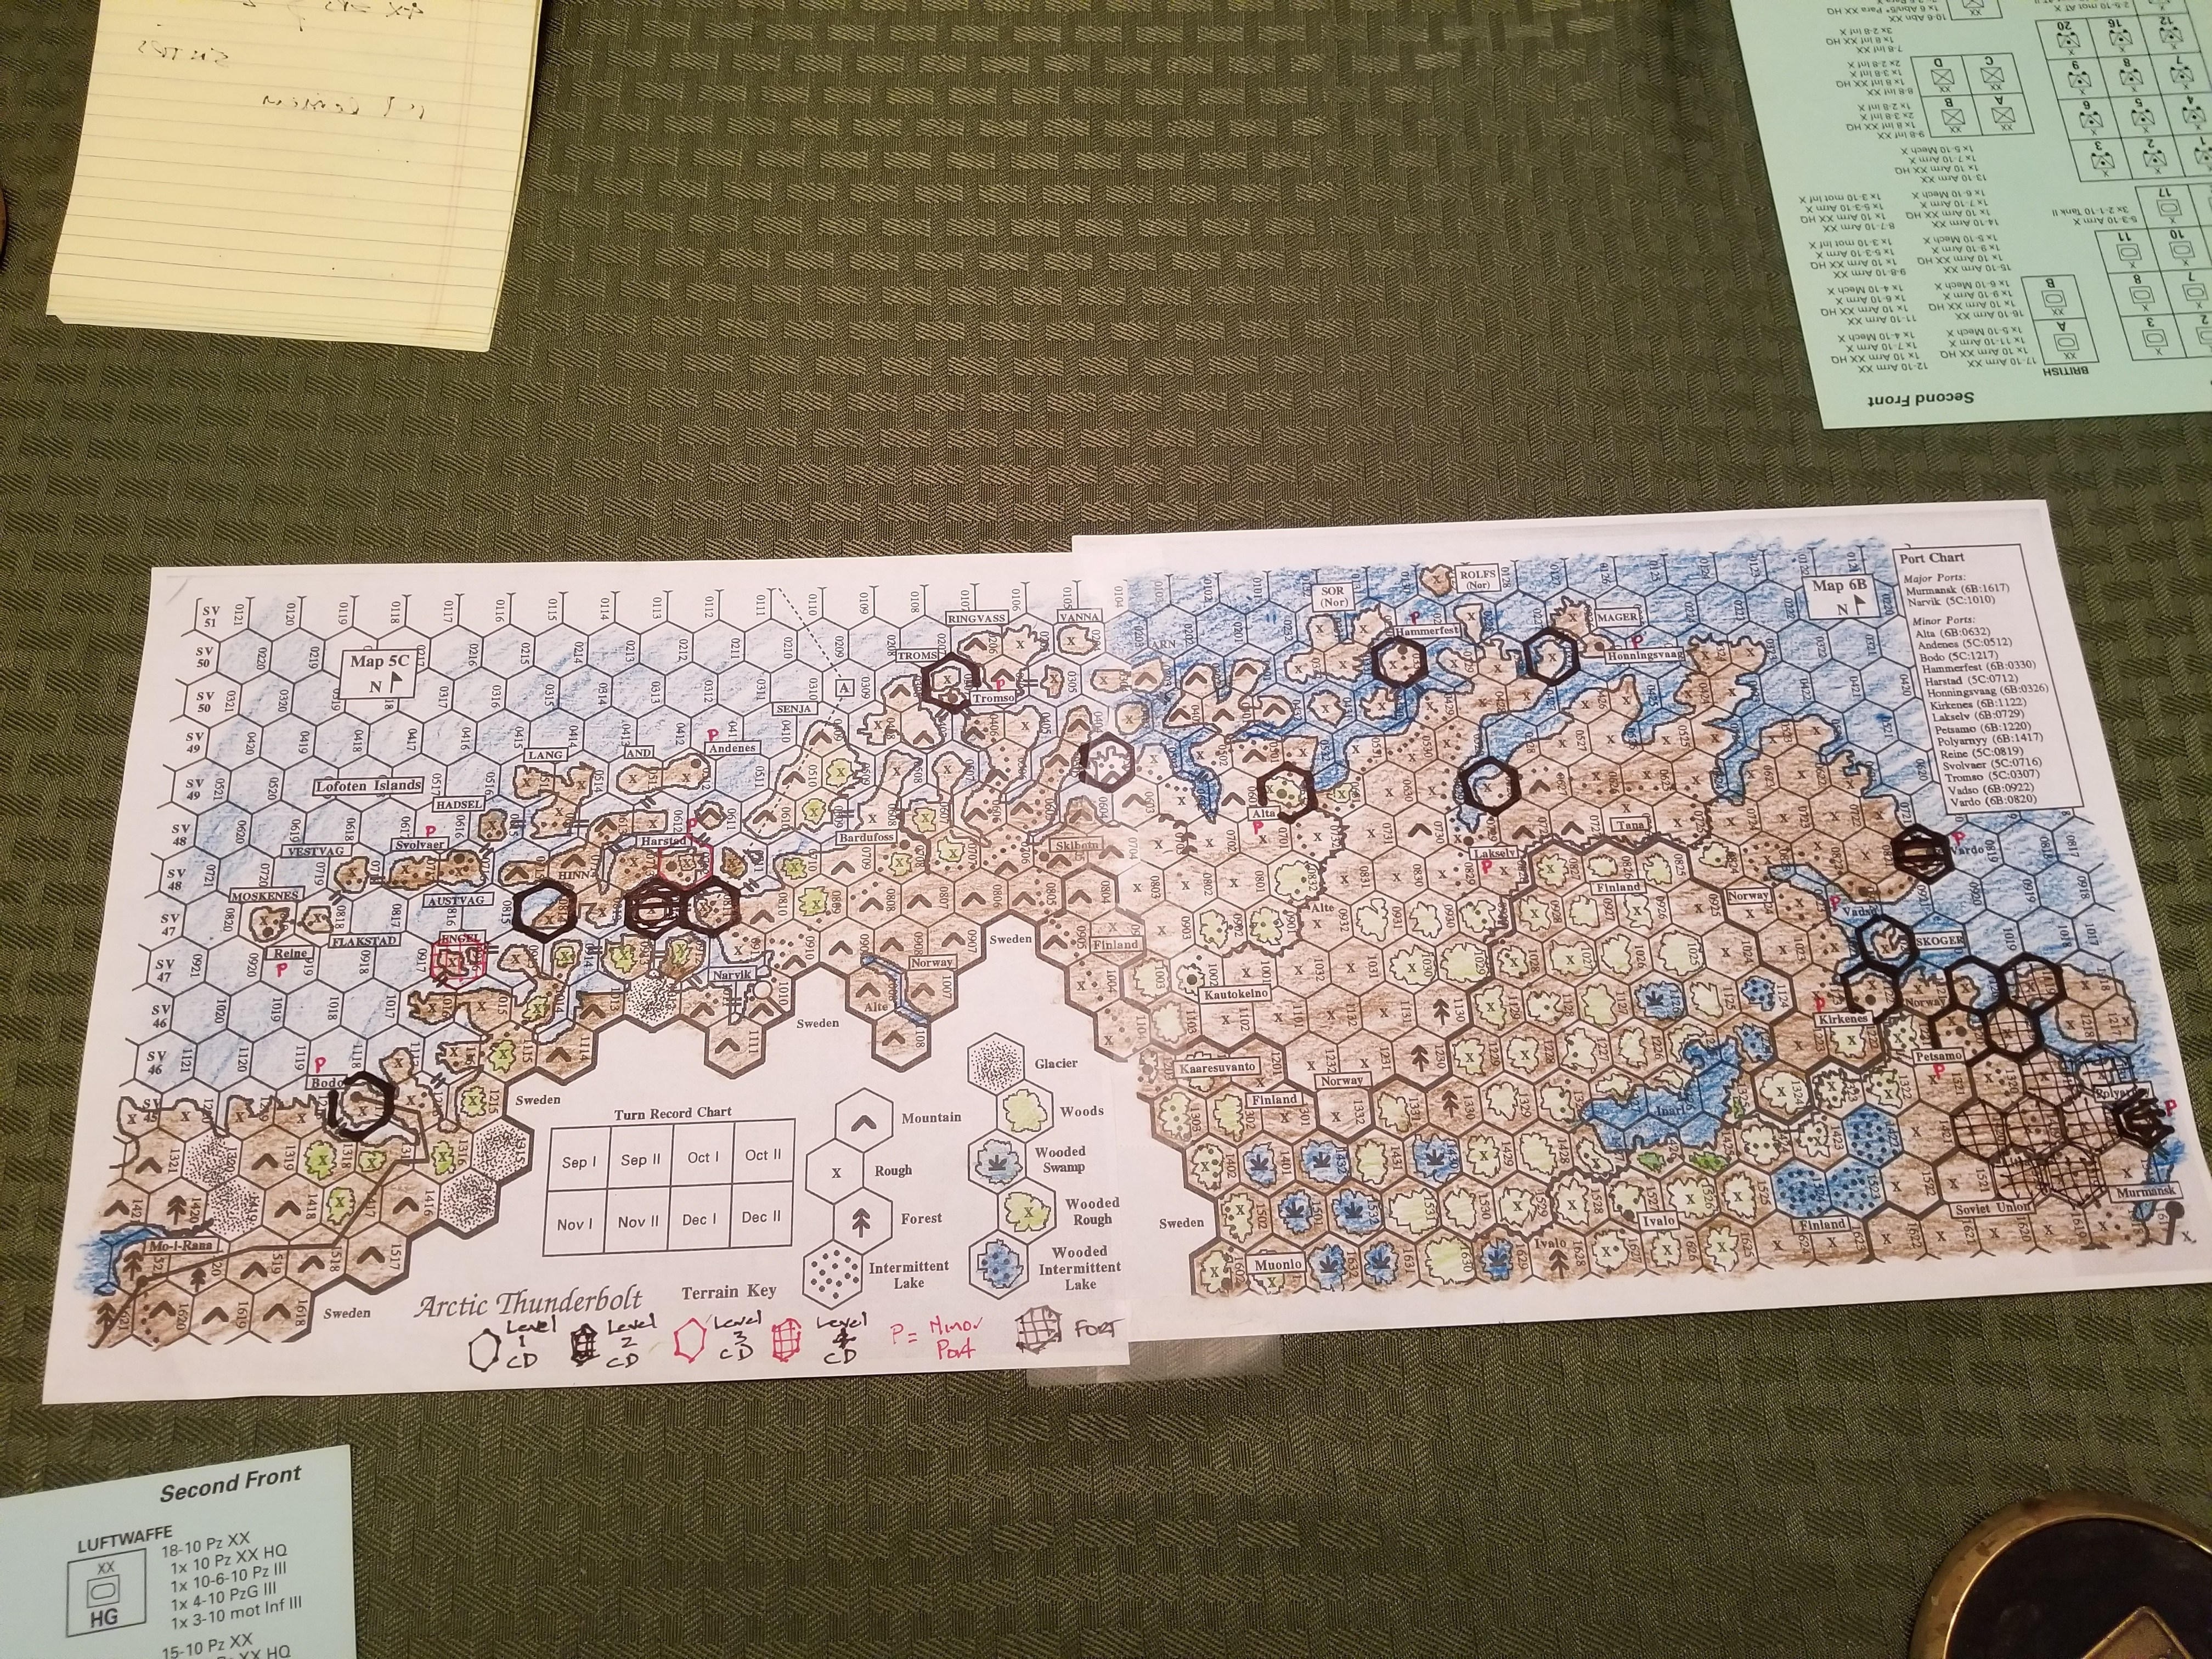
For the new game, my amphibious forces would land at Alta, Narvik, Bardofuss and Andenes.

I realize the following illustration sets a new low in media crudeness for this site, but it’s a matter of communicating effectively, and spending my time gaming, rather than focusing on developing media presentation skills.

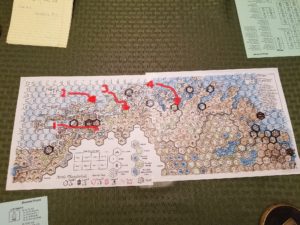
Landing # 1  – Narvik (United States):   6 Pt WNTF-1, 6 Pt WNTF-2, CG-1 (F4F & SBD), NTPs and LC for 85th Div. 1x 2-8, 1×3-8 & HQ, along with 4 SPs at Hex 0811.

Landing # 2  – Andenes (British):  4 NTPs & LC for 102 RM 3-6 & 10 Eng 2-3-8 along with 4 SPs at Hex 0512

Landing #3  – Alta (British):  16 Pt ENTF-1, 8 Pt ENTF-2, CG-1 (with Sfire, F4F & Albacore) & CG-2 (with Sfire, & Fulmer) , NTPs and LC for 46th Div.  1x 2-8, 1x 3-8 & HQ, along with 4 SPs at Hex 0532.

Landing #4  – Bardofuss (British): 8 Pt ENTF-3, NTPs & LC for 2x 3-6 RM (101,103), 2-8 Layforce along with 4 SPs at Hex 0608.

Landing #2 was scheduled for the Exploitation Phase when – it was hoped – all German air assets had been used for naval patrol or strike missions.  The engineer unit  build an airfield.

Go-To Game

That’s Paths of Glory (POG) for Tim and I  Rules are easy to remember, play is pretty quick, and it is always a tense struggle.  The perfect game when football, beer or just plain sloth renders Europa, Third World War or Pursuit of Glory (POG’s demonic brother) too difficult.

Our latest game was right before Thanksgiving.  Tim took the Allies and I had the Central Powers.

In our past games, Tim’s Allied play has always featured the Russians’ rude handling of the Hapless Hapsburgs.  This time, I was determined not to let the Austrians lose the game.  This would involved a cautious approach on the Western Front, with German reinforcements moving to the East.

August 1914

Standard opening for the August 1914 first game turn.  I played the Liege card but not much else.

The Russian Steamroller gathered speed during the September 1914 turn.  I was forced to funnel what few reinforcements I had  East to stave off Tim’s hordes.  He also started his War Status track moving by playing the Blockade card.

Fall 1914

In the Fall 1914 turn, Tim continued to hammer away at the Austrians in the East, while my activities focused on patching together a defensive line,  and entrenching in the West.

During the Winter 1915 turn, the Austrians came under new pressure from the Southeast.  The Serbs launched a local attack that eliminated an Austrian Corps, and Romania’s entry into the war forced the Austrians to divert units.  The Austrian Eastern front was now buttressed by four German units.

The Italians entered the war during the Spring 1915  turn.  Fortunately, the Austrians finally drew reinforcement cards allowing them to stop the Italian offensive south of Vienna and continue to frustrate the Russians, with heavy see-saw  fighting around Warsaw.

While the situation remained the same in the East, Turkey’s entry into the war during Summer 1915 created new problems for the Central Powers.  As luck would have it, the Ottomans had a mandated offensive that resulted in defeat and opportunites for the Russians and British.

The Central Powers used Bulgaria’s entry into the war to pressure the Romanians and Serbs.  Both the East and West fronts had stabilized, but the British had mustered a force off of Gallipoli.

At this point, we shut down the game.  The prospects for a dramatic breakthrough by either side were bleak, and, more importantly, food and football beckoned.

While the map indicates a relatively “even” situation for both sides, I believe Tim’s Allies had an advantage for two reasons.  First, the Central Powers had gained very few victory points in the East.  These are needed to start the Russians on the road to revolution and disintegration.  Secondly, there was a very possibility of a successful British landing at Gallipoli.

Another fun contest…….

Fall Gertrude – Botched……..And Boxed.

To borrow from Christopher Shores….a “Bloody Shambles.”  And as bad as the TV Show.

Axis forces now in a cul-de-sac.  I’m sure there is a way out of this (desperate airborne divisional drop?), but lack the time and patience.

So, where did it all go wrong?  Feel like Jeff Goff looking at Super Bowl film.  I’m so Kubler-Ross.

Think this sequence sums it up……

Ready to Break Into Asia

Too Many Units Mopping Up

Go South, Not East!

Instead of East, I should have moved the Panzers South and East, to the Anatolian Plateau, and tank country.  Needed to either quickly eliminate,  or mask,  the by-passed Turks west of Istanbul, and move the bulk of the infantry east  to maintain pressure there.  Too much reliance on speed and luck.

Still, it was way too much fun getting the Turks on the Europa Table, and exploring a might-have-been scenario.  Persia next?  I think there is a Europa Scenario for that…………

Fall Gertrude – Axis Turn 5 Movement and Combat

Axis armored units contined to move east into the teeth of the Turk defenses.  Slower moving infantry units moved to the southeast.

Overall View End Of Axis Movement. Air Units Shown Near GS/DS Hexes

The attack on Hex 0619 was at 49:8, or 6:1, -1 for Rough Terrain.  A “6” was rolled, for a DE result.

Infantry Attacks Hex 0619

The riskier, but necessary armored attack at Hex 0513 was at lower odds, or 4:1.  The Turk mixed fighter unit did abort an He-111 unit, but a roll of “6” makes up for that kind of setback.  This was a DE result.

Armor Advances After Successful Attack On 0513