Remnants of Lord Renaldo’s army have fled south after a stunning defeat at the Oasis At Olufunke. The Bey’s army is too worn to pursue, having suffered heavy losses in a battle that had three distinct phases.
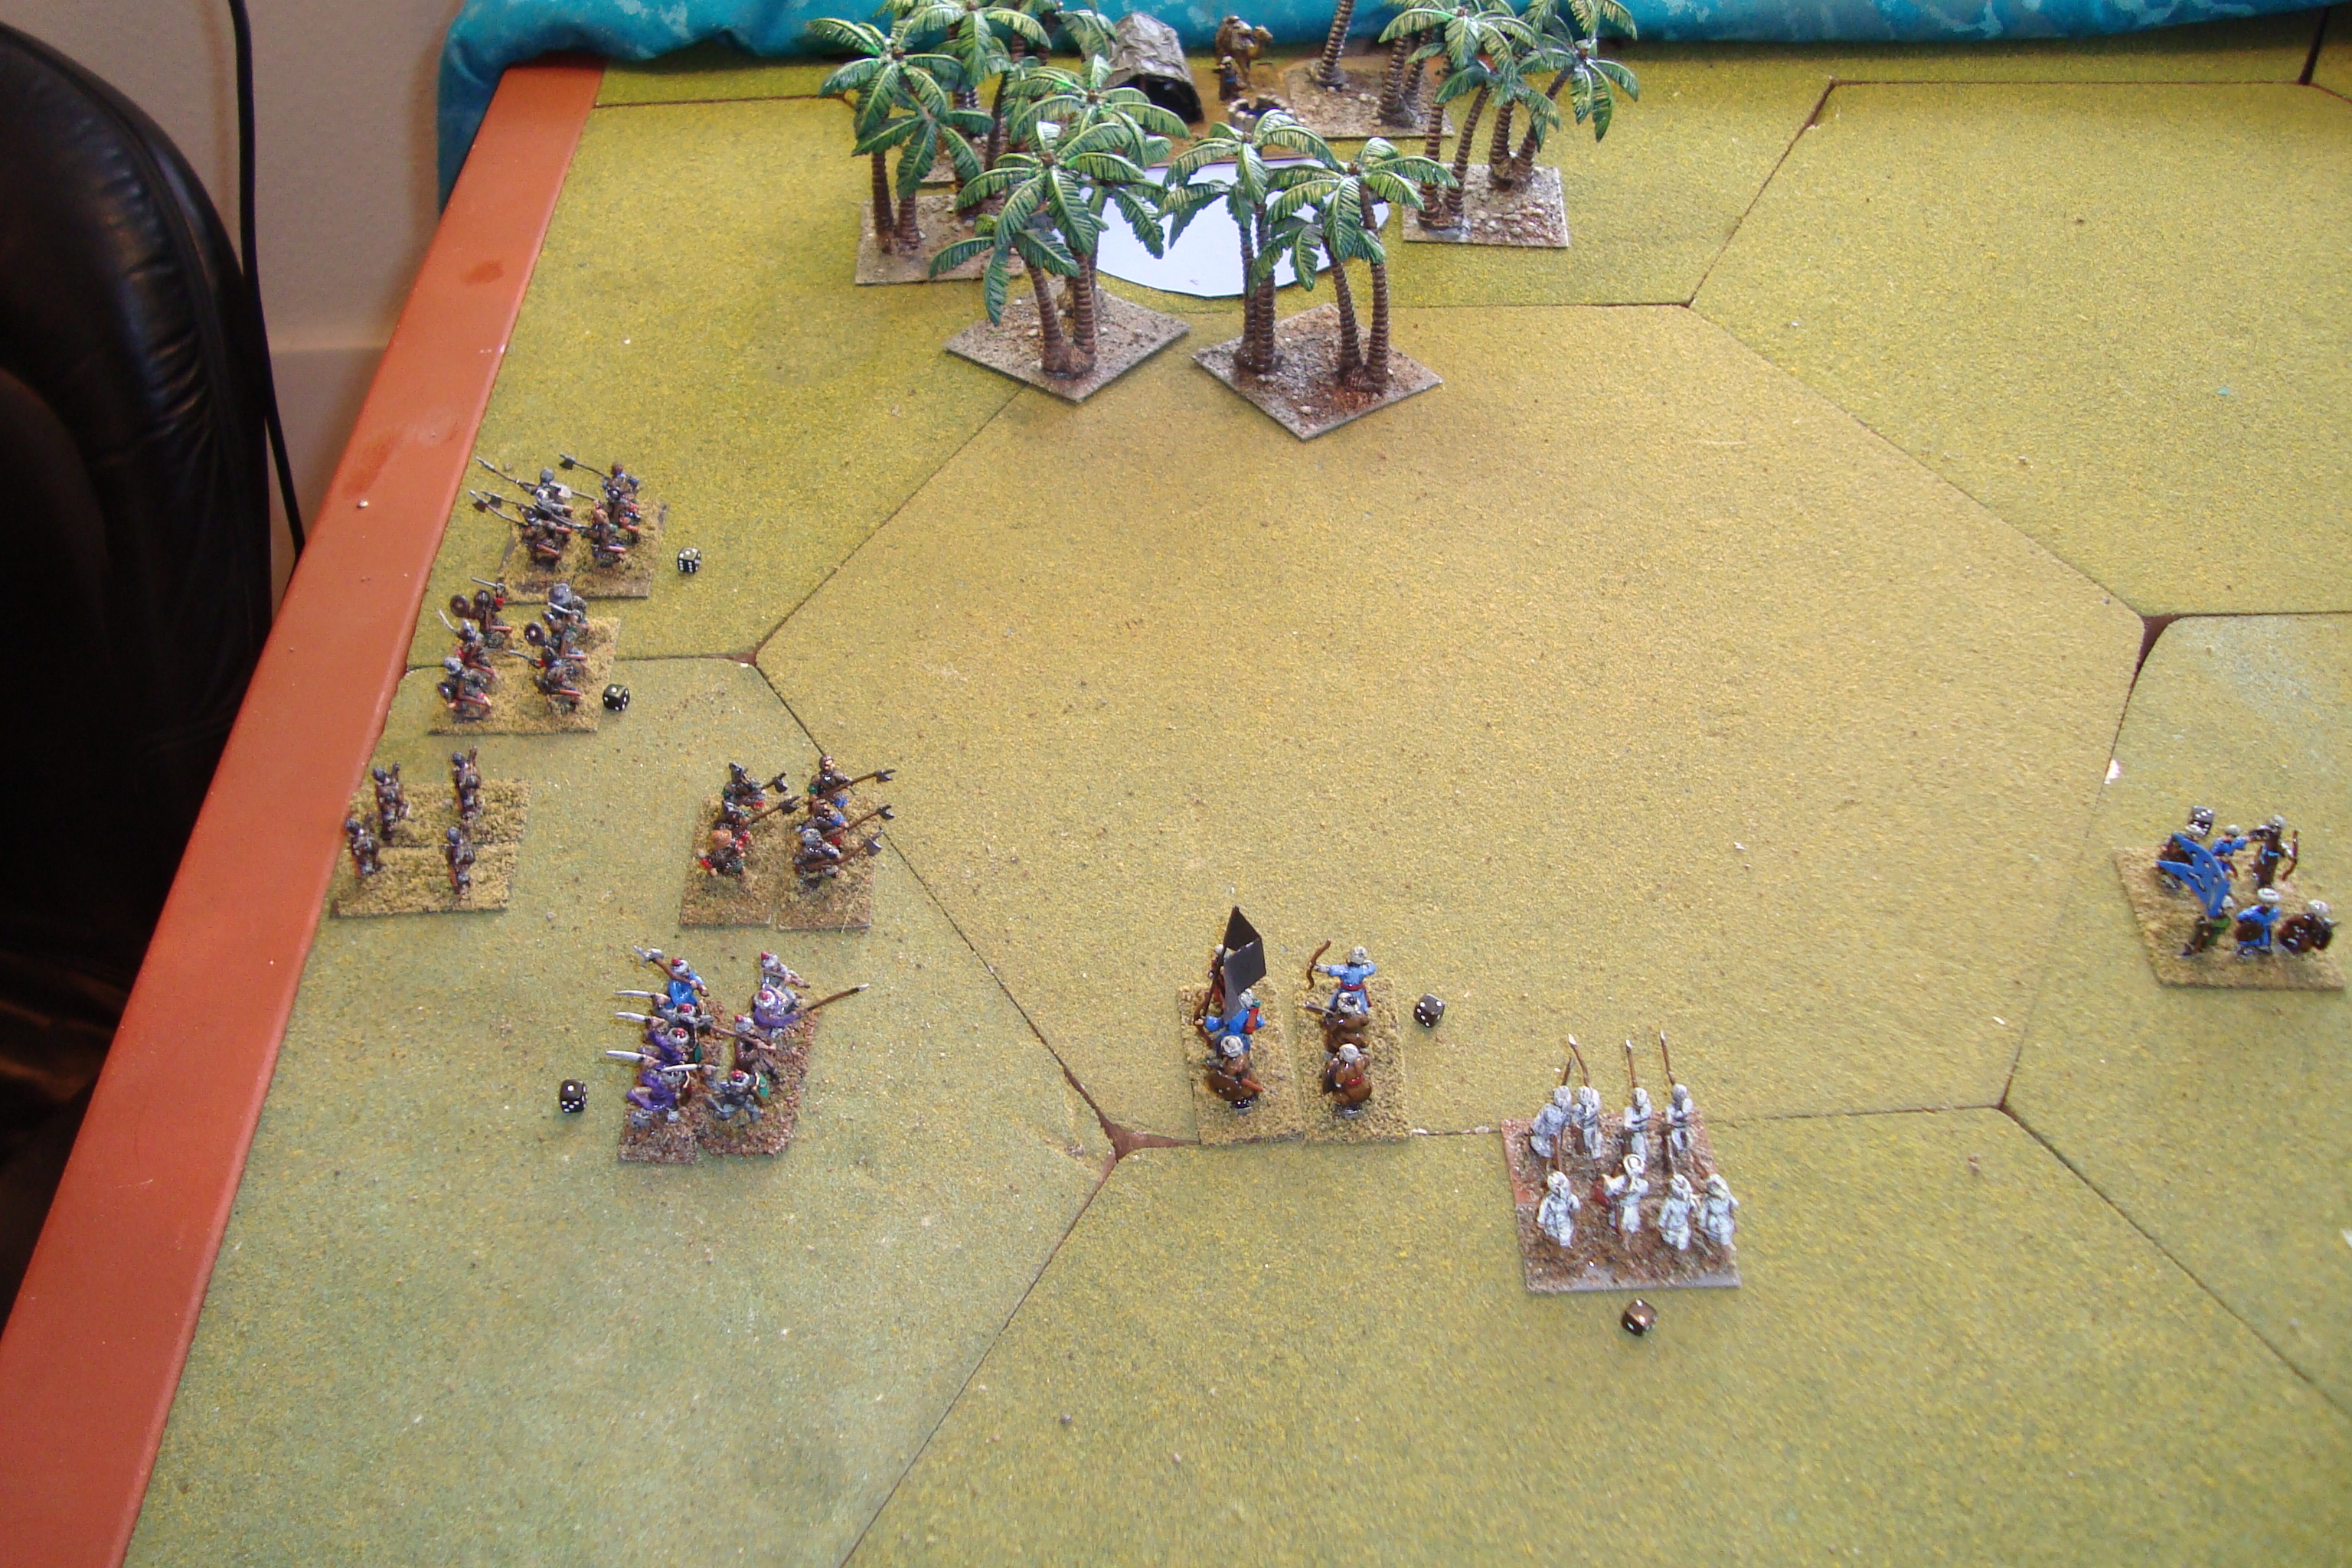
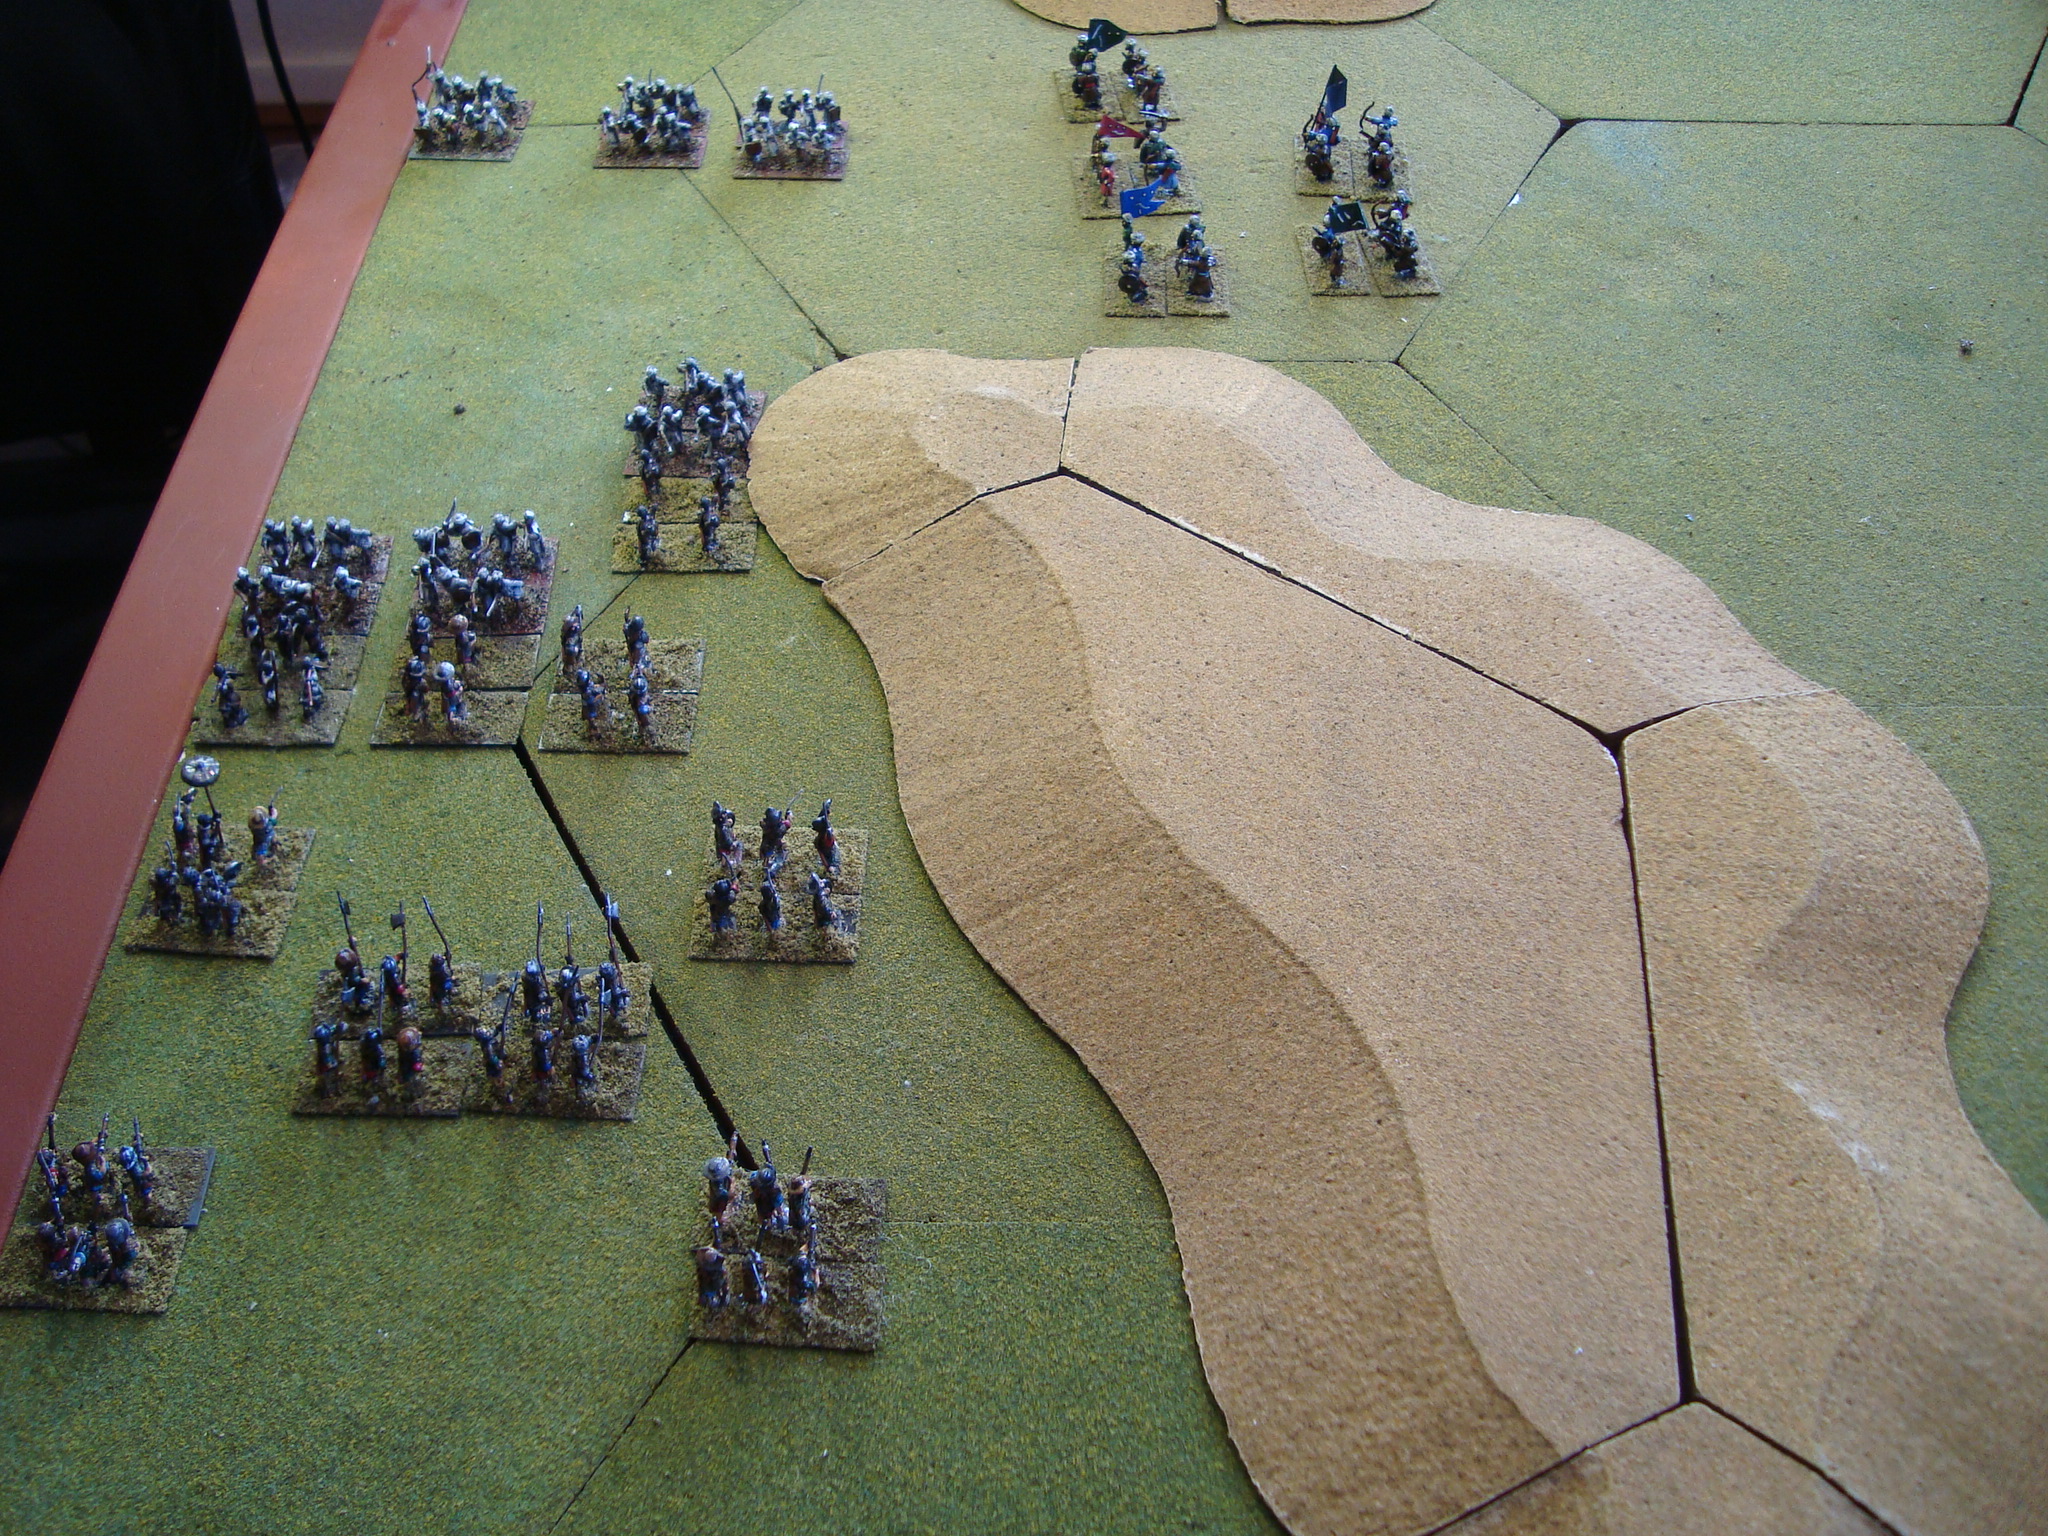
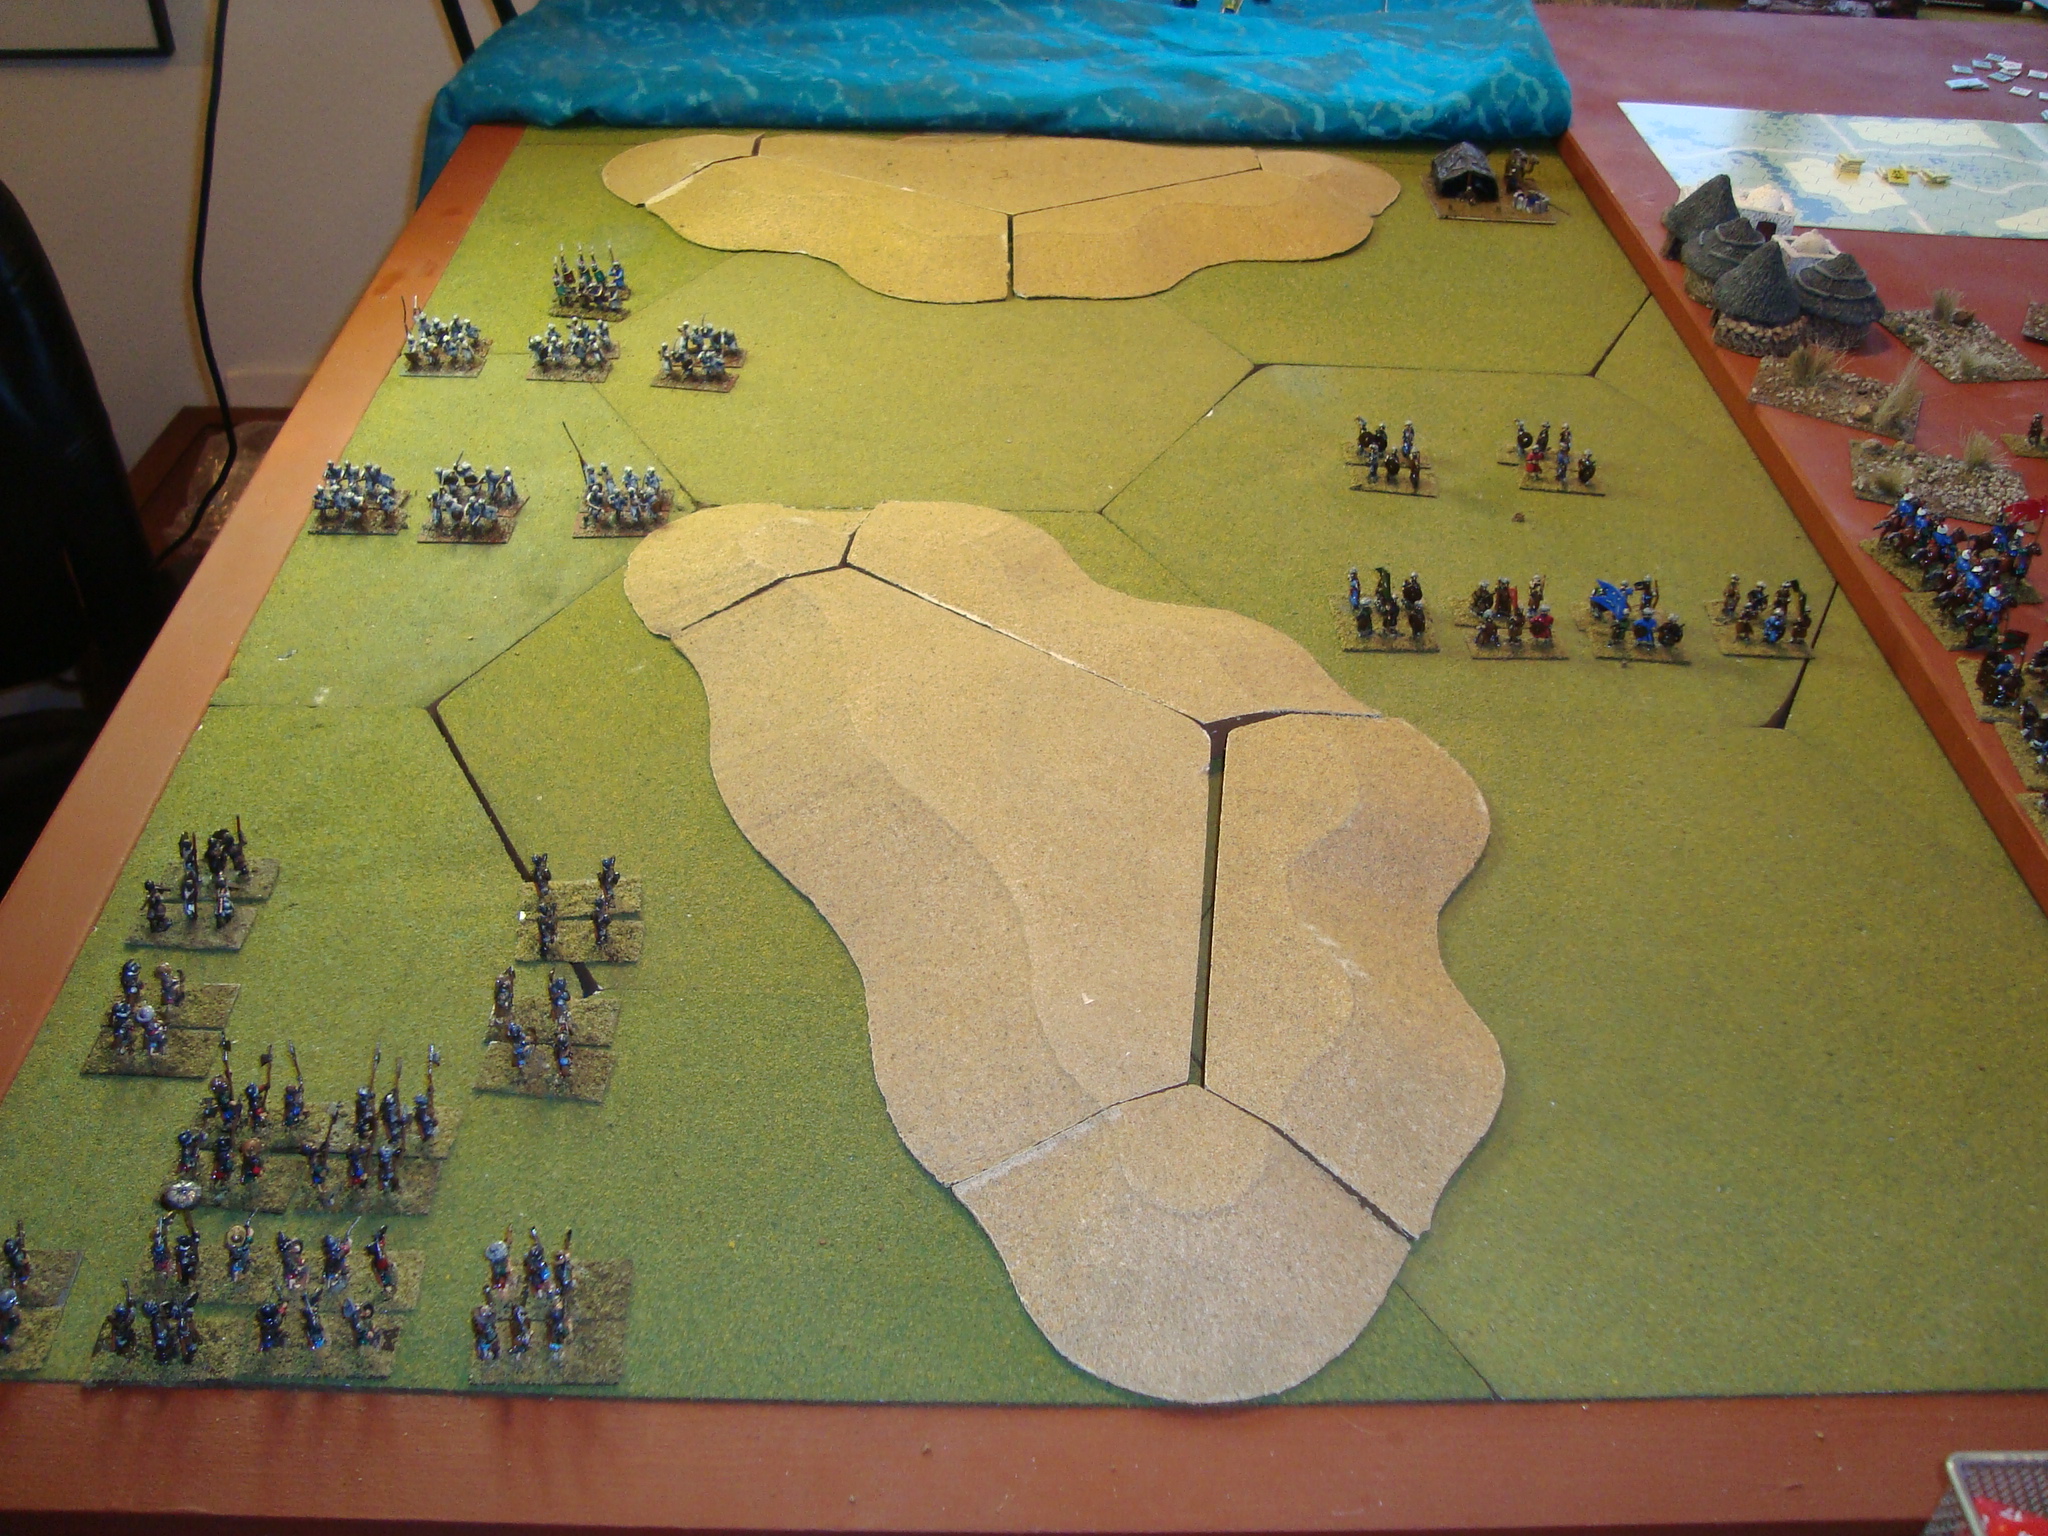
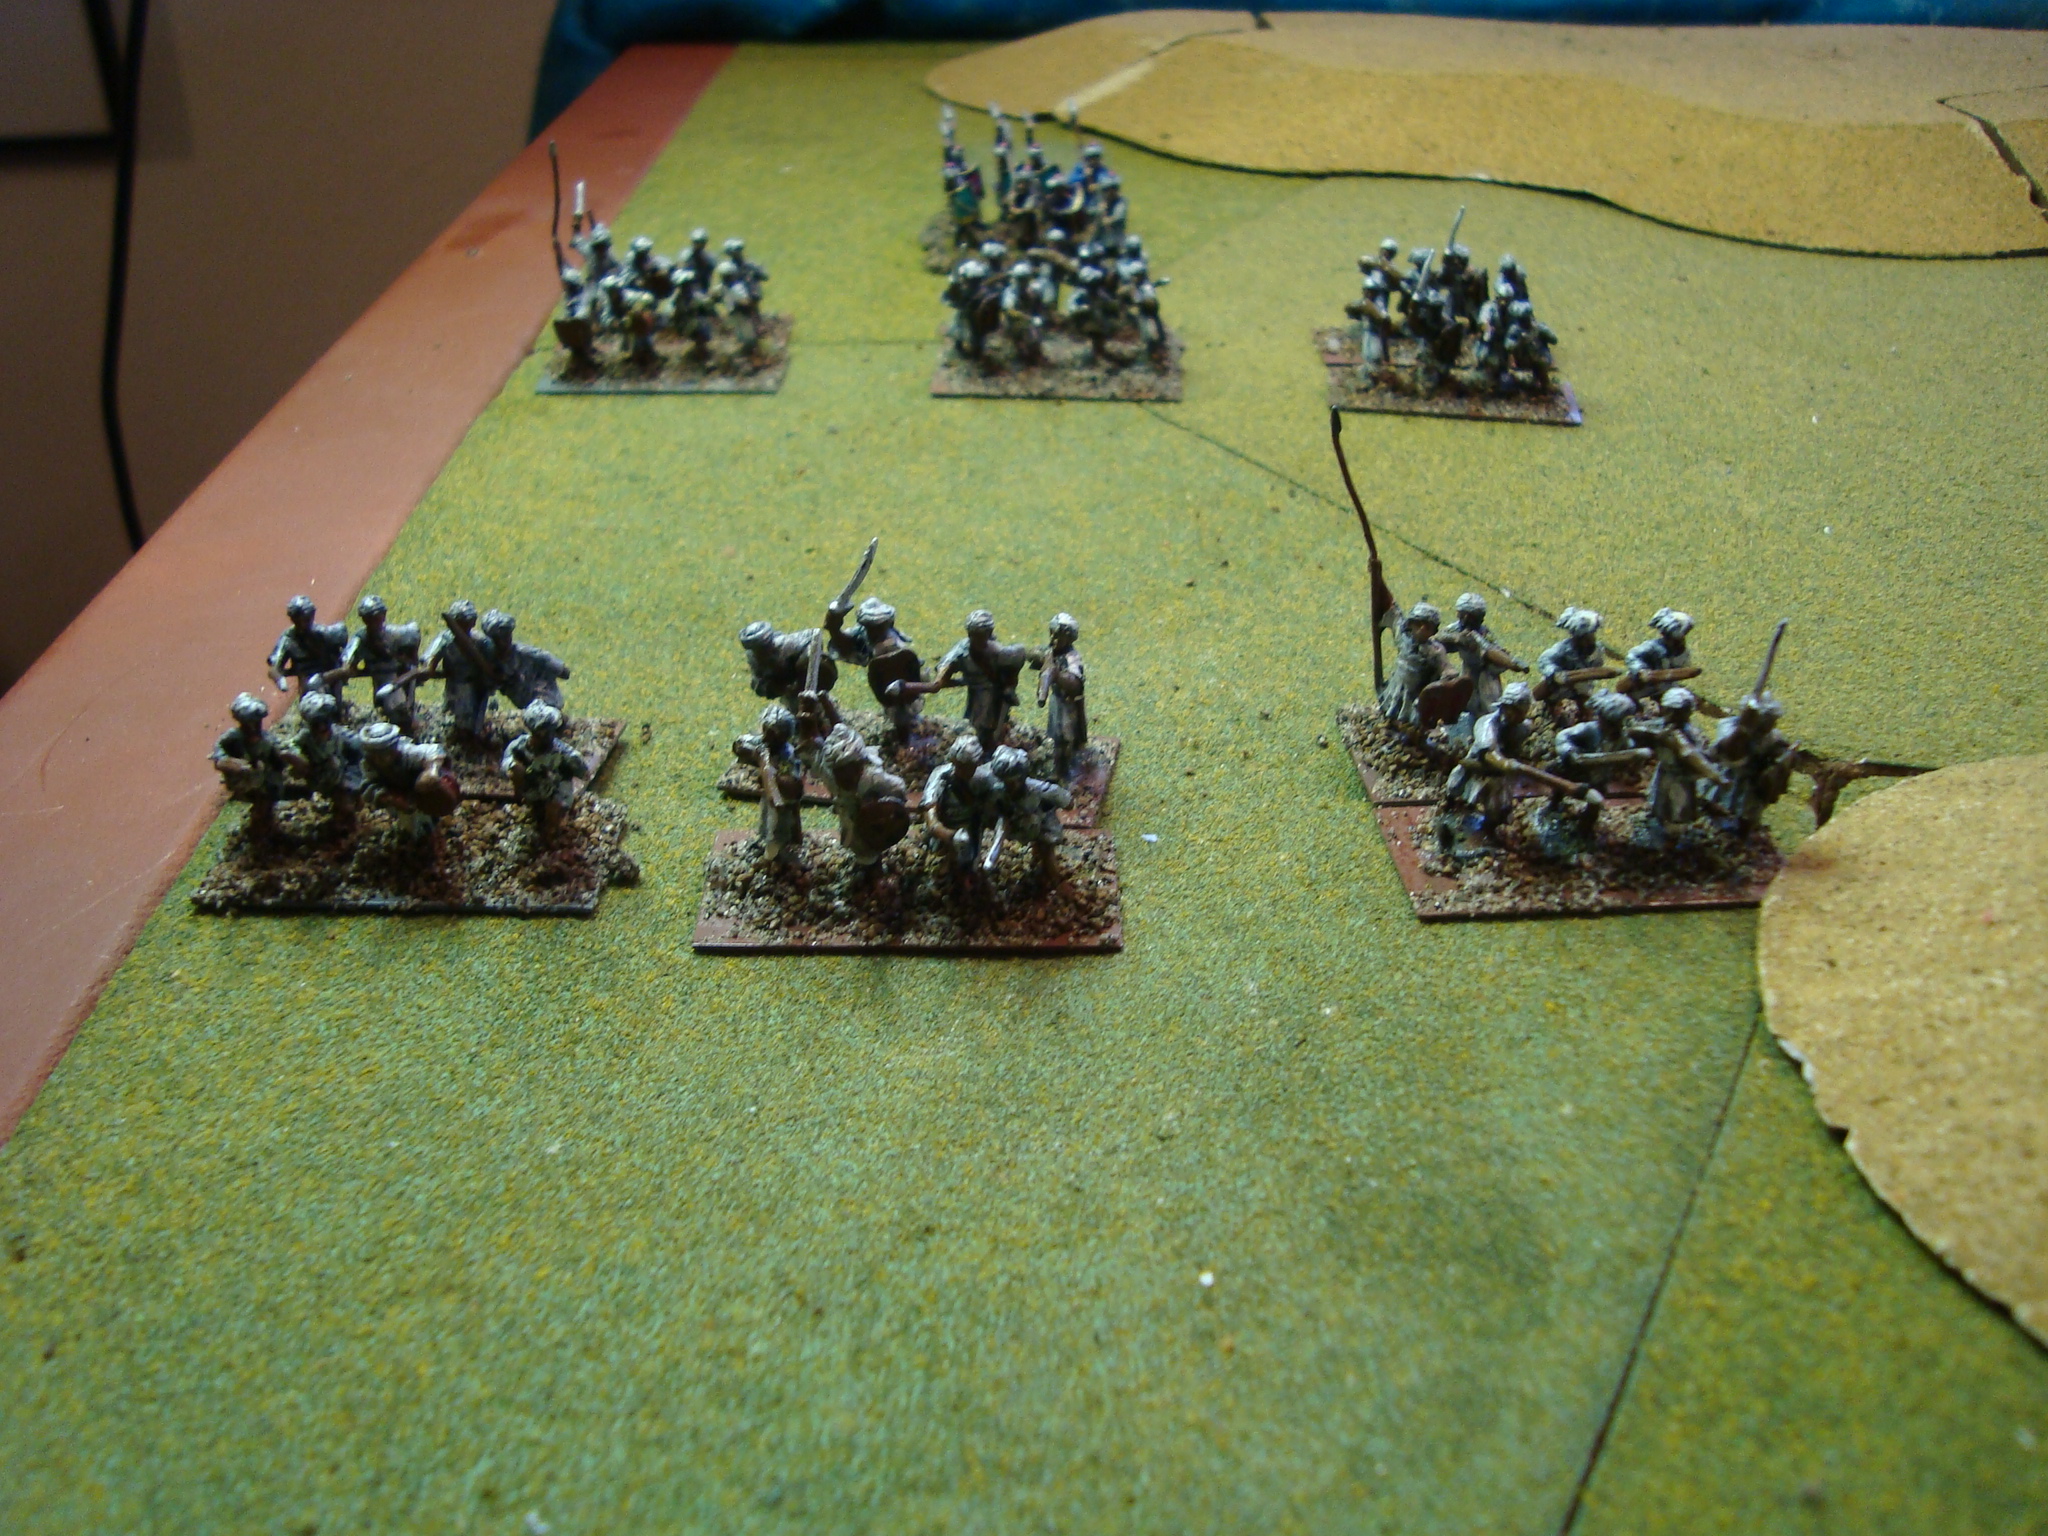
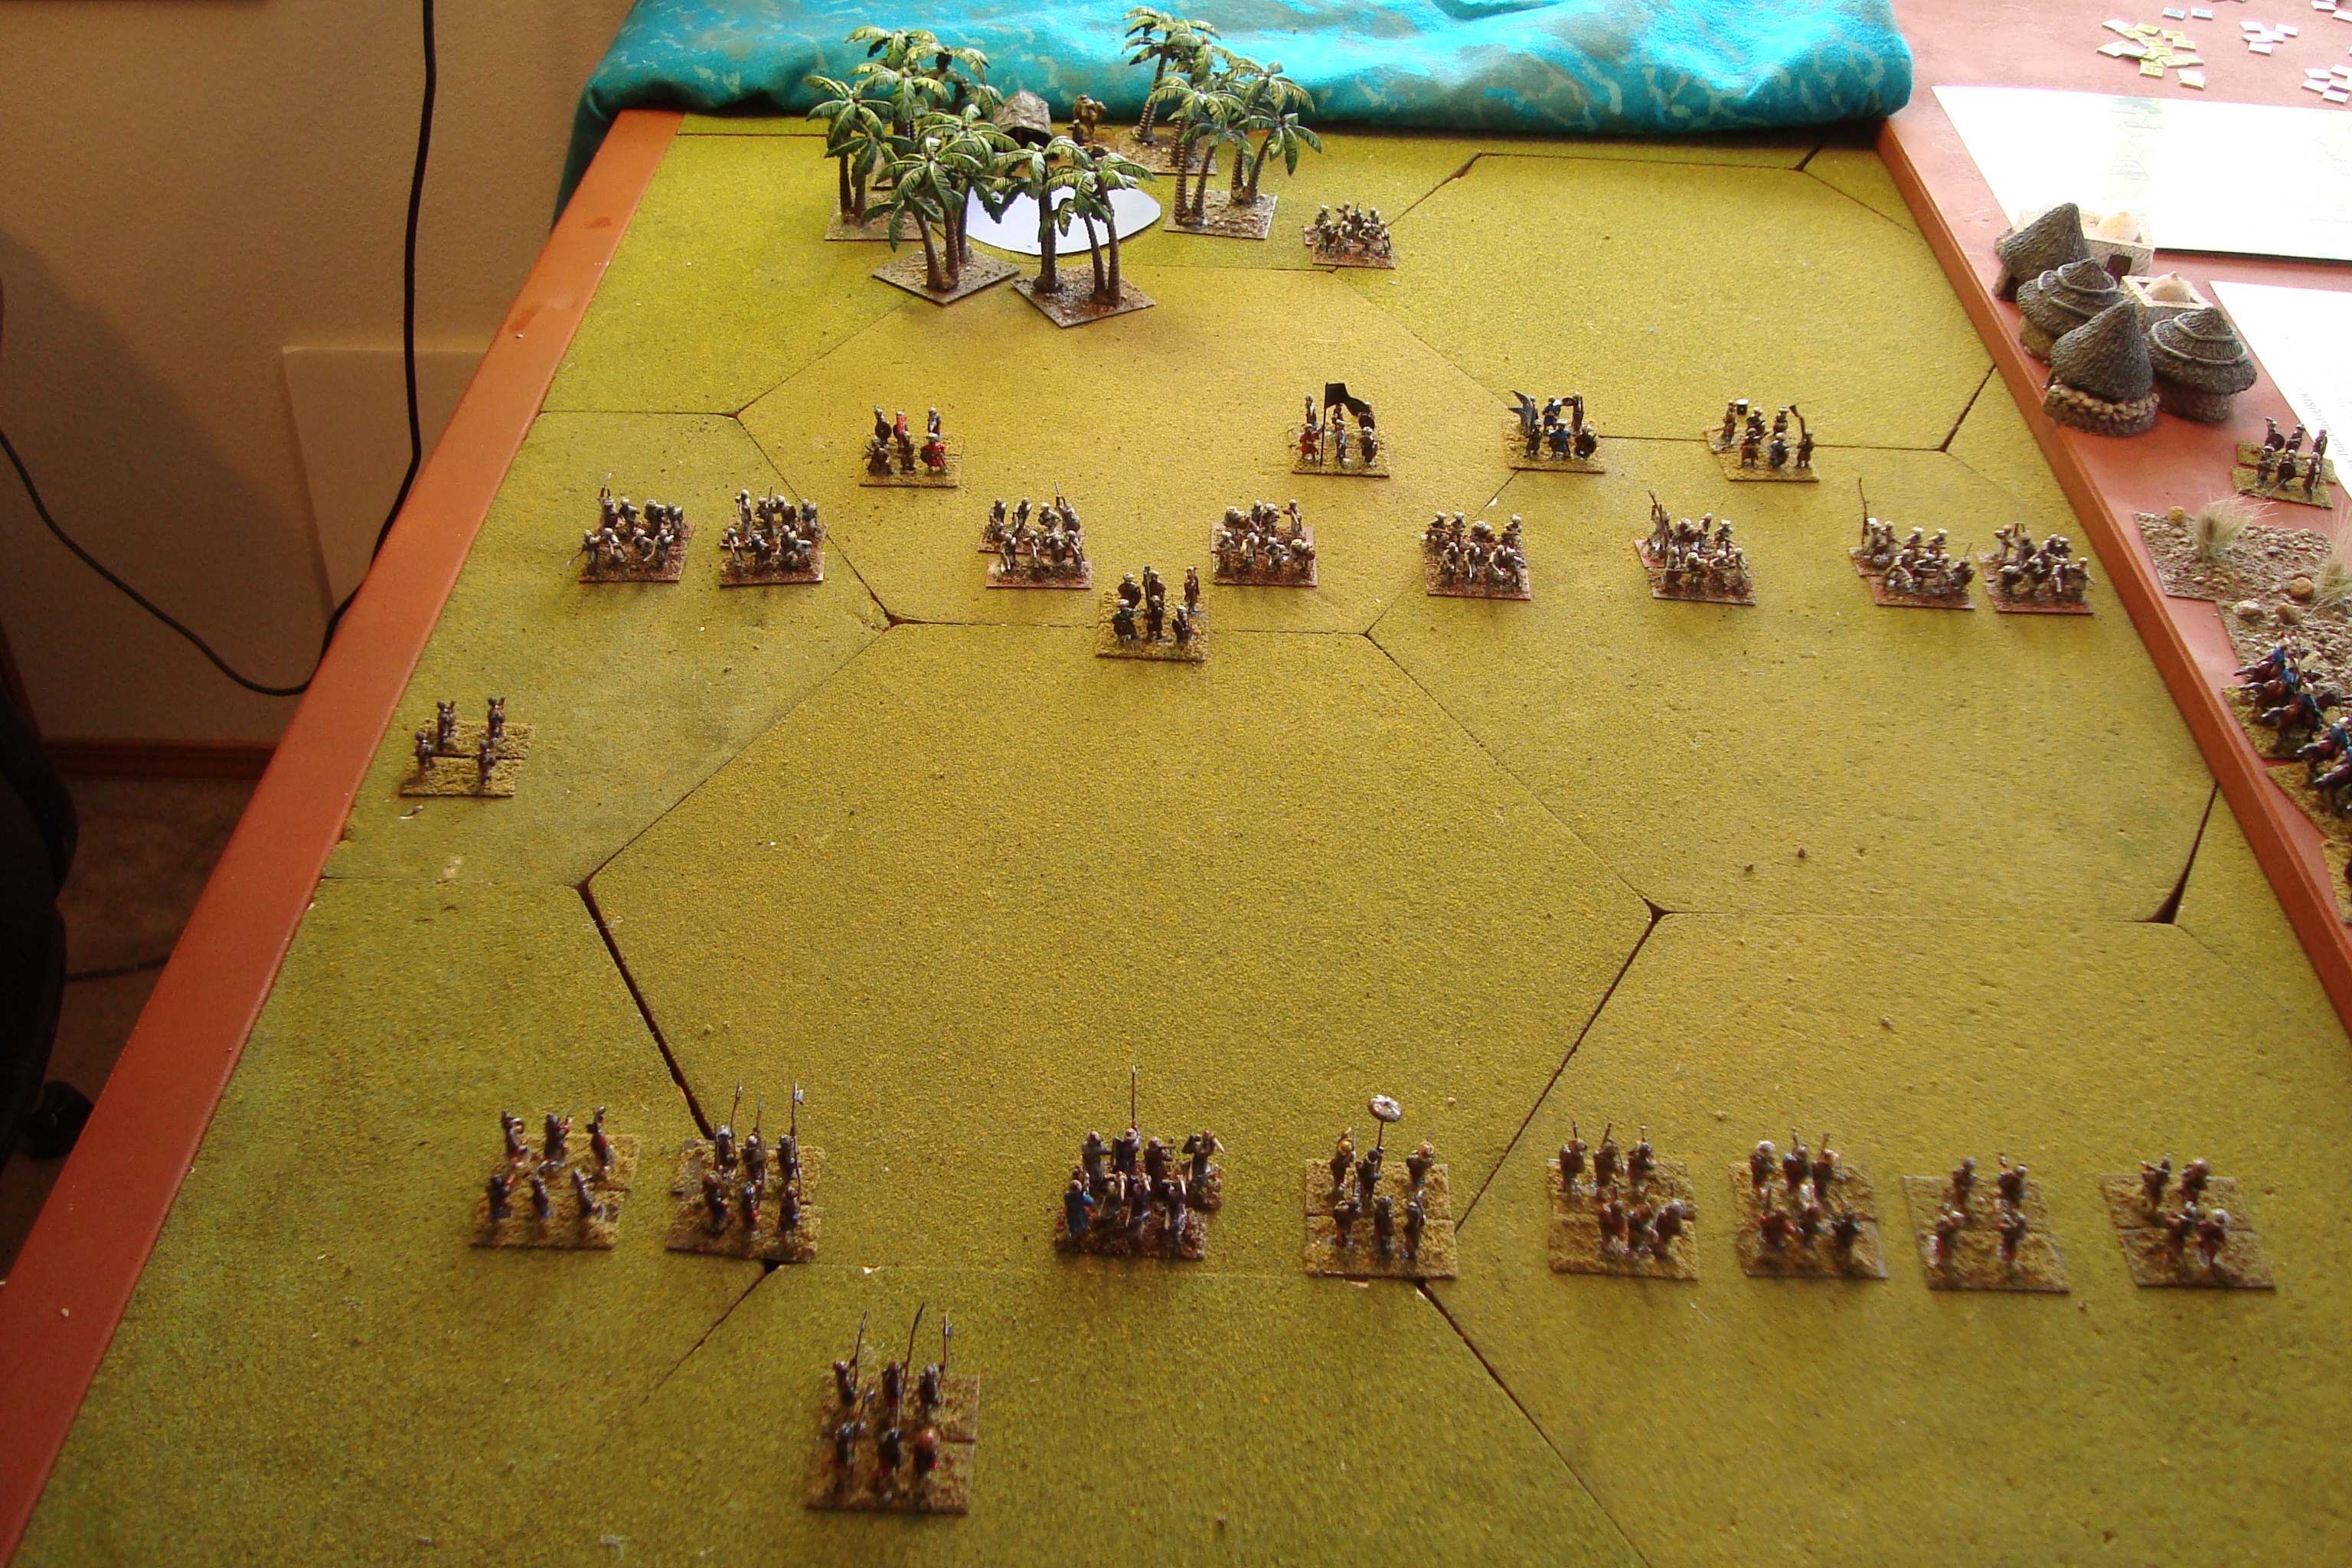
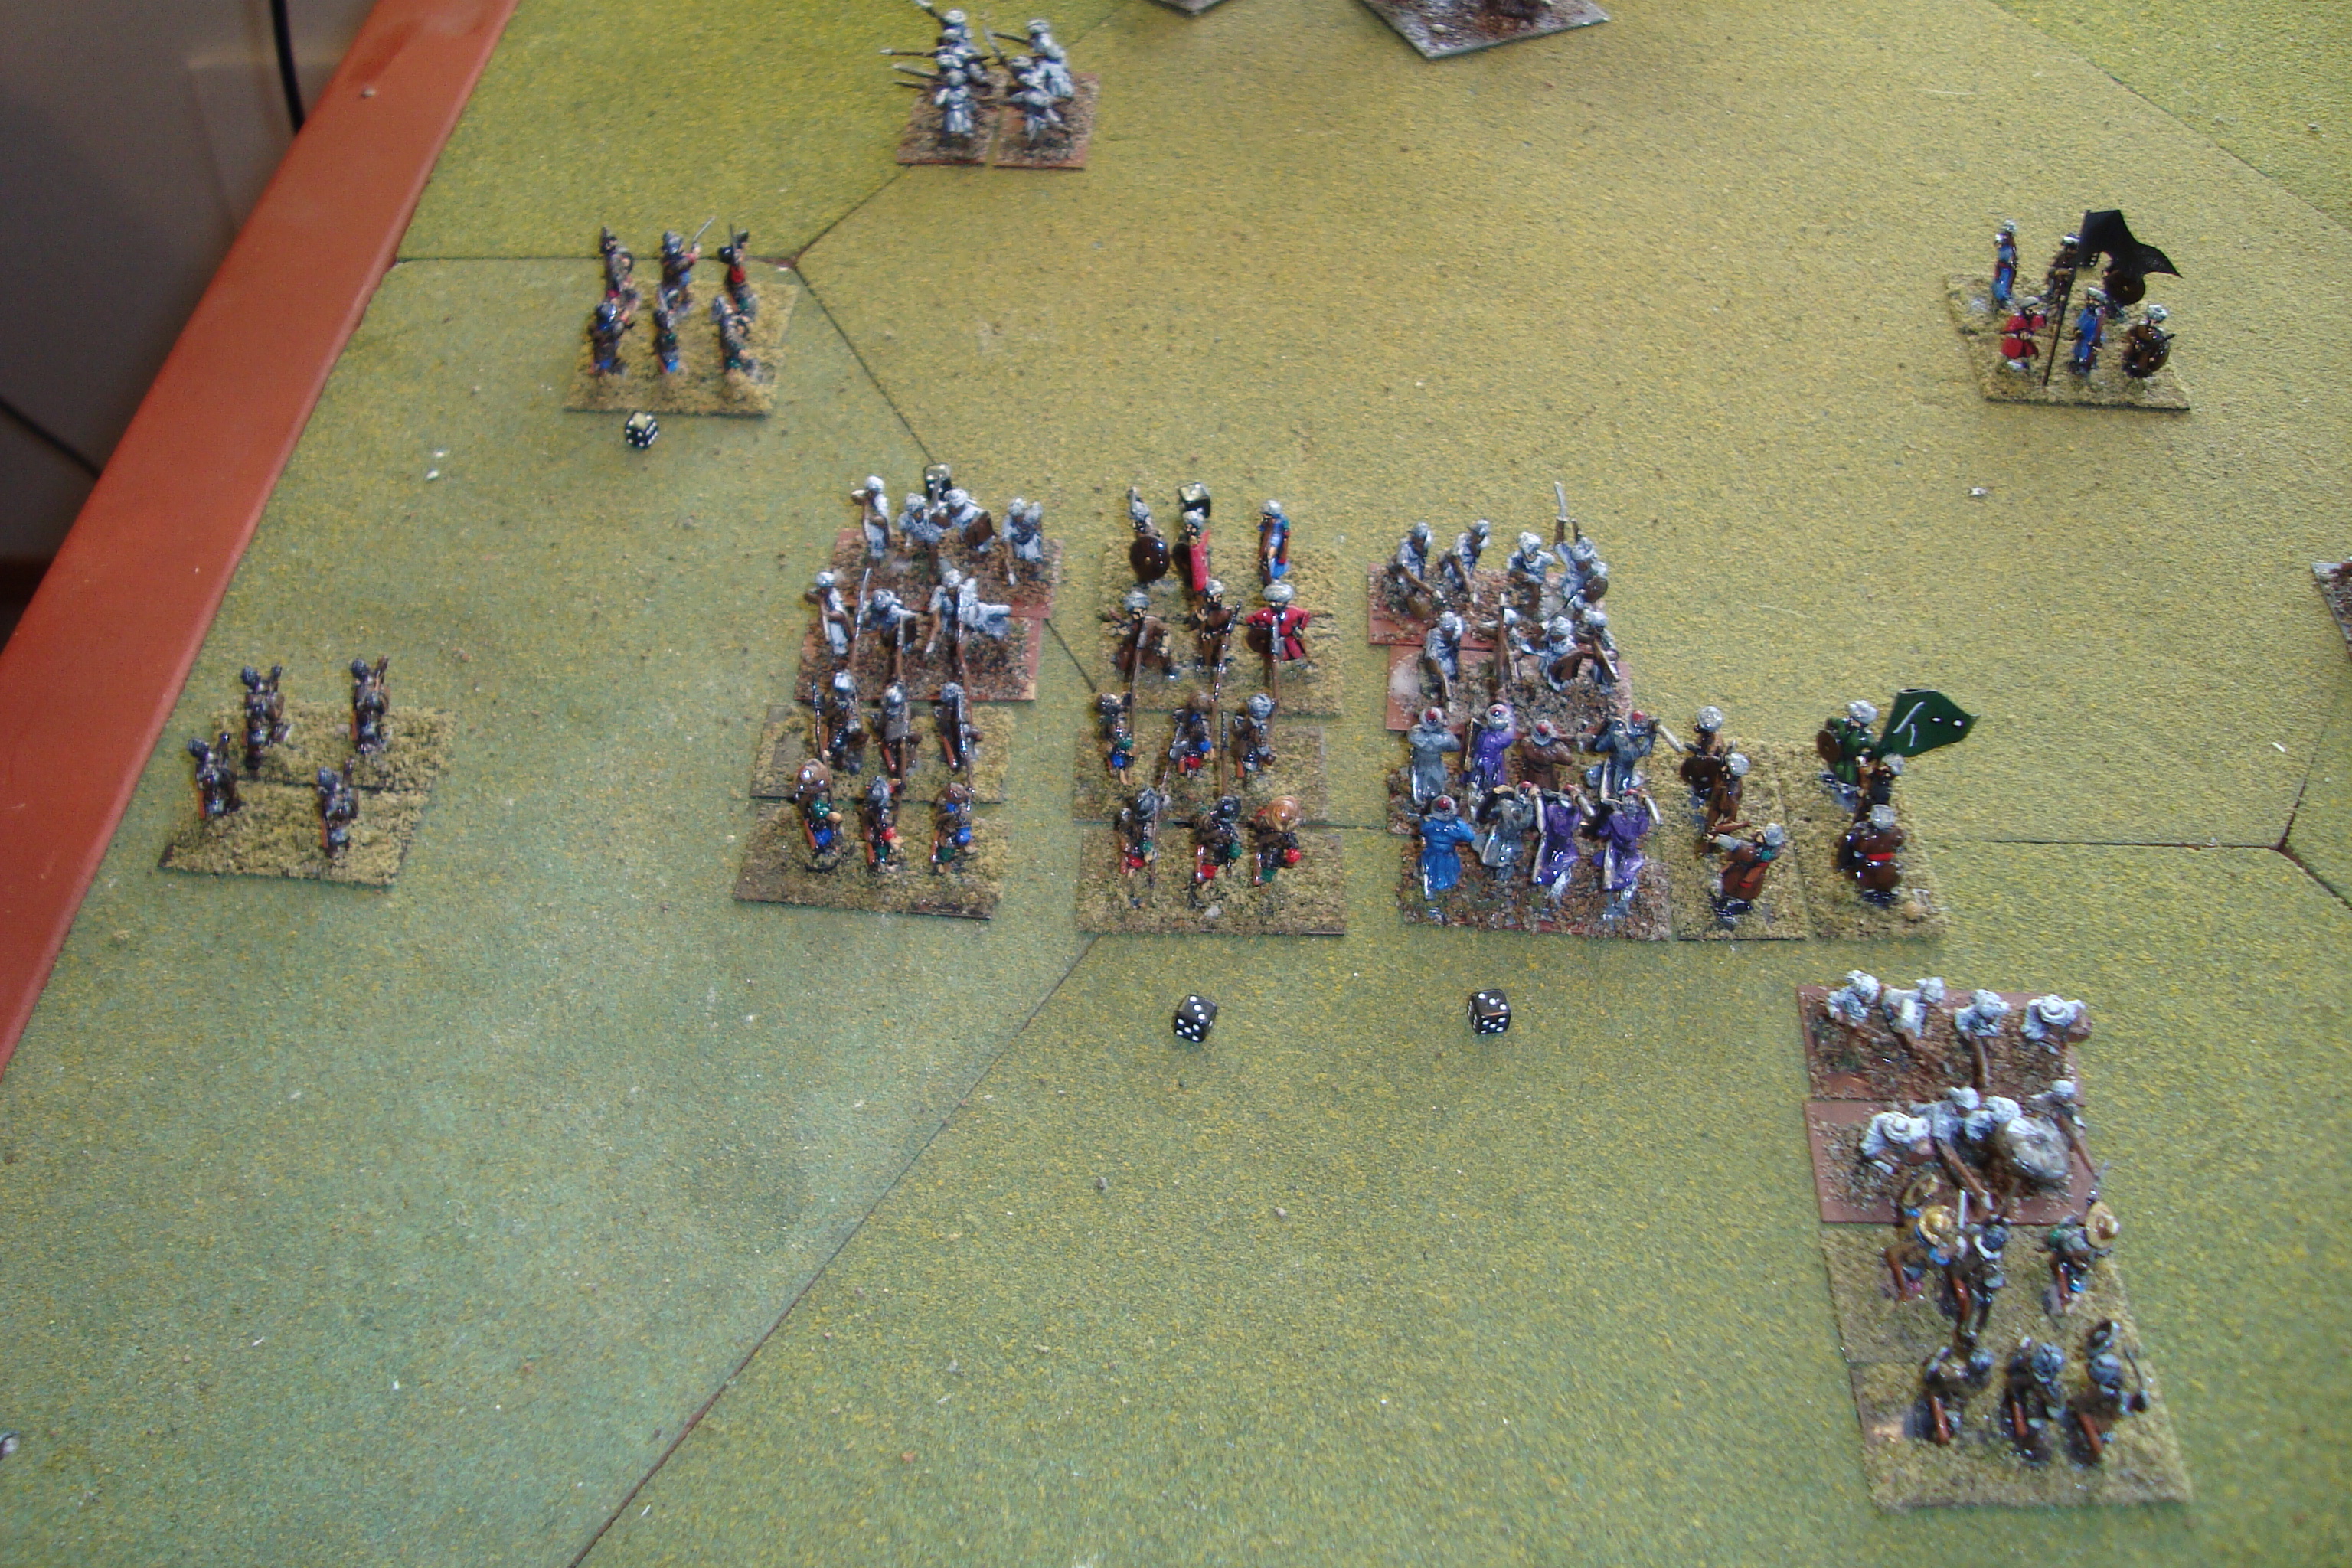
Bey Mahir’s defensive alignment was a variation of what he had used before. His units were arrayed in a checkerboard along the entire plain lying south of the oasis. His Civic Guard units were in front, with Tribal units some distance to the rear, but filling the gaps between Guard units. This would allow any wavering guards to fall back unimpeded and tribesmen to counterattack. Renaldo’s plan was use his Shot and Bow units as a screen on his right (Zanj left), while his Pike and Targeteer units concentrated on his left (Zanj right) to deliver a crushing blow to enemies to their front.
The Disease and Mishap rolls were not kind to the Zanj. Four units lost resolve due to illness and two units were pushed out of position. Once again, the skill of the Portuguese surgeon saved Renaldo’s army from any loss of resolve.
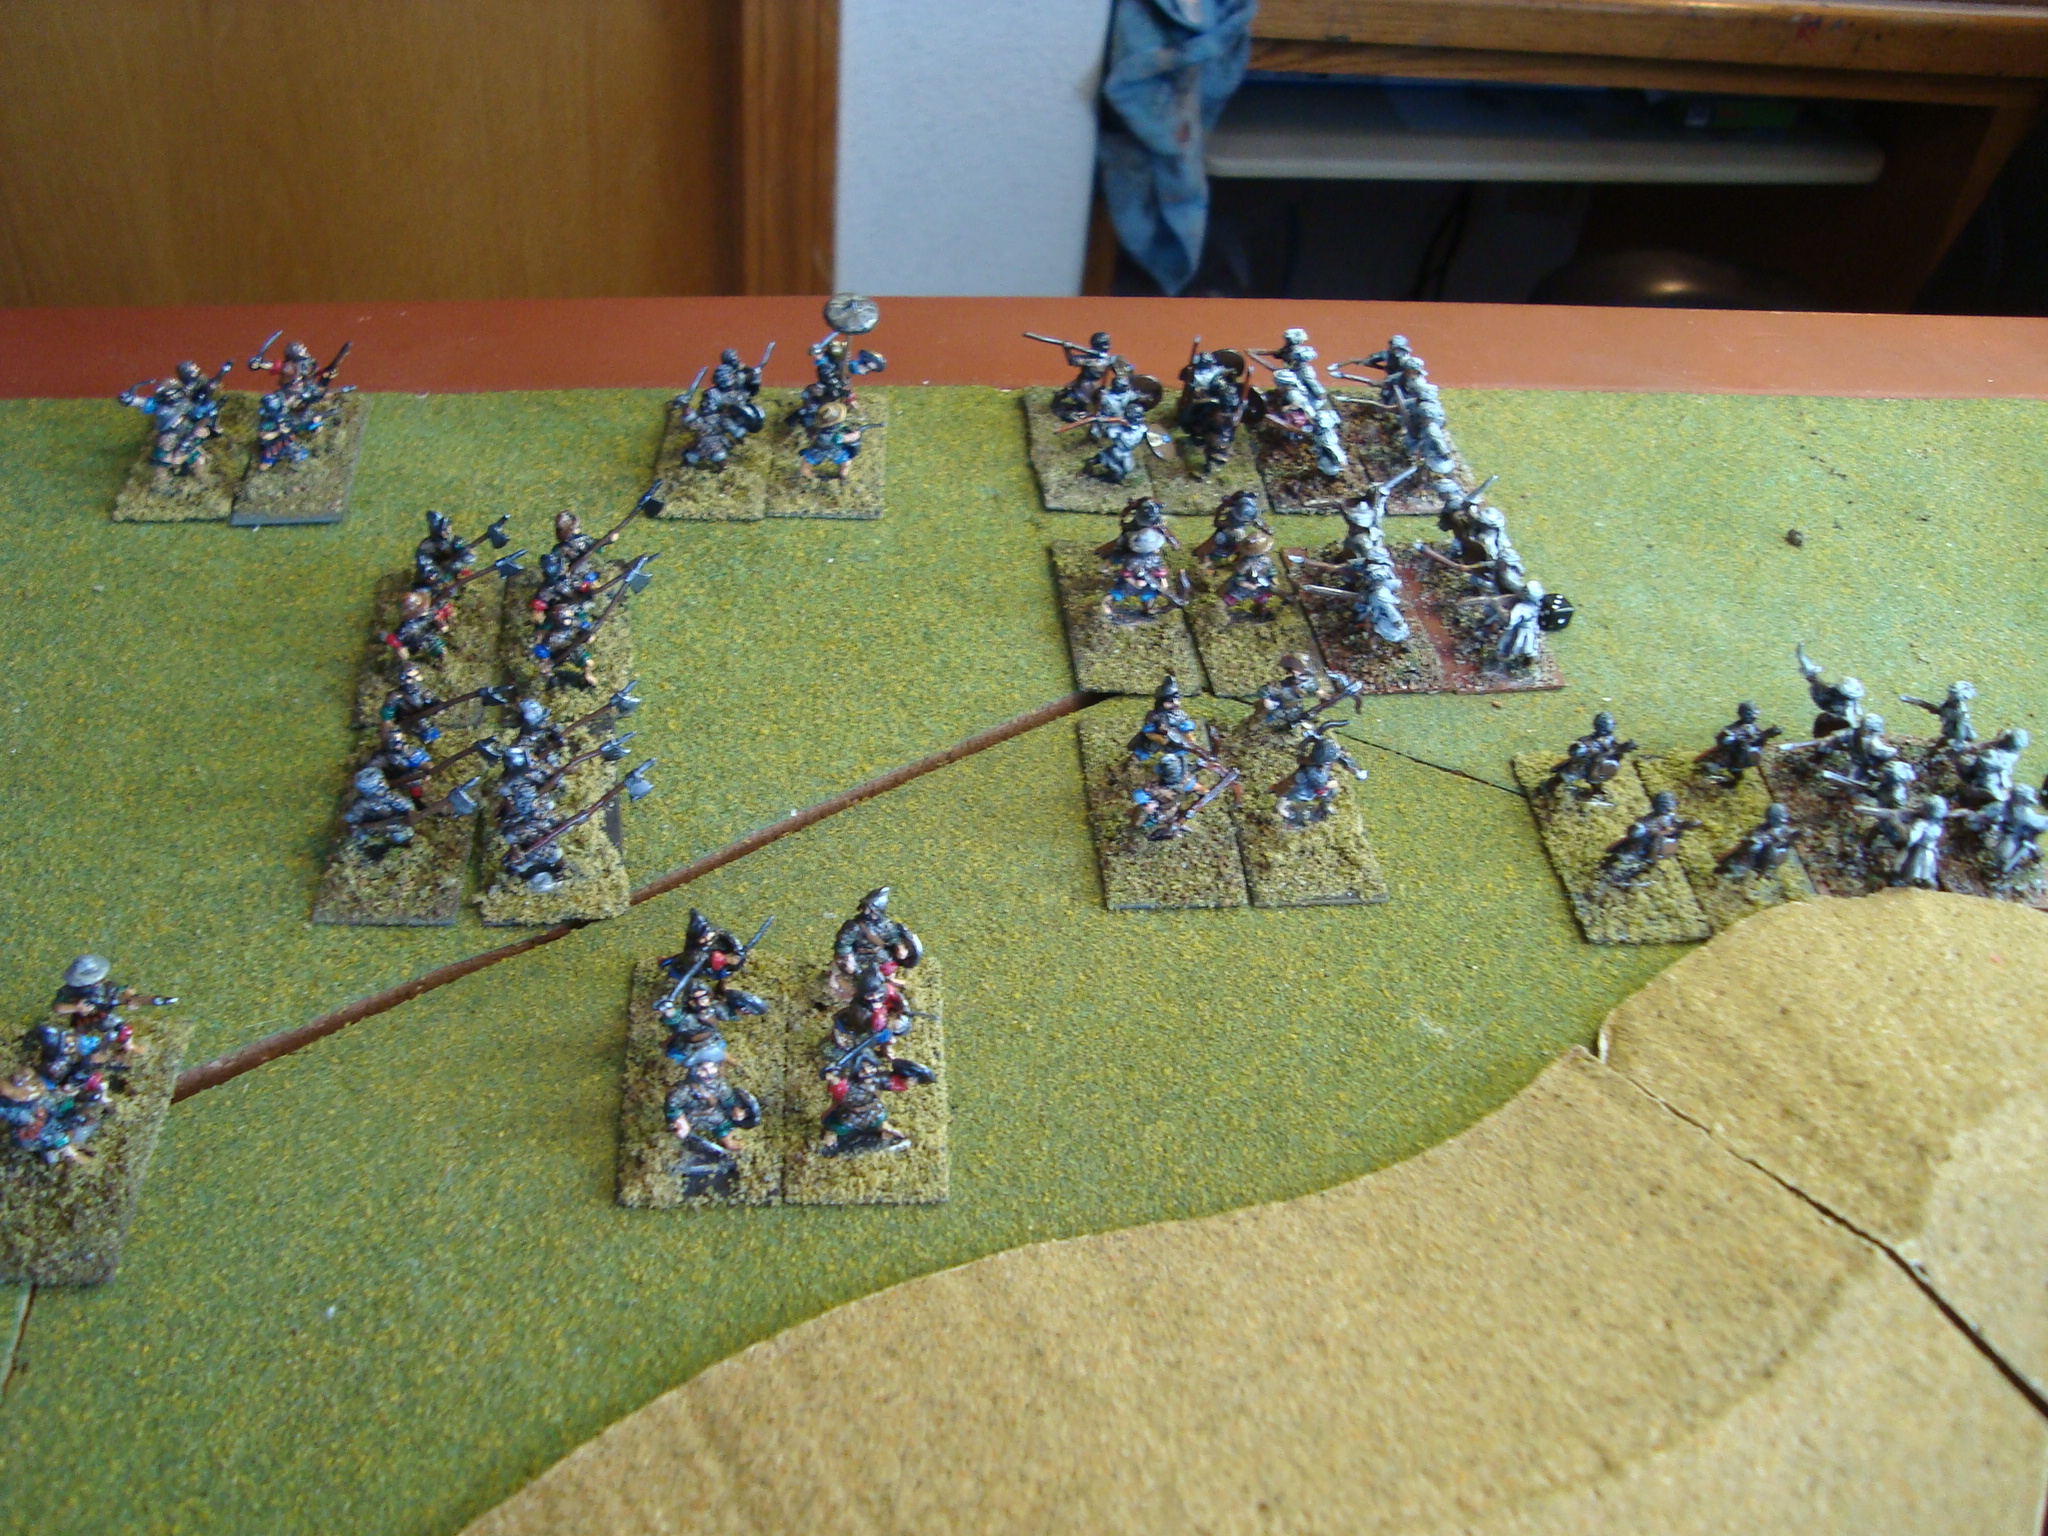
First Phase:
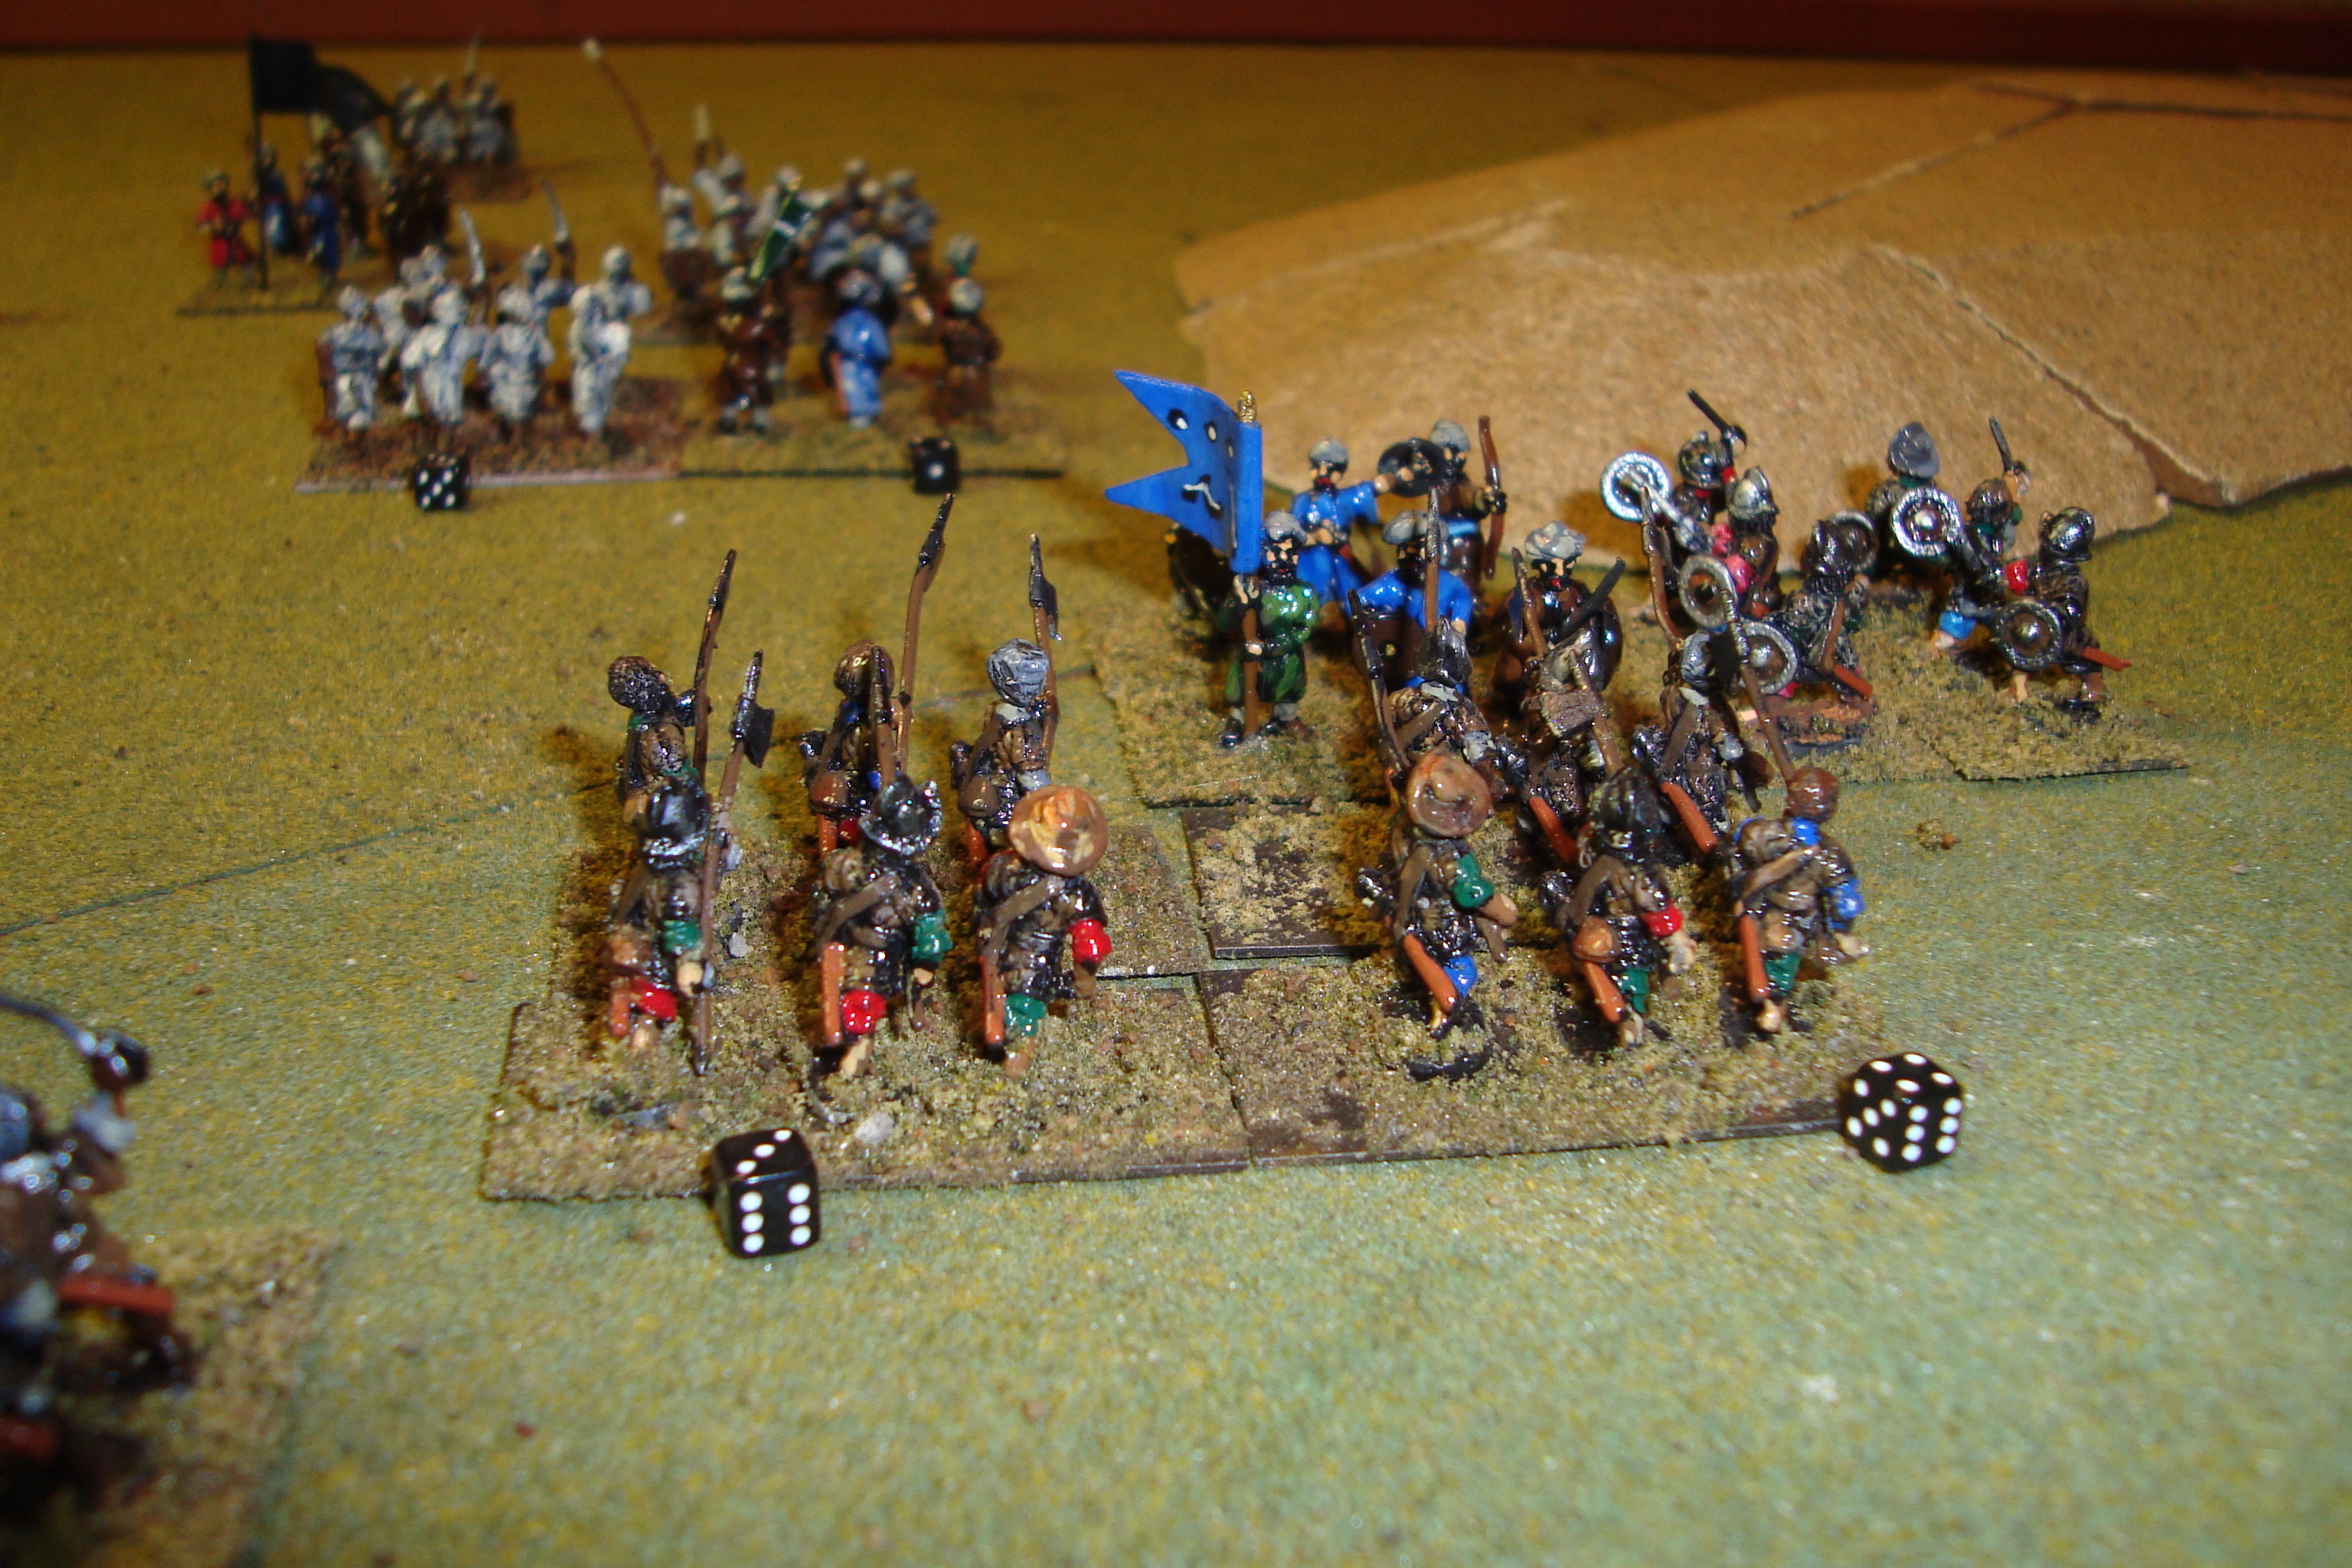
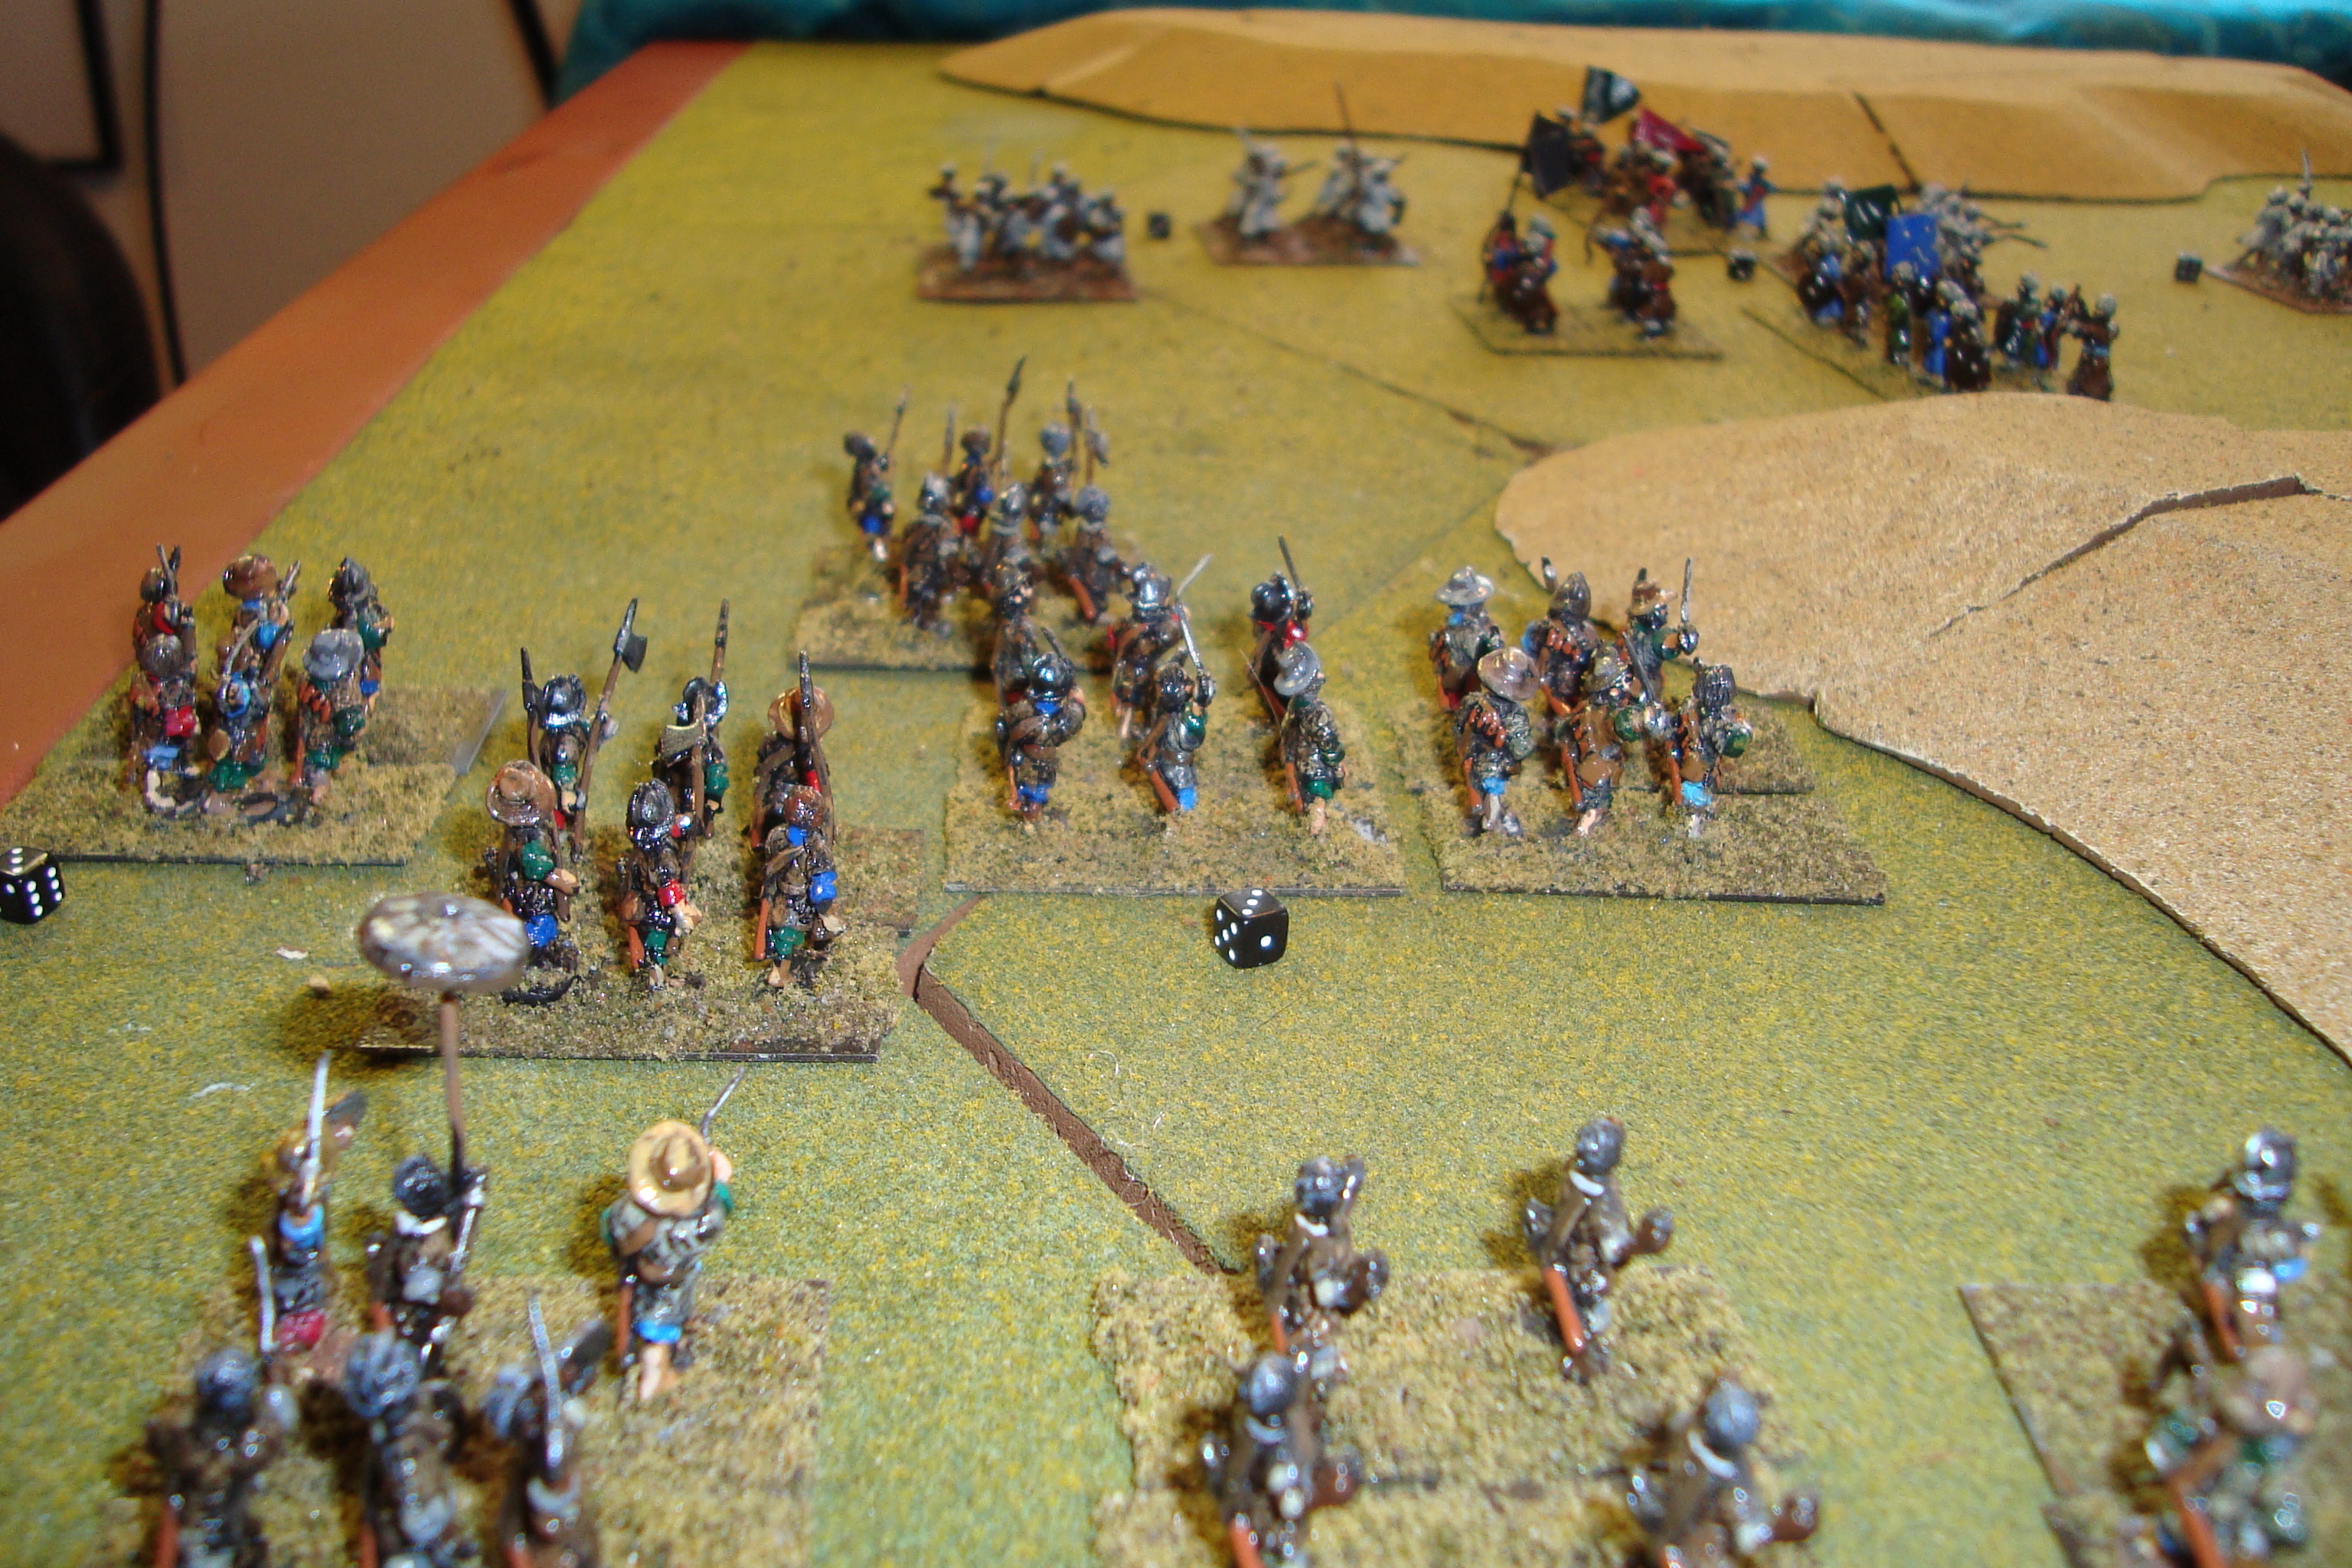
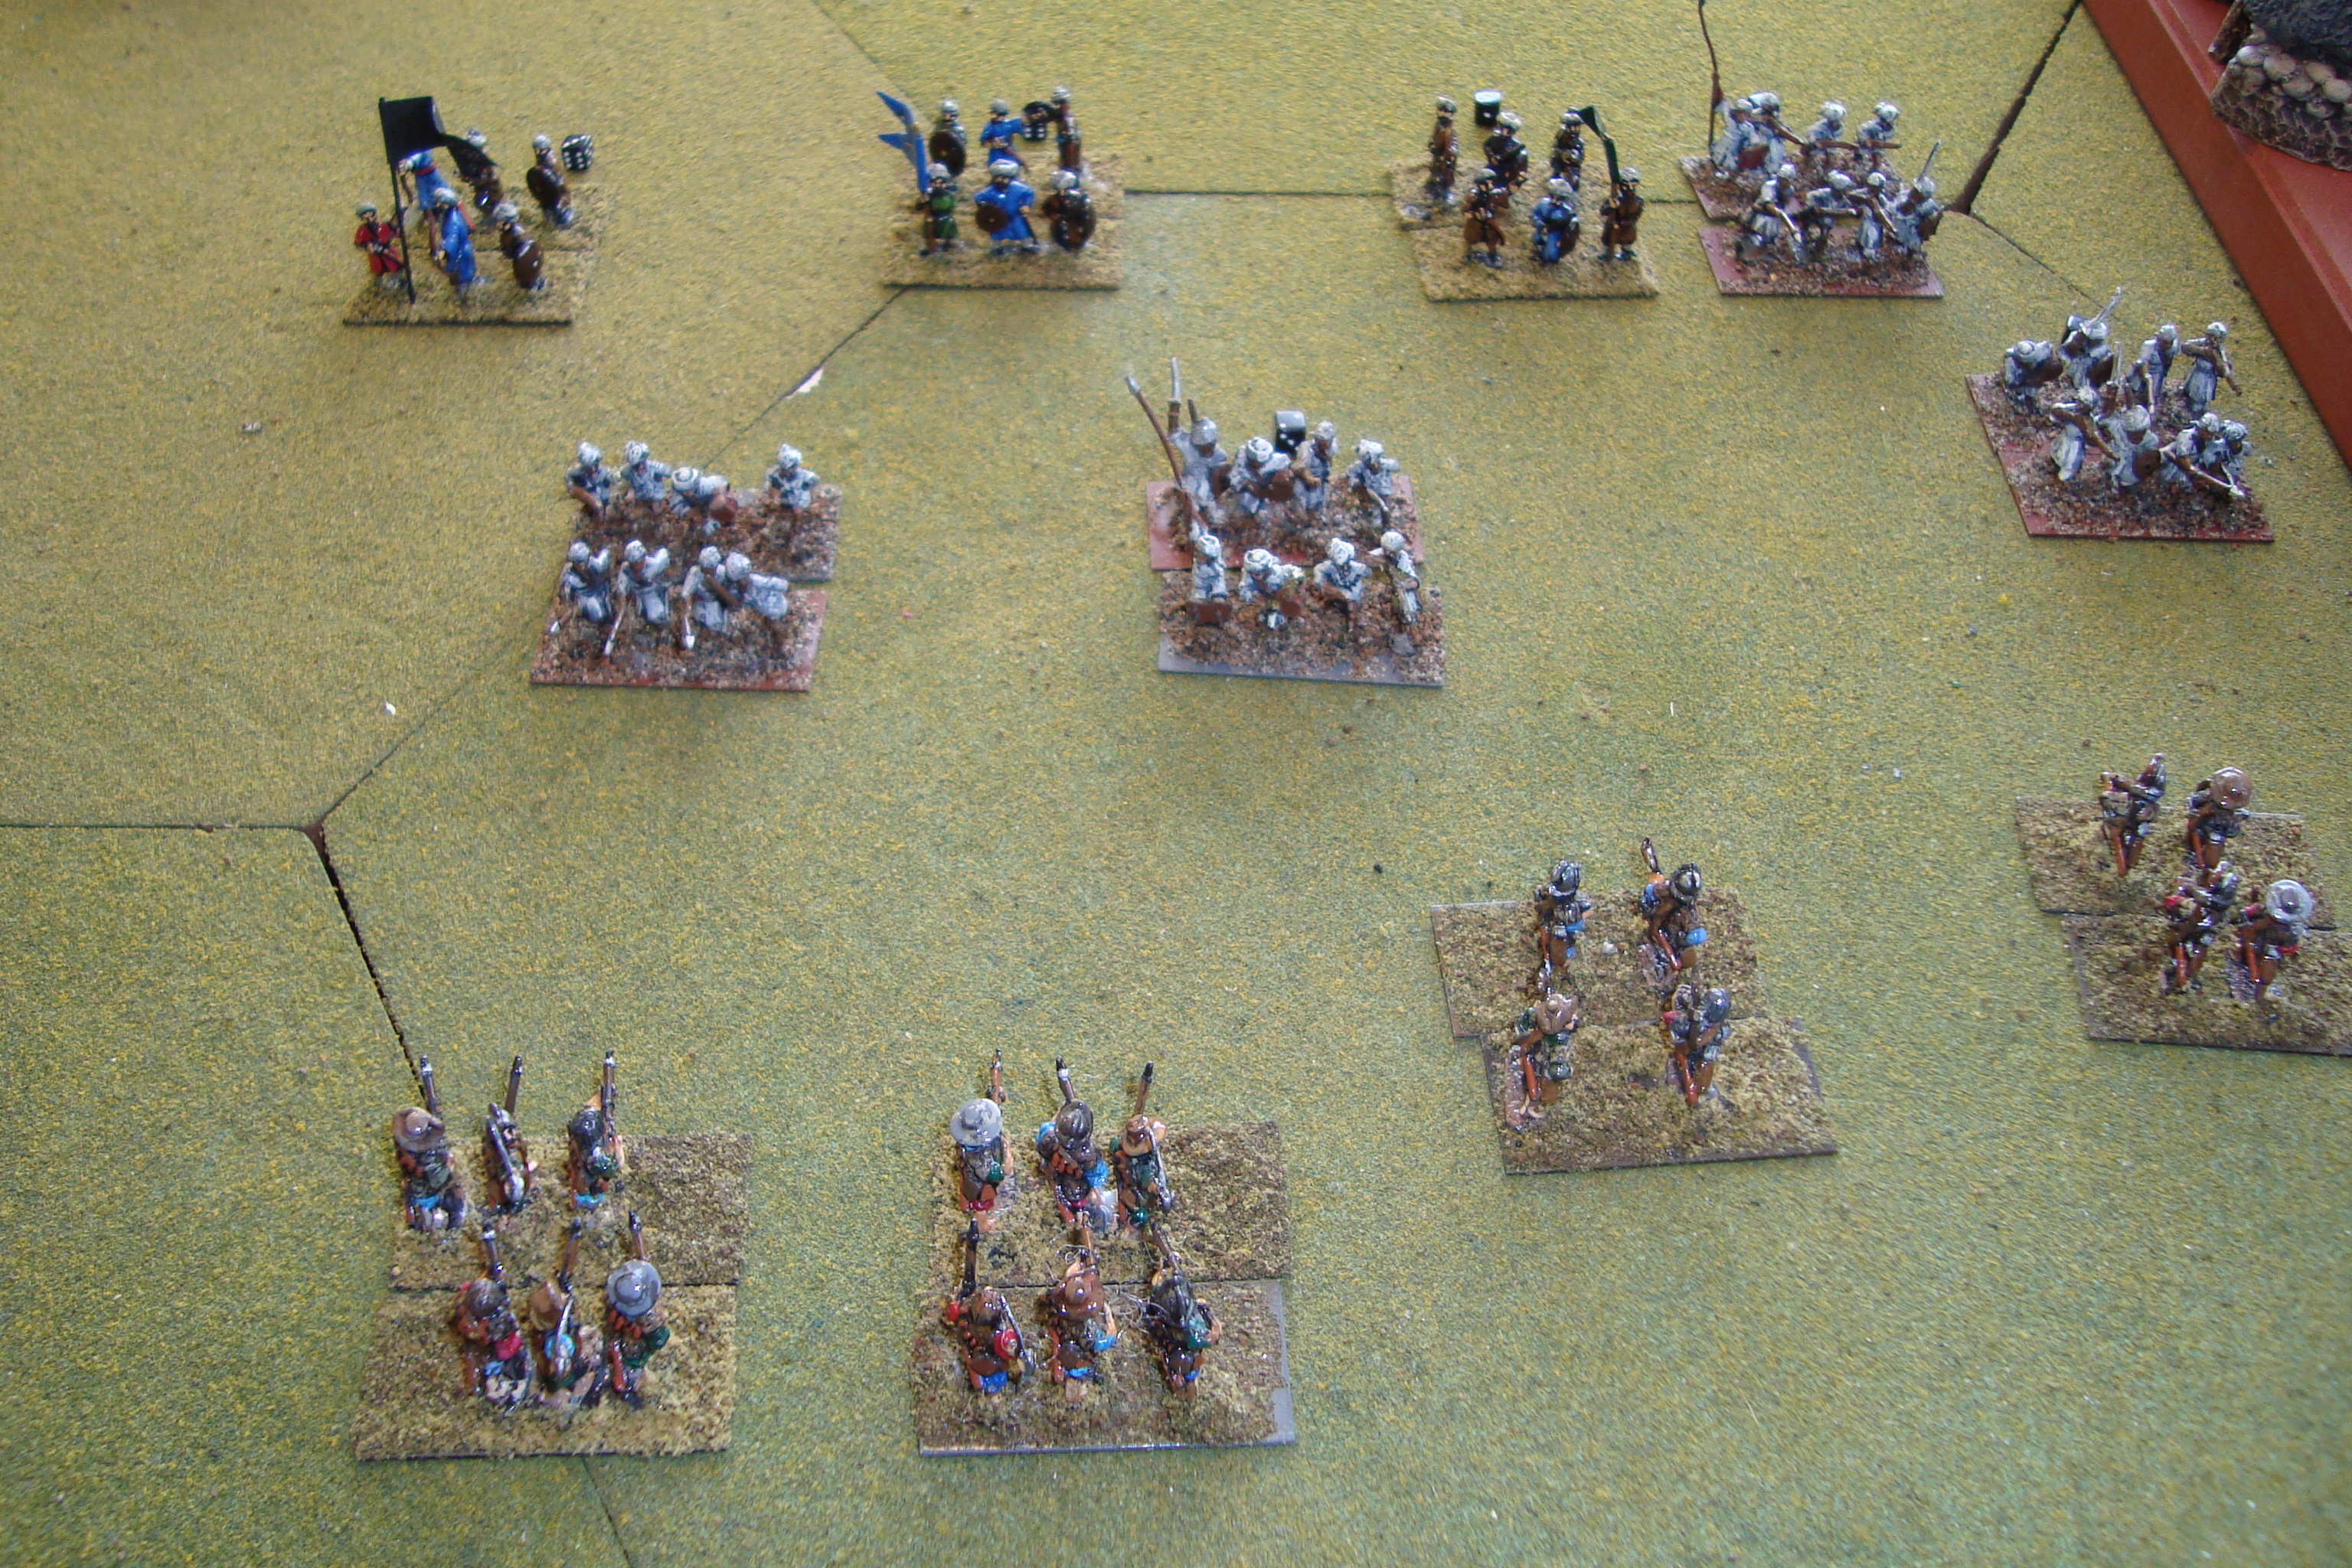
The Portuguese screening force was extremely effective, engaging the Zanj guardsmen at long range, causing most of them to scatter. They could not close and melee with the weaker Portuguese. More importantly,the guardsmen could not be rallied since their retreat drove them out of the Bey’s command radius. However, the Bey’s forces on his right stopped the Portuguese Pike and Targeteer onslaught, locking them in attritional melees. It was here that the effect of the earlier battle, which lowered the morale (and resolve) of the Portuguese, was critical. The Portuguese were wearing down.
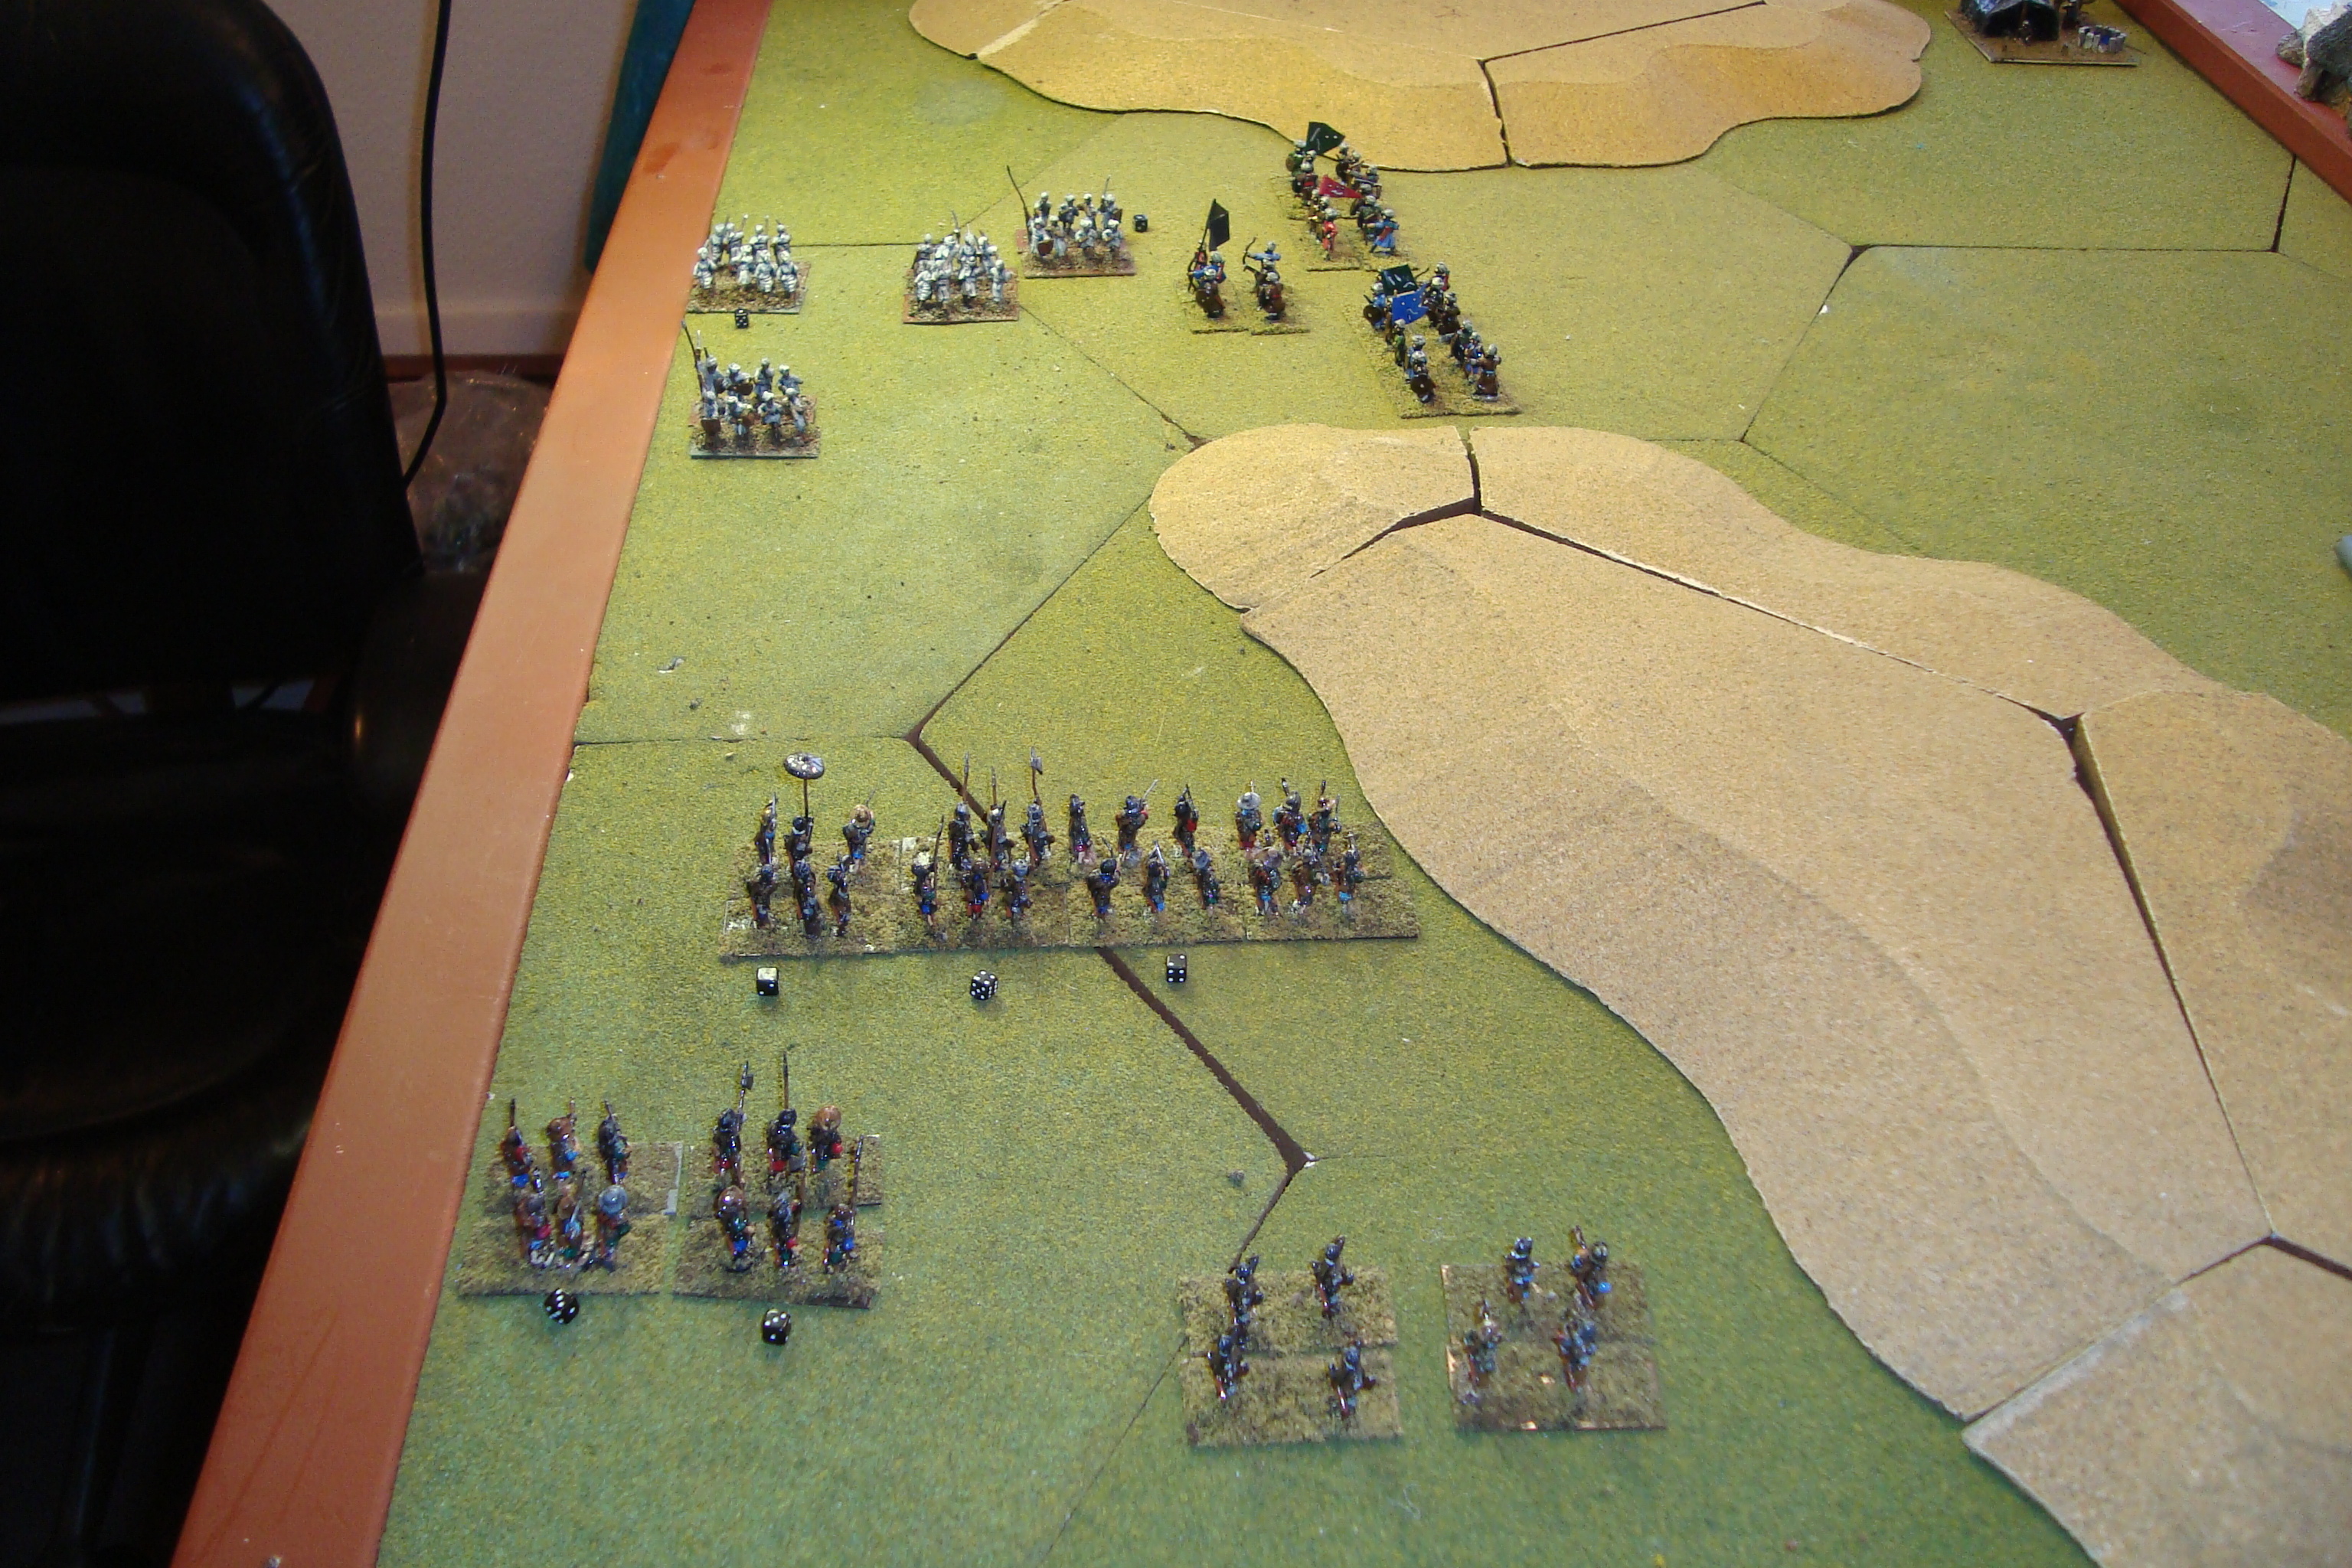
Second Phase:
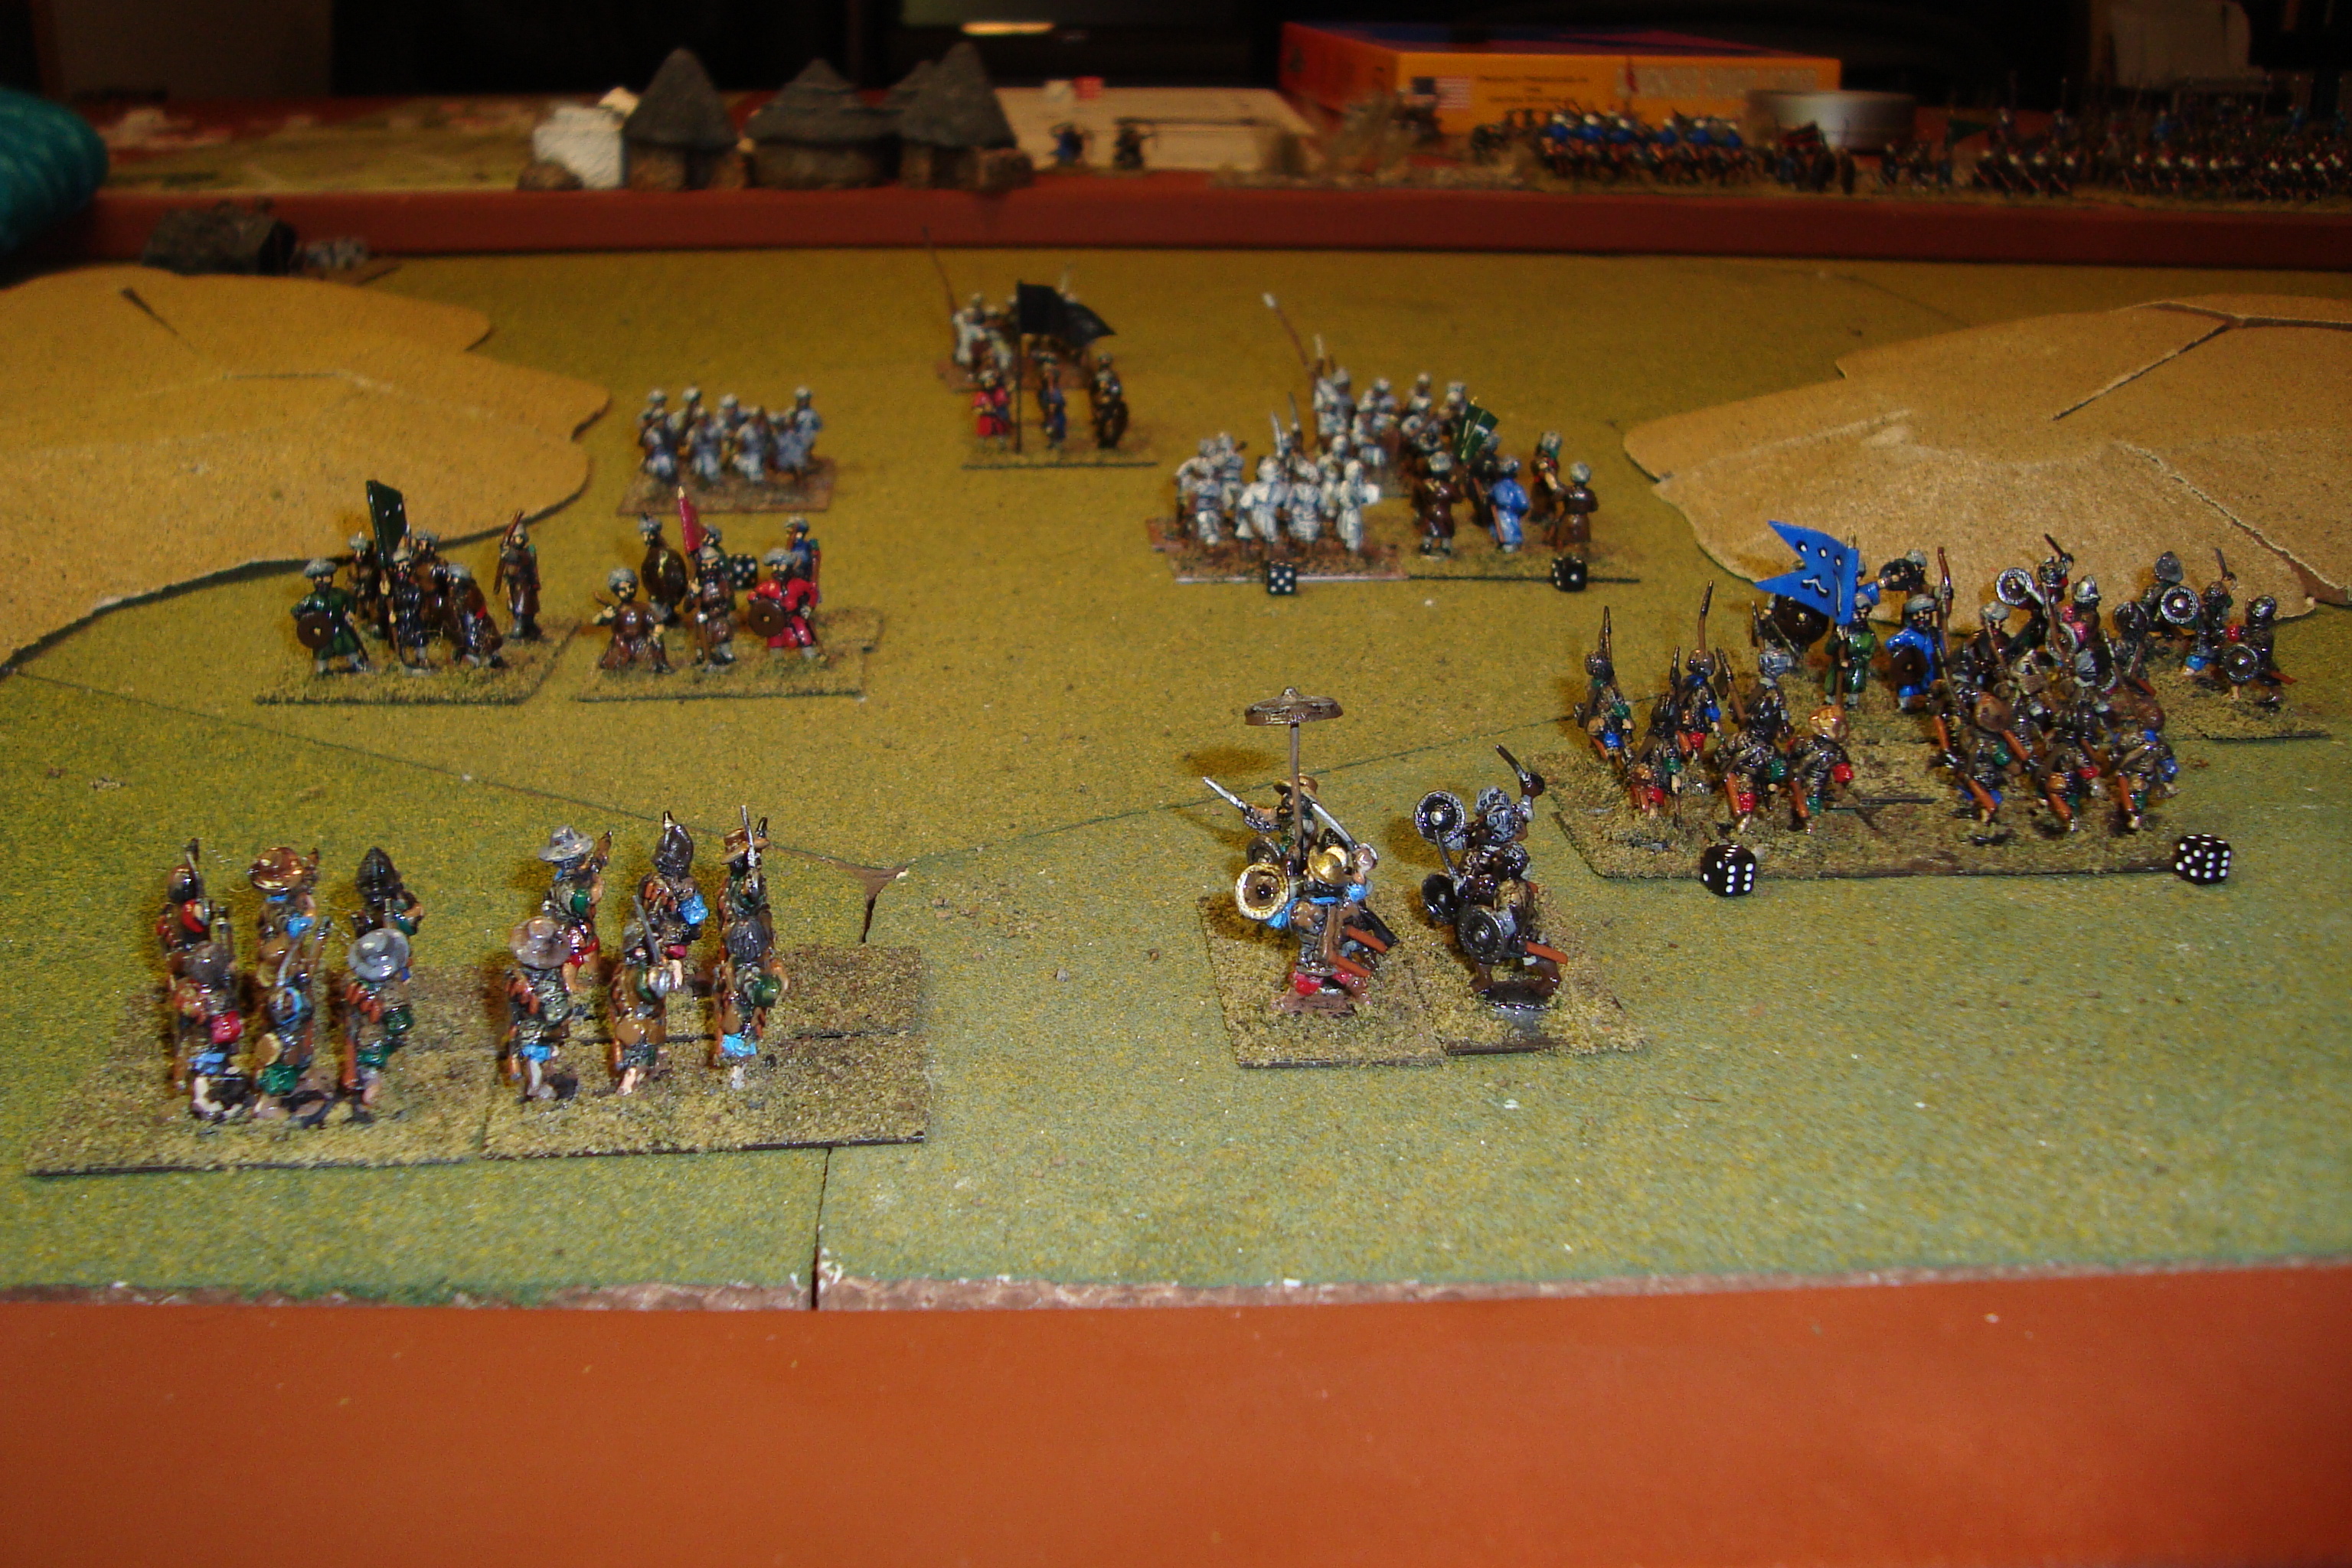
Desperate to break this deadlock, Renaldo ordered his Shot and Bow units to close to within short range of the decimated Zanj units. His hope was to gain the initiative on the next move. If so, these units could deliver devastating volleys, scattering the Zanj units to his right, forcing a general withdrawal. The Iron Dice Of War crushed his hopes. The Portuguese lost the initiative, with Zanj units driving both Shot and Bow units back in disarray.
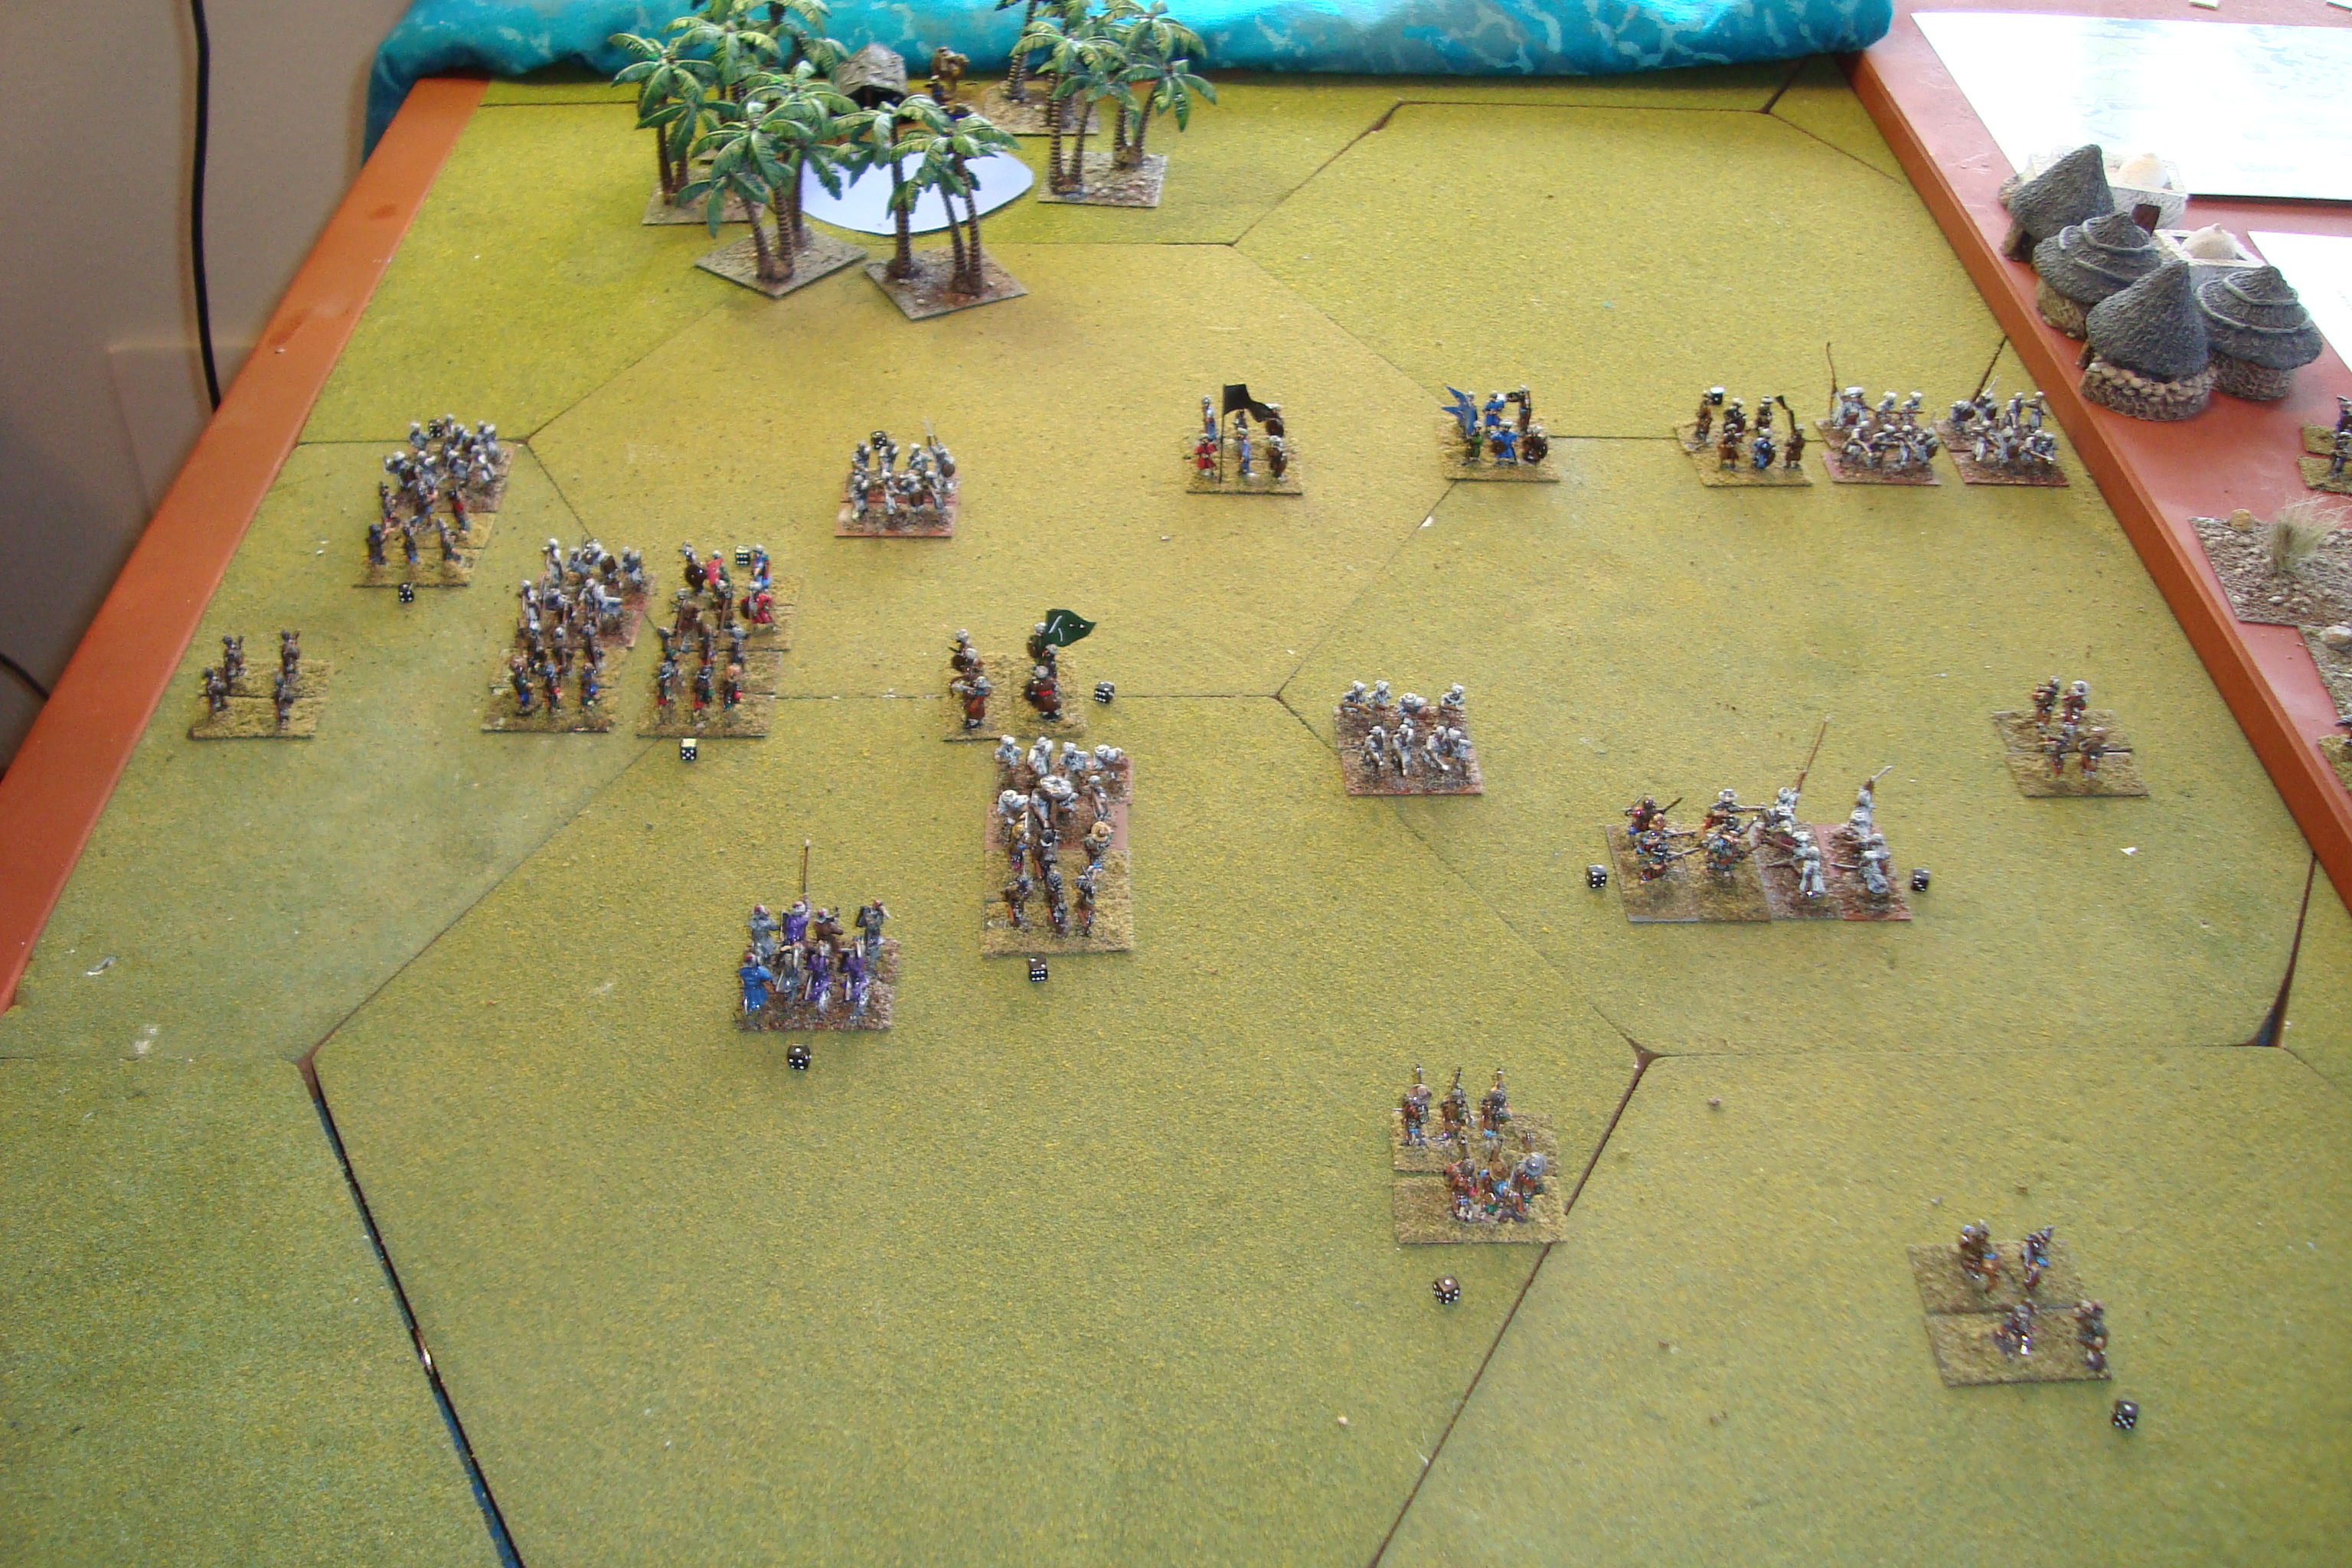
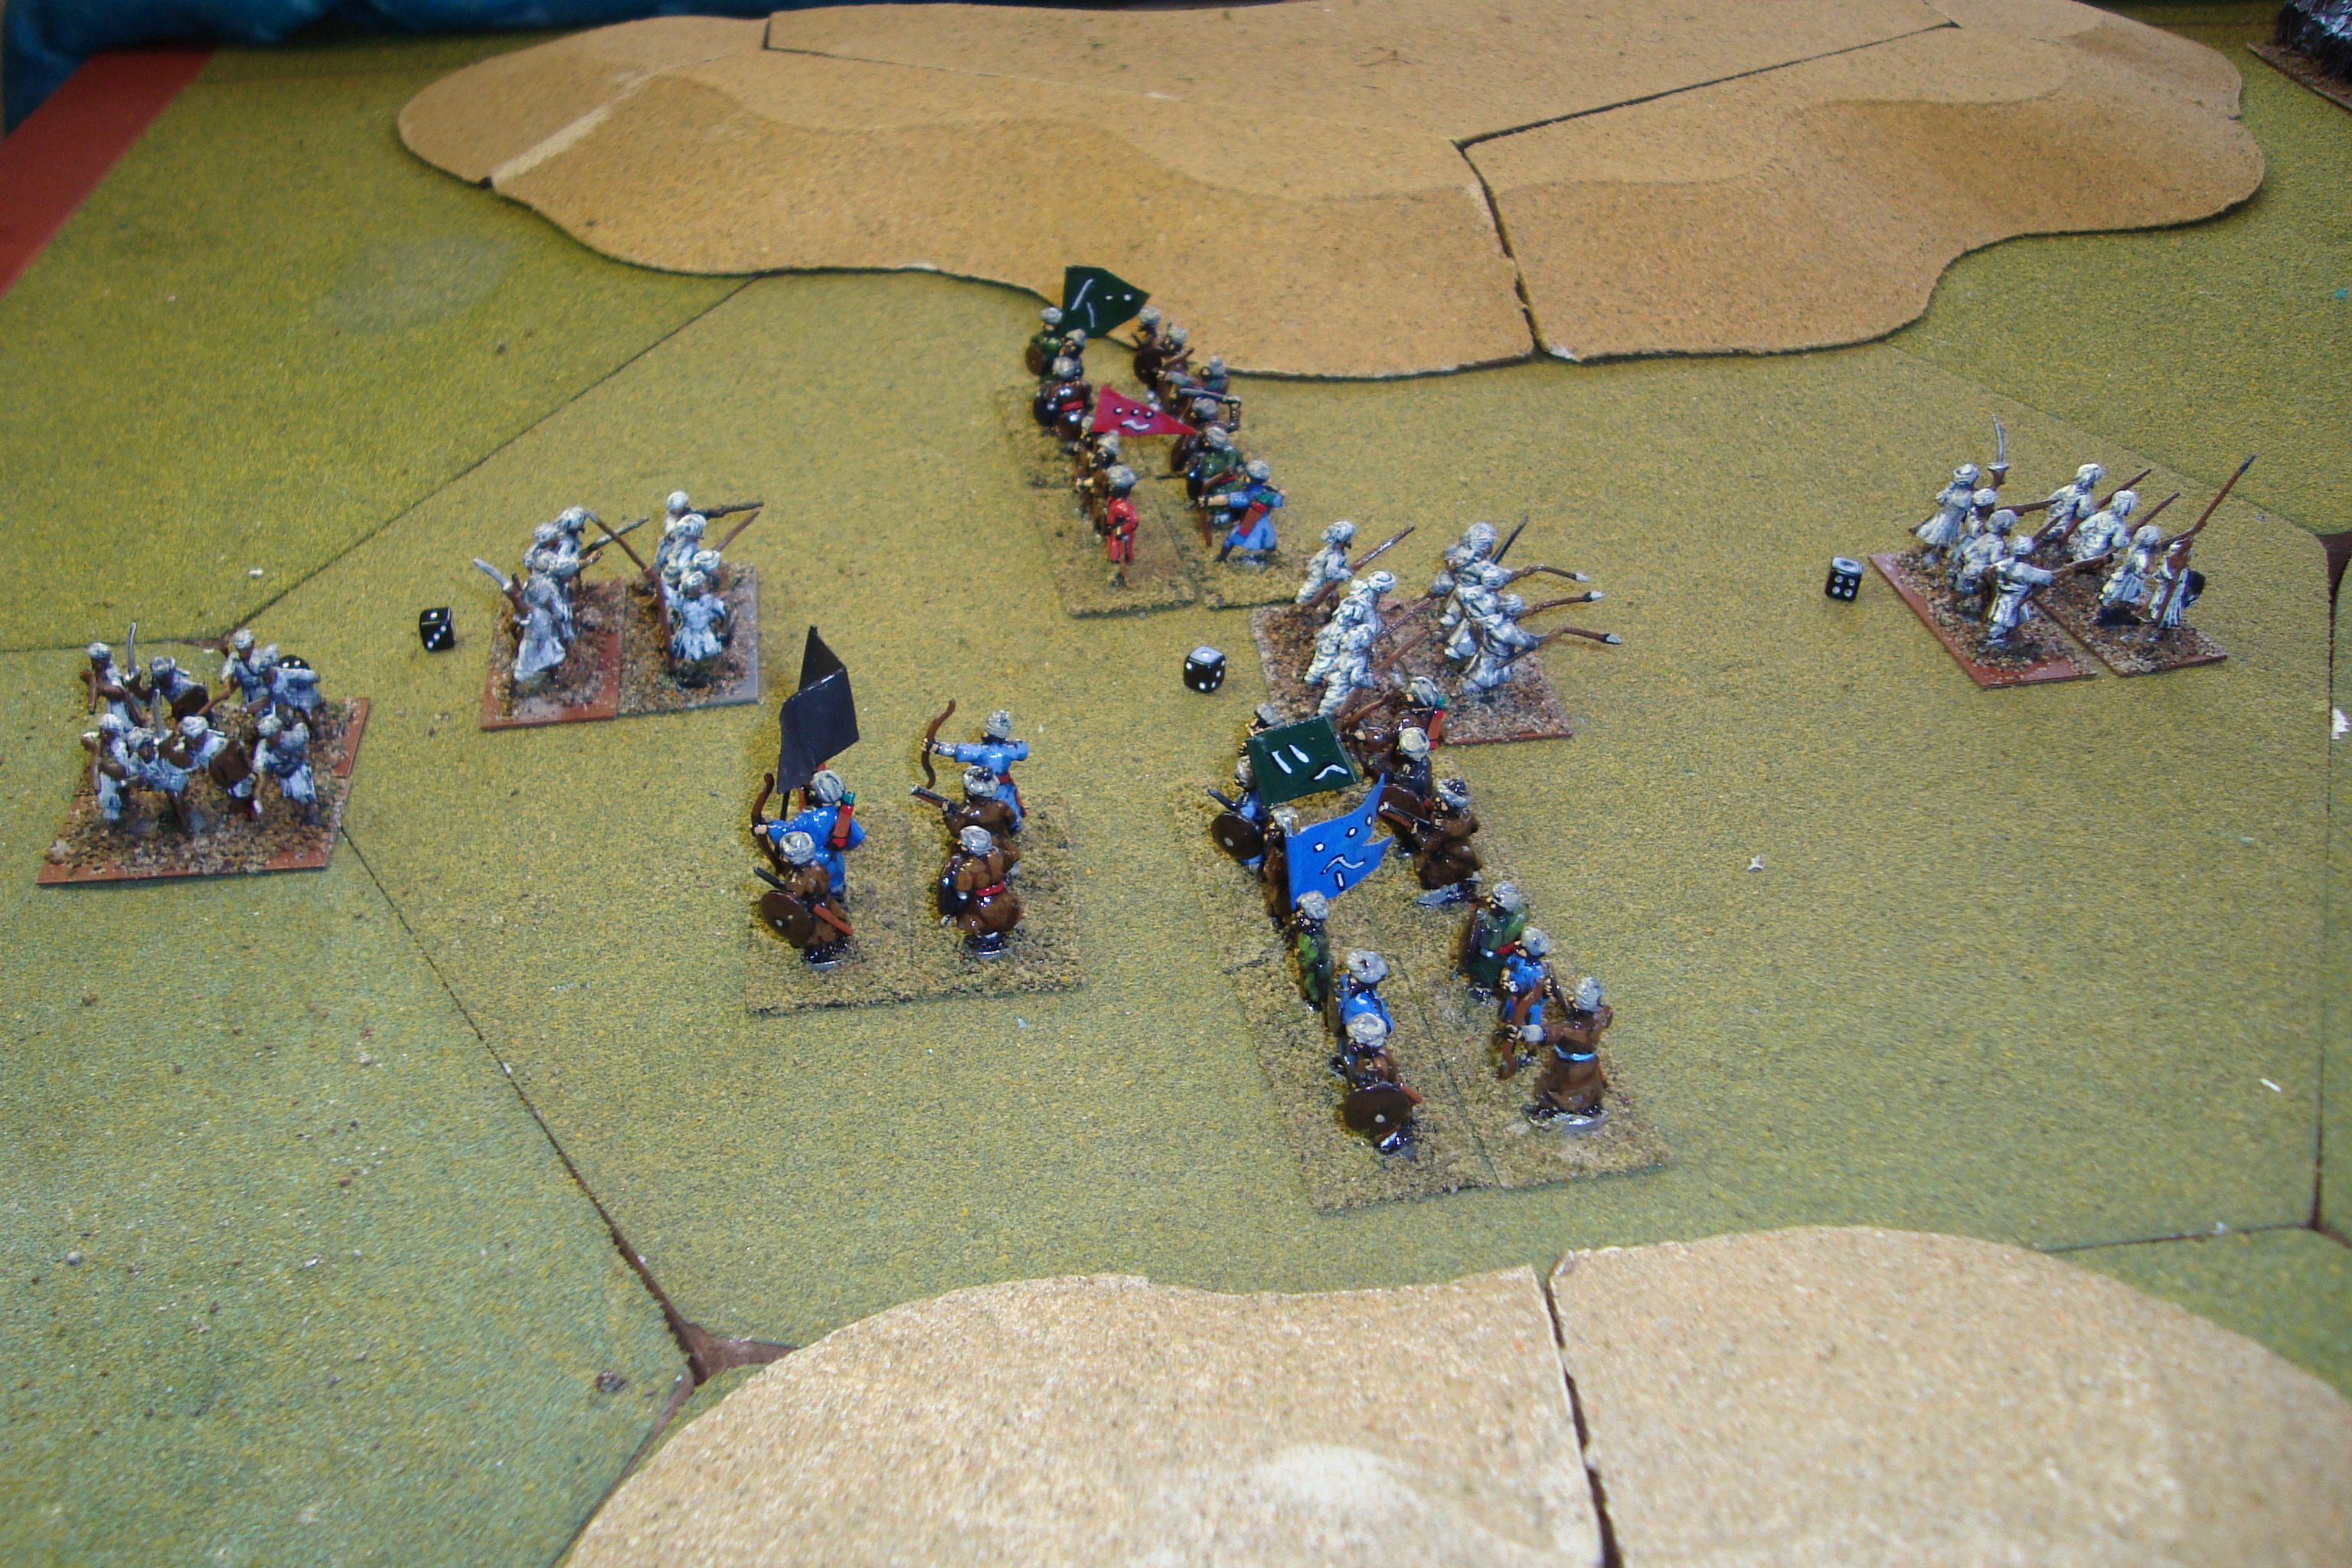
Portuguese Right Collapses. Lord Renaldo’s Personal Guard Attacks
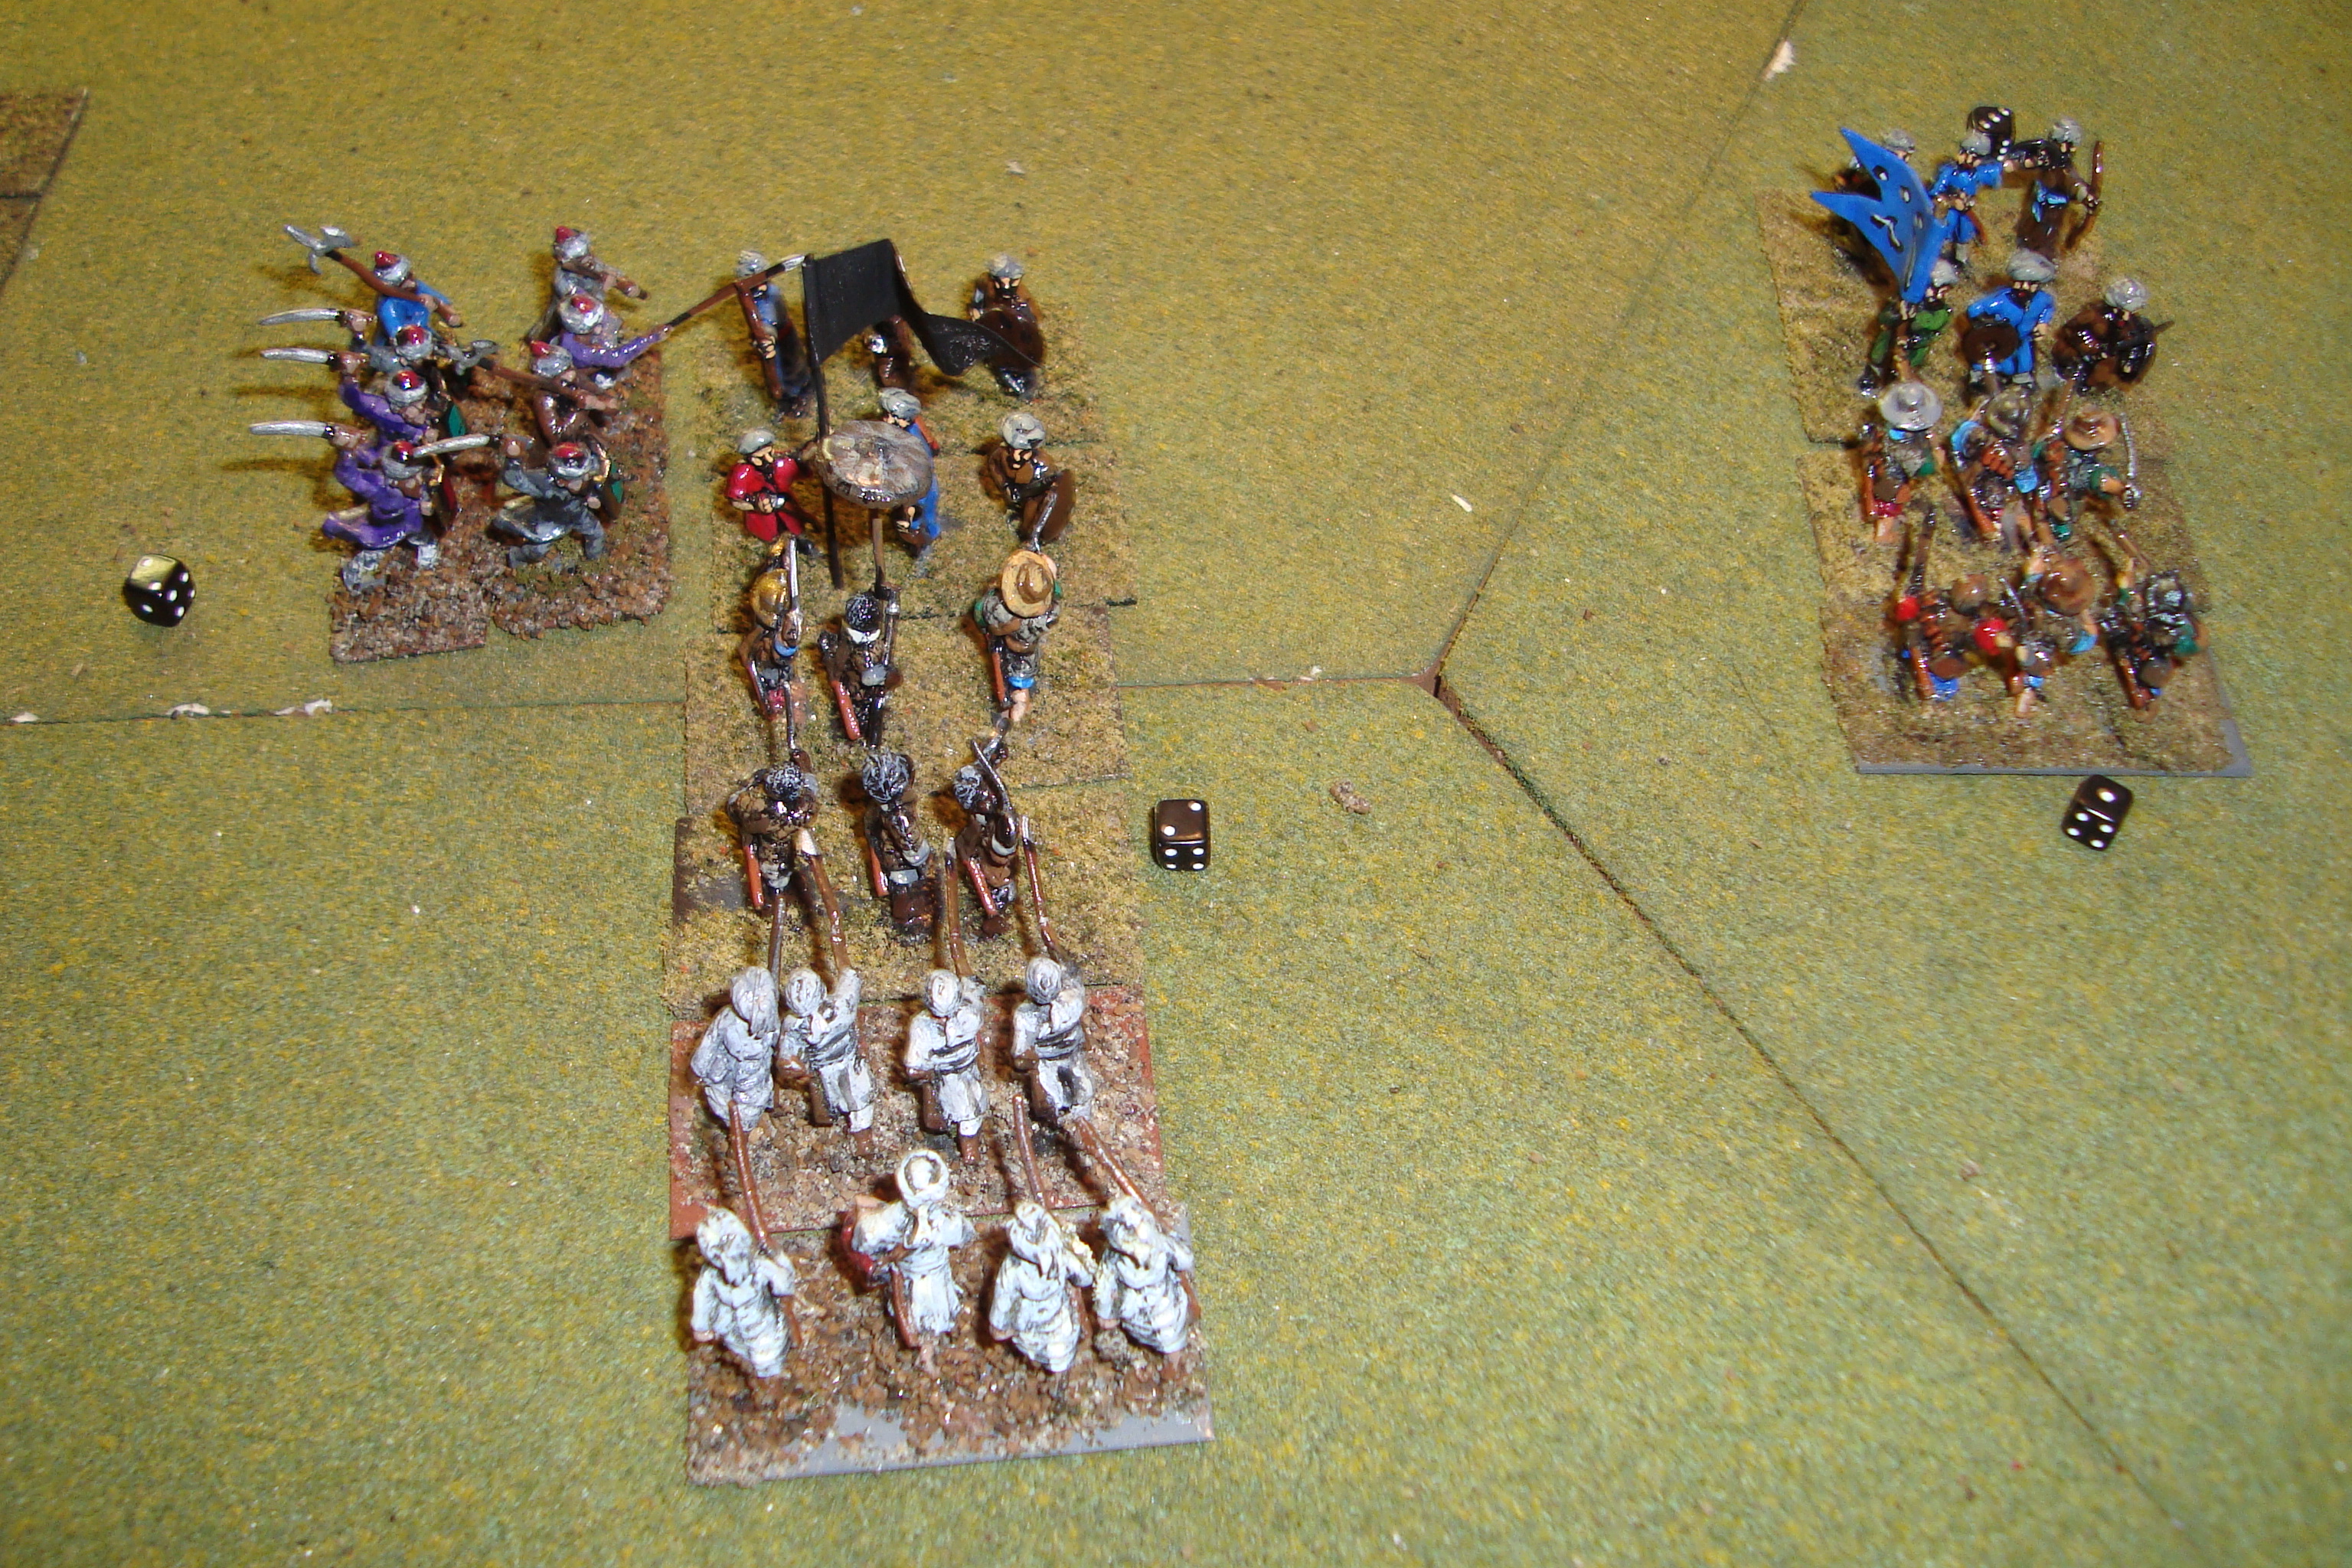
Lord Renaldo launched a last ditch assault with his personal guard of Targeteers, scattering three Zanj units. However, the outnumbered Zanj units somehow stopped the continued attacks of the Portuguese of the Portuguese Pike.
Third Phase:
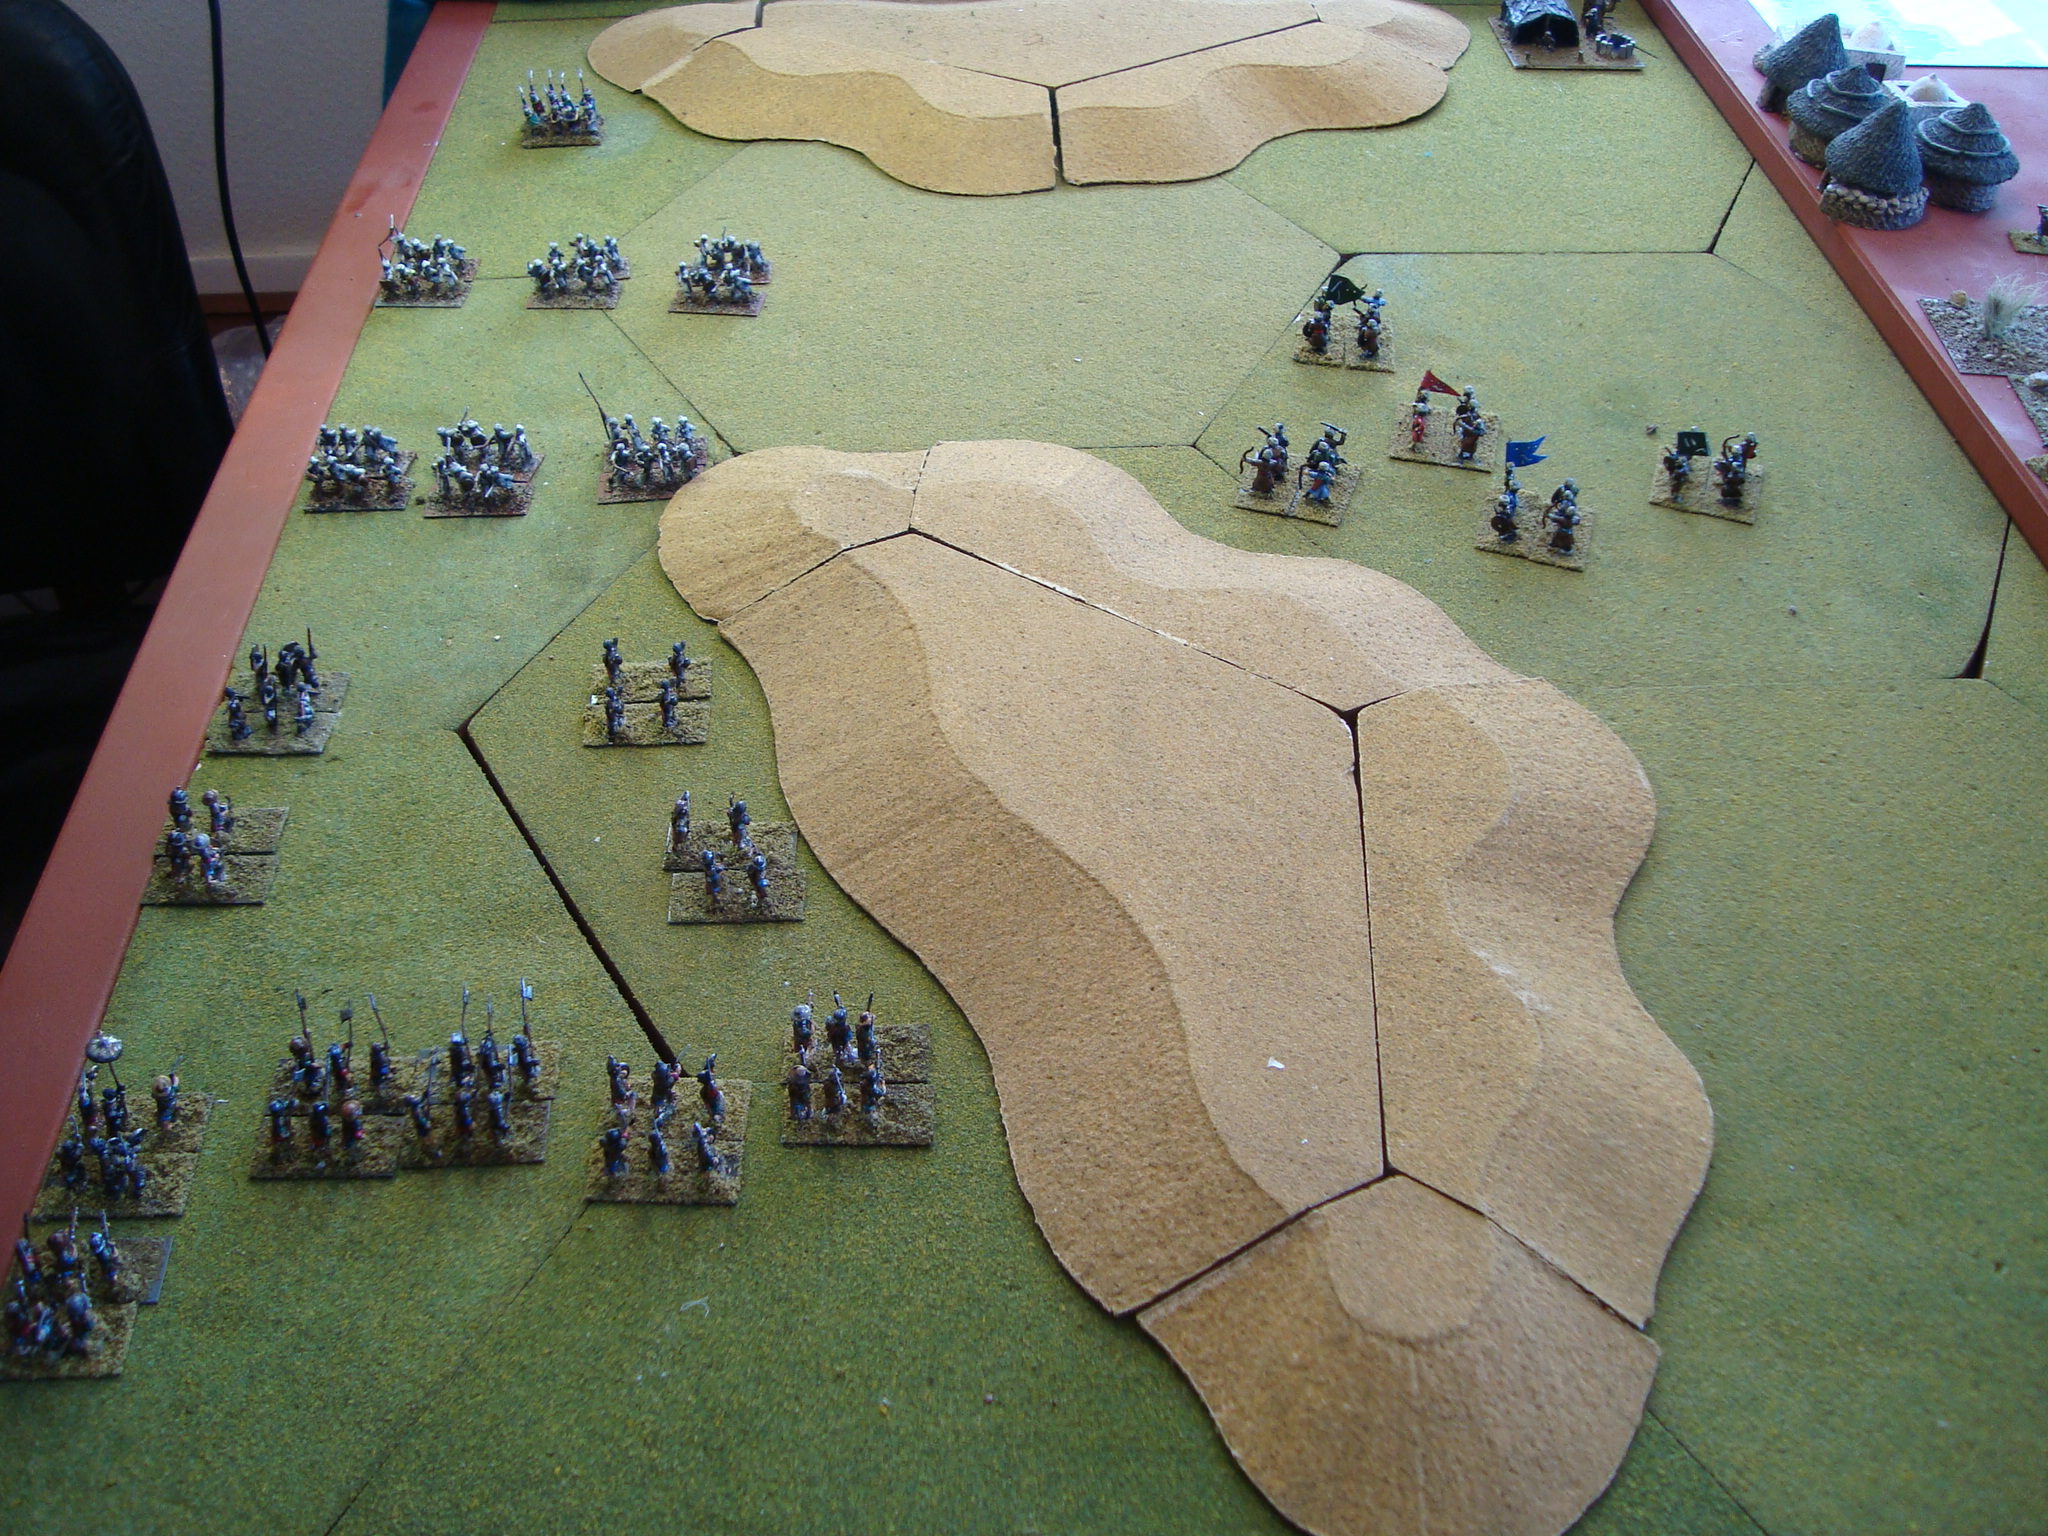
Now the desperate one, Bey Mahir attacked Lord Renaldo’s guard. After a prolonged fight, Renaldo’s unit scattered opening the way for flanking attacks on his remaining units.
The Portuguese had no choice but to flee.